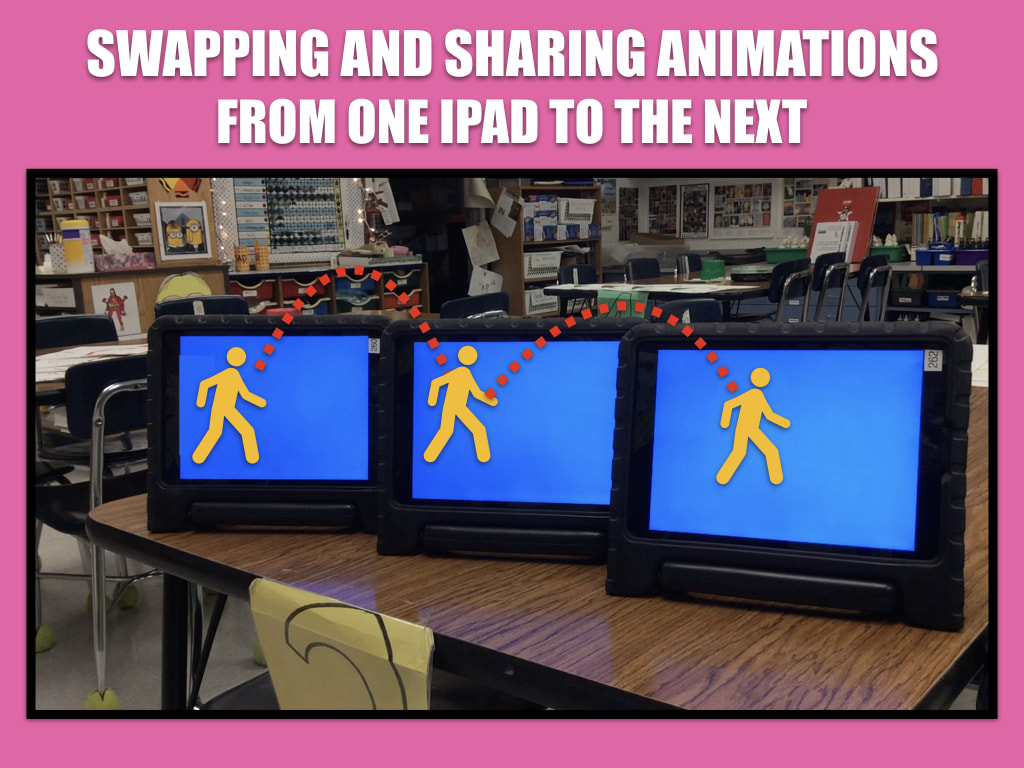
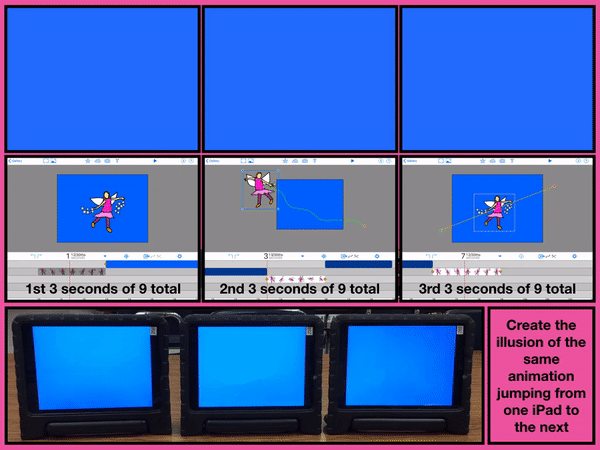
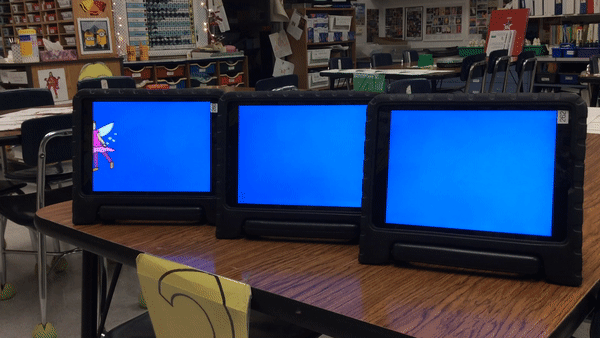
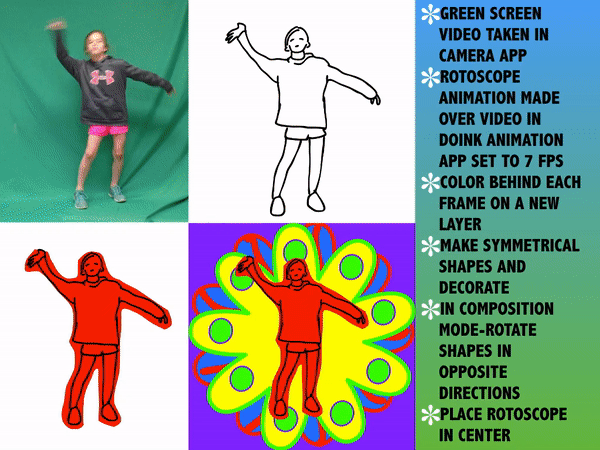
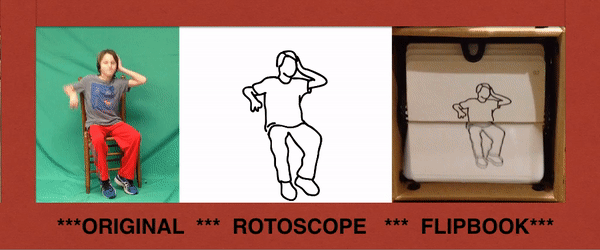
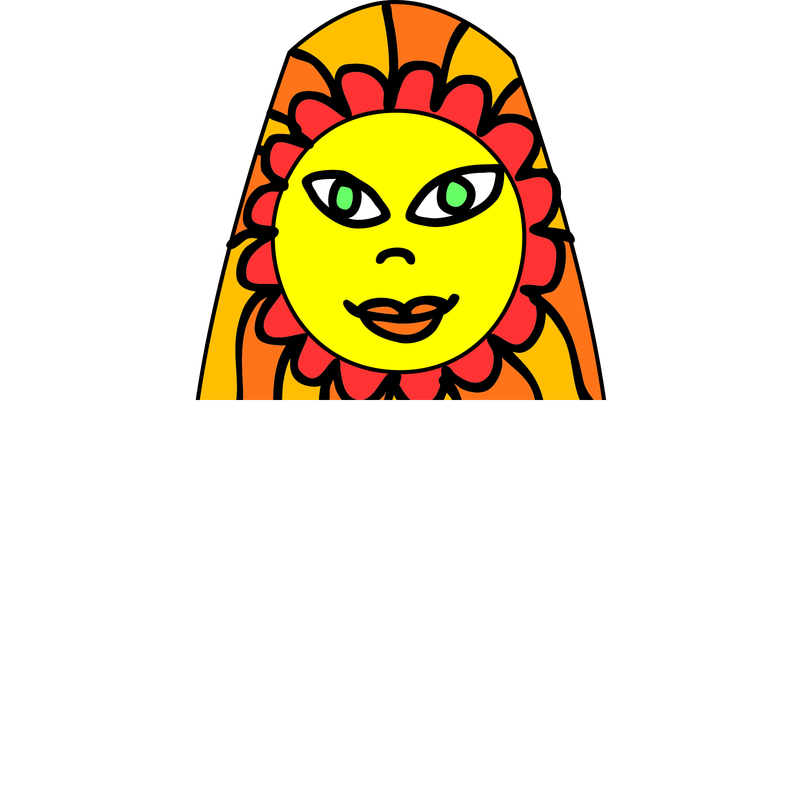
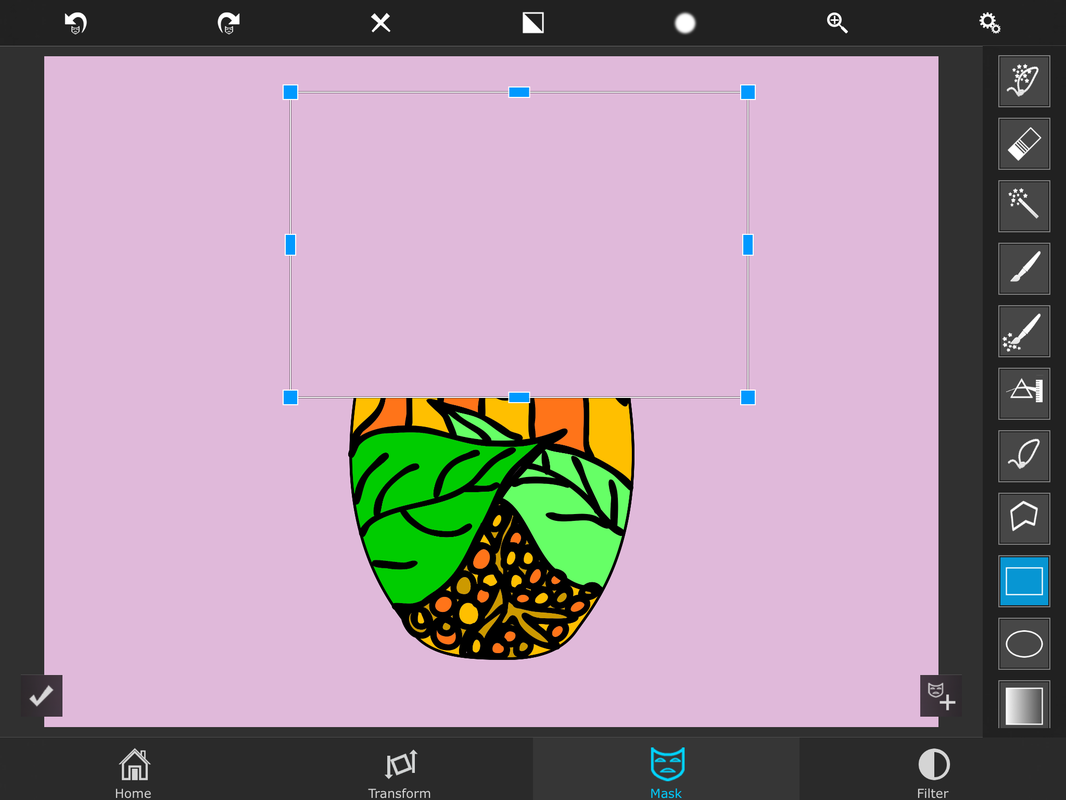
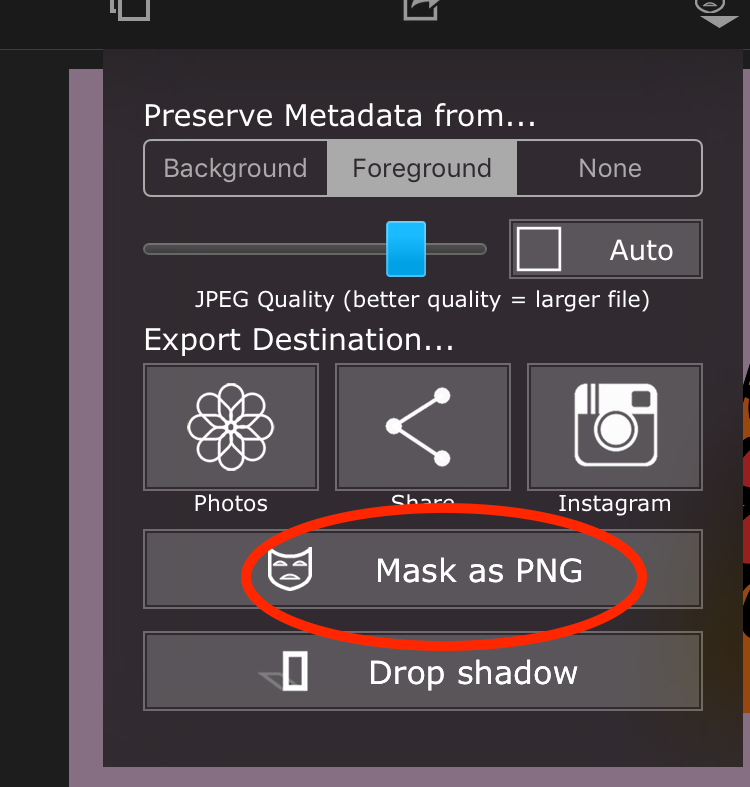
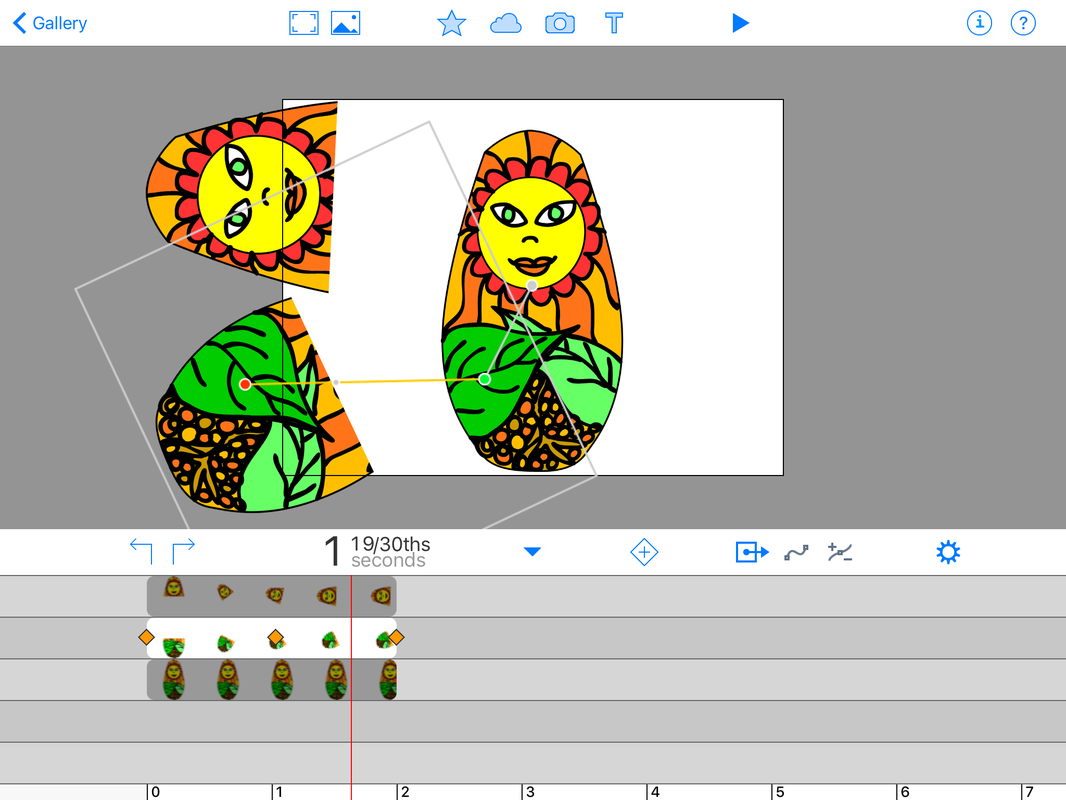
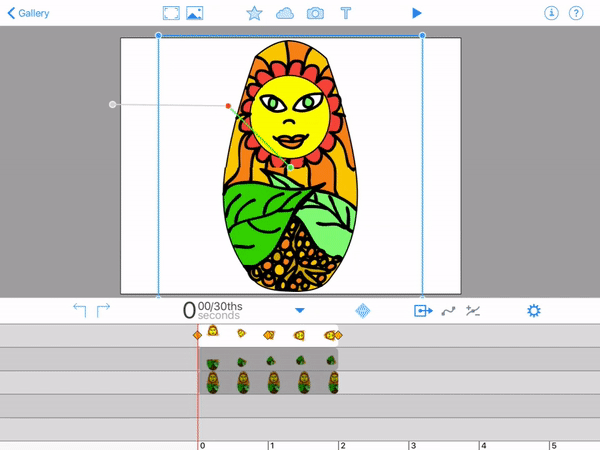
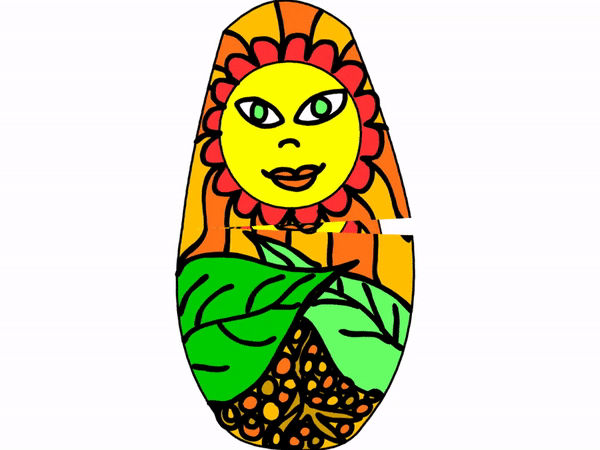
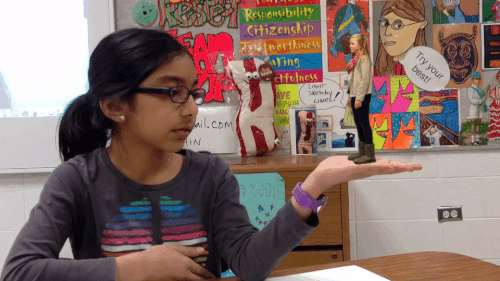
The Do Ink Animation app allows you to save files in their original format, export animations as movies, or create stills from the movies. If you save them in the original format you can only view them by pulling the file into the app. But this also means you can SWAP your animations from one iPad to another so you can layer effects or try this cool trick. What you're seeing below is one animation shared out with two other iPads. I change the animation path on each one and set the timing to make it look like the sprite is flying from one screen to the next.
| Click me to download the Data DoInk File  |
|
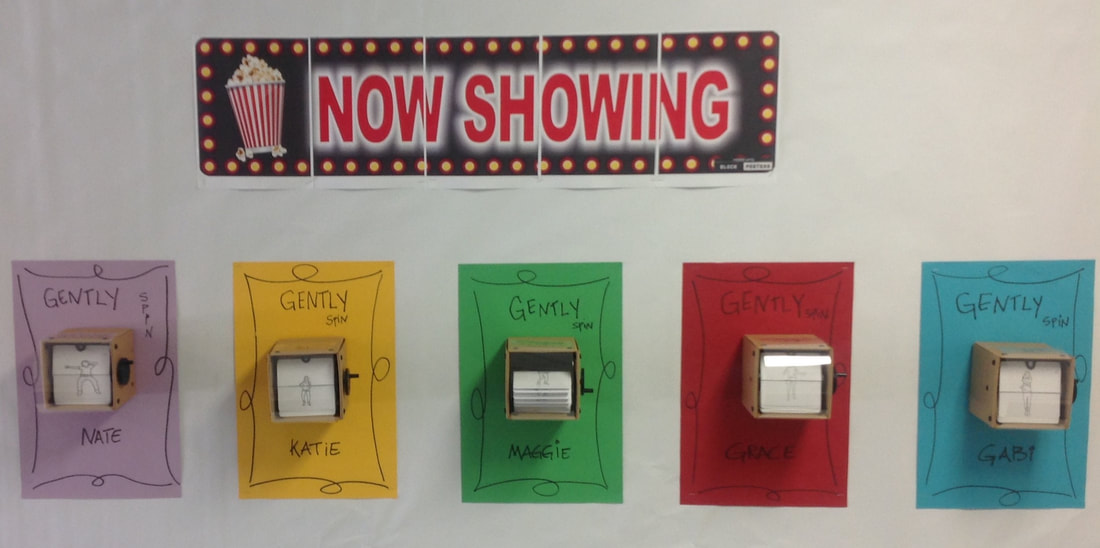
Swap for storytelling and collaborations


 RSS Feed


