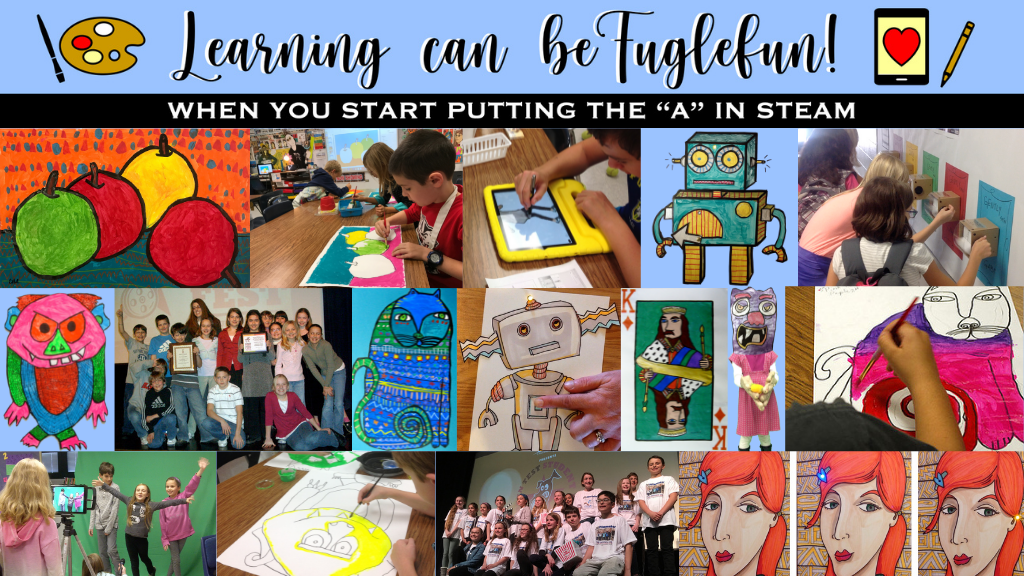
| | | |
Dryden Raffle Winners had an after school art class on Monday where we painted our self-portraits digitally using the Brushes app. You can see I kept a close eye on everyone. Since we created these in Brushes you can watch the movie of the drawing steps below.
Add Comment I played with the Drawing with Carl app over the weekend after having learned about it from Karyn Keenan in Chicago. Here are her students drawings and audioboos. I love the function in it that allows you to draw with patterns. It forced me to draw in shapes from the background to the foreground which is very similar to the way we would construct a paper collage. I think this app would be perfect for creating a Laurel Birch styled abstract cat lesson. Here is what my students created in paint (physically) and here is a quick sketch of what I did in this app below. Dryden is currently having an Art Tech Drive. Artsonia will donate 20% from each of your purchases through our online digital art gallery to help raise the funds to buy the art room an iPad. We are working towards our goal of having 2 students to very 1 ipad in the art room. We are only two iPads away of this goal thanks to your support during our McGraw-Hill STEMie Award contest which is bringing $5000 dollars worth of iPads to our Art Room! Here is the link to our gallery. Find your child's artwork and browse the gift shop Fifth graders brought their iPads to art class for the past couple of weeks to work on a digital figure drawing of themselves flying in their pajamas. This image will be the starting point for a creative writing and illustration lesson that will include animating their figures across a landscape. See the entire gallery of images here. I created the movie below as I was working on this idea. I am hoping their animations can be pieced together into a video with music giving students a chance to combine their art, music, technology, and storytelling skills into a collaborative project. Flying Animation Intro from Tricia Fuglestad on Vimeo. Did you notice that the figures are all in a similar pose? That is because to help students draw their figures successfully, we imported my sketch of a generic figure as a layer in Sketchbook Express. The artwork was drawn on a separate layer over the sketch and filled with color using the pour feature. The background is empty now so we can erase it using instant alpha in Keynote so we can animate it across their drawn landscapes. Today I had the privilege of working with a great group of art teachers in Antioch, IL on using iPads to create in the art room. We spent the whole day exploring techniques, lesson ideas, and some great art apps. I'm so glad I made my wish for an iPEVO because my wireless plan for mirroring the iPad failed on their school's wireless network. By the way you can make a wish for an IPEVO too at this link.
I updated my Creating on iPads handout for this workshop. You can download it here. It includes some more project ideas and changes Brushes App to Sketchbook Express. Over break I was asked to try to summarize how we use iPads in Dryden's art program. This felt very difficult because it is an organic process that evolves and grows as I learn what my students are capable of accomplishing and what apps are available to enrich our learning. Below are the slides I submitted to Sumit Vishwakarma, iPad artist and speaker. He will be including Dryden's art program in his presentation at the MacWorld Conference in San Francisco titled iPad Art Innovation. I also sent him a video with footage and stills of my students exploring and creating on their iPads (scroll down). If you are interested in exploring more ideas for using iPads in art, take a look at my Creating on iPads page with tutorials, examples, and files for experimentation. iPads at Dryden from Tricia Fuglestad on Vimeo. I've been playing with the animation app called Doink and combining it with green screen FX in iMovie. Below is a short video showing a layered animation over still images. There are SO many possibilities for this technique. I created this tutorial showing the iPad steps for making an animation in Doink, the steps I went through to use that animation as a video layer in iMovie over still images and video. See below or at this link. View my other post/tutorial called, The Aliens Have Landed, about how to make aliens run using Doink. You can view my students' video all strung together in iMovie at the link above as well. You may be interested in viewing my post that shares some tricks for using green screen with animation created in Keynote. These tutorials show how to create our award winning Fugleflick, Careers in Art. This video was selected as the best student video of 2011 in the NextVista.org student contests. You may also be interested in trying Rotoscoping on the iPads. This is the technique that helped us put STEAM in the McGraw-Hill Stemie Awards and $5000 in our school's bank account! View a bunch more ideas for Creating on iPads on my page dedicated to this topic here. UPDATE: Carol shared her green screen + Doink animation with me below:
I just returned from conducting an iPad workshop with the wonderful art teachers in the Westfield Washington Schools in Indiana. They have received 30 iPads for each of their art rooms and needed training ASAP to learn how to teach their students to create on iPads. We went through some of the lessons I set up on my Creating on iPads page including: The video above shows teachers displaying their Doink Animations. They very quickly learned to draw a creature in 4 or more stages of running and animate their drawing sequence across the stage in a composition. Below is the (incomplete) collaborative animation made while exploring the rotoscope technique. FeedbackThank you so much for spending your time with us! We really enjoyed learning from you and all that you shared. I am so excited about all the wonderful possibilities with the iPads and our students. We have been enjoying them so much already this year, and are ready to take things to the next level, with many of the tools you shared. Thanks again for all that you are doing for Art Education!!!!! It was by far (in my humble opinion) the best, most worthwhile professional development time for Art that we have had! It was so informative and the presenter was extremely knowledgeable. - Kathy I am presently working on a Masters in Curriculum and Educational Technology, and yesterday was exactly what technology instruction should look like. In order for teachers to integrate more technology, we need time to "play" with the technology, create a product, come up with applications for our own curriculum, and have the opportunity to see another teacher model what that technology integration would look like in a classroom---and that is exactly what we were able to do with Tricia Fugelstad. It was also great to network with other Art teachers about their own classroom procedures, trouble shooting & student guidelines that they are using in their classrooms with ipads. I realize our district is moving toward technology instruction using podcasts and webinars to cut down on the cost of professional development in technology, but that method really only appeals to a teacher who is already pretty comfortable using technology. Thank you for the wonderful opportunity for WWS Art teachers to learn, plan, create and network with other professionals in a way that will help us design amazing work for our students in the future! -Lara It was so fantastic and the amount of time it saved us is truly amazing, it would have taken me forever to figure all that out on my own. Learning that way truly reinforces the importance of dynamic teaching and learning. Thanks for setting that up for us. -Rebecca Trish's workshop was the most informative and practical workshop I have ever participated in. She is delightful and we were applying the skills she was instructing us on immediately in the workshop. To say iPads are going to change how we teach art is an understatement! For someone my age (meaning that I didn't grow up with computers) I found yesterday's workshop to be comforting. I have felt so much pressure to adopt technology into my art program. Trish gave us permission to use as much or as little as we wanted in our own classroom. I found the programs much more user friendly than I had anticipated so that made me feel so much better. I am no longer feeling so overwhelmed about the technology as I was rather, I see that I can comfortably add technology to my art program beginning this year. It was a GREAT workshop yesterday! Thanks for helping to make it happen!-Beth We had a fantastic day! We learned so much! Thanks Trish, you are so talented. I learned so much! This was probably one of the best professional development days that I have ever participated in. -Bev It was very beneficial and motivating!! We are purchasing 2 of the apps we learned about: Doink and SketchBook Express.-Gwen Our training session with Trish Fuglestad was the most productive and relevant professional development session I have ever attended! I was able to leave there and go right into my room and begin applying what I learned. Thank you so much for providing this opportunity for us. I greatly appreciated it. -Shannon Make your own slideshow with music at Animoto. My resources for this digital scream project based on Edvard Munch's The Scream, were scattered between my old Fugleblog and this one. I must have been working on it when my iWeb Fugleblog gave up the ghost. So I thought I'm make a post with everything in one place (just in time for Halloween). 1. We made a tempra paint, oil pastel, and photo collage version first View here. 2. Students posed in front of green screen with our homemade Scream Mask (we disguise student faces so we can add our digital artwork to our online gallery on Artsonia). 3. Then we eliminated the green screen with Instant Alpha in Keynote. View this screen cast to find out how. 4. We used This EMPTY SCREAM image for the students to layer their photo on. Watch how I made it empty using the brushes app below. As an extension of this project, I made a custom photo booth effect where students can put their faces up to the iSight camera and become the face of the screamer. They can then create a movie clip about the last time they scream. See an example below. We use this worksheet to get us ready for our movie clip. How can I not mention this: One of my students, Eli (example pictured above) had his Digital Scream picture shown on a 30ft LED screen in the heart of NYC last spring at the Big Screen Plaza exhibit sponsored by Artsonia. Congrats again Eli! The Sketchbook Express app for the iPad is FREE and it does so much! You can work in layers You can fill with color You can paint/draw You can import picts You can transform You can add text You can add shapes You can merge layers You can draw/color with the symmetry tool! There are so many possibilities for my young artists with the symmetry function (you only have to draw one side of a picture and the other side copies with a mirror of your design). This project below is on my wish list of ideas for this school year. I plan on having my fourth graders make a digital version of the face/vase figure-ground illusion that they created in 3rd grade. We will make it based on a photo of their own profile this time and use these vessels from the google art project to inspire our negative space. See more iPad lesson ideas on my CREATING ON IPADS page. Ask me about doing an iPad workshop: tfuglestad@sd25.org |