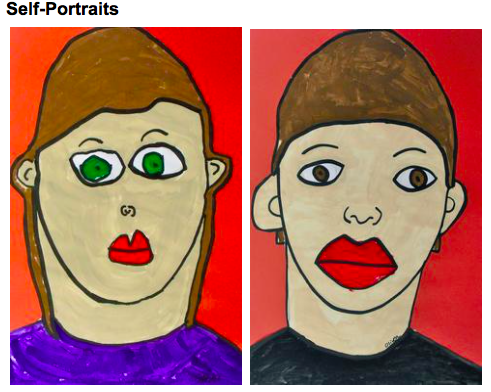
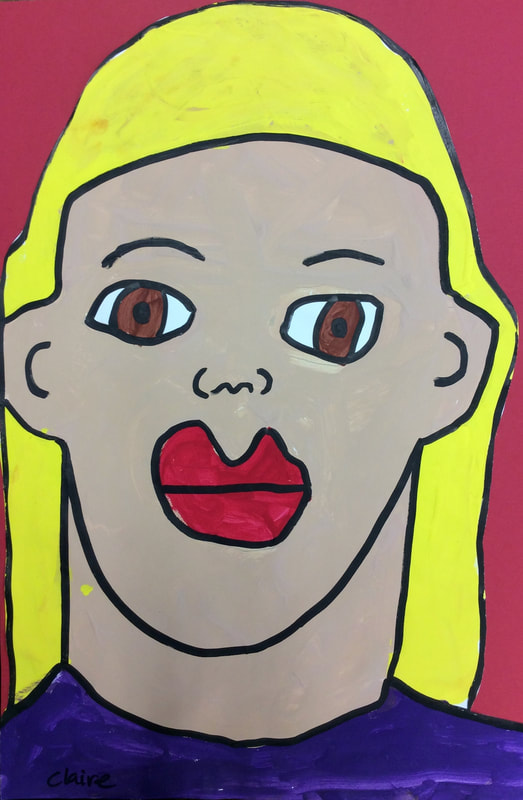
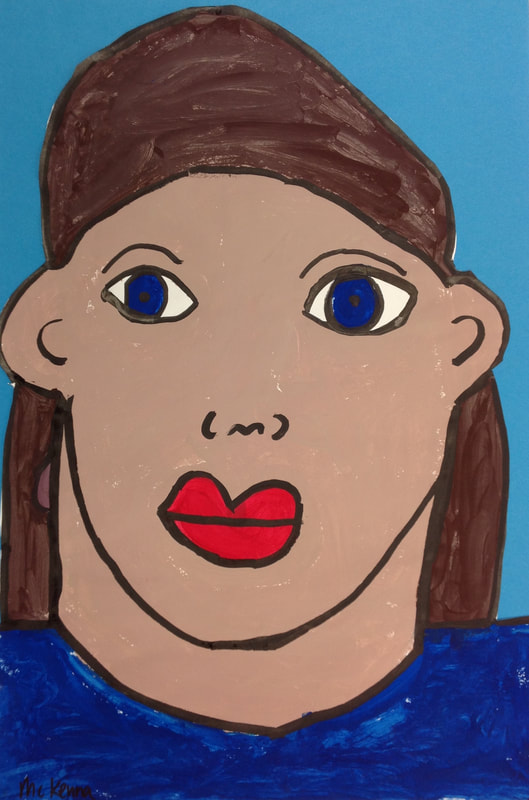
| My step-by-step ppt showing each step of the drawing, painting, and tracing to make these kindergarten self portraits is available for download from TpT. Click here. |
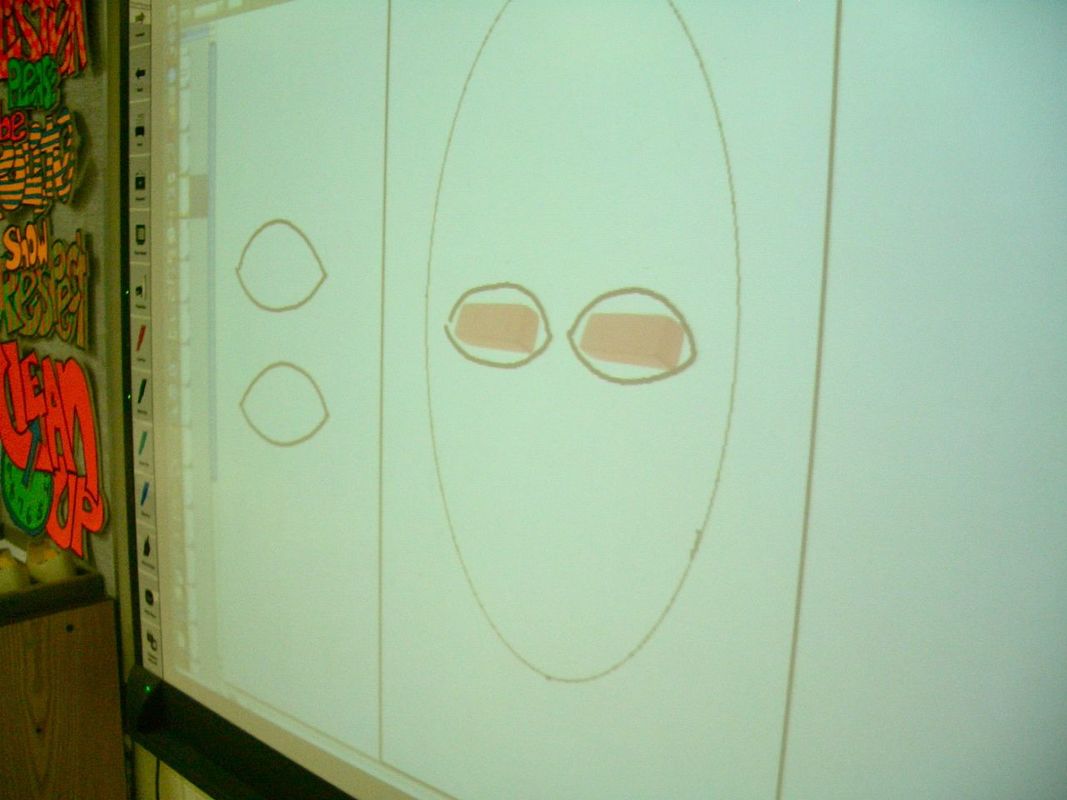
Step One: Build a Face
| I made a screencast tutorial for using my Build a Face Digital Game . It is designed in mimio software which you can download for free. The game is available on TpT. You can download the game here. |
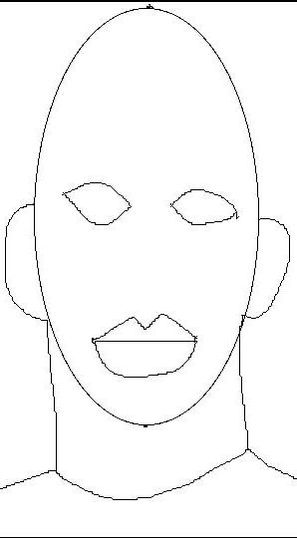
Step Two: Practice Sketch
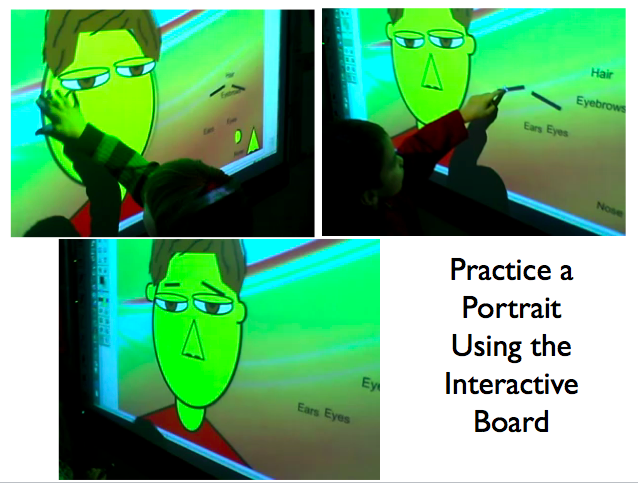
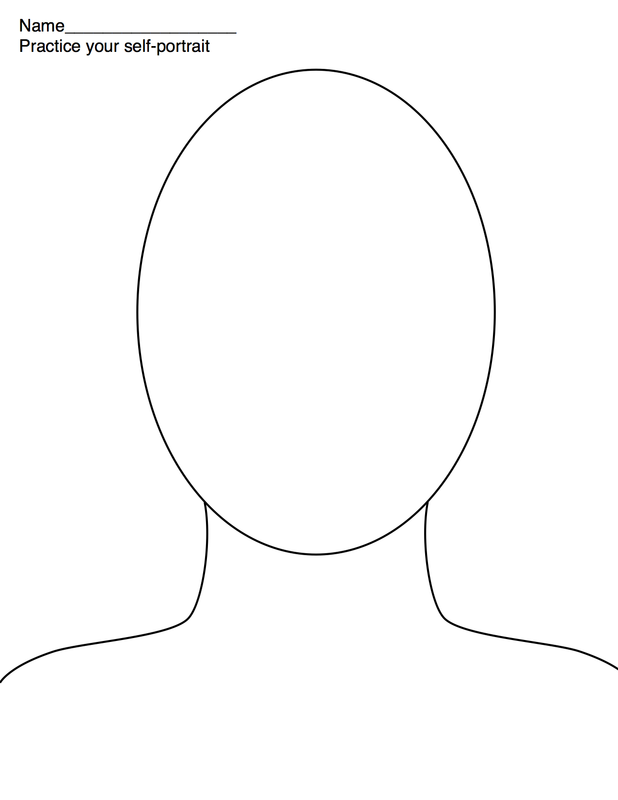
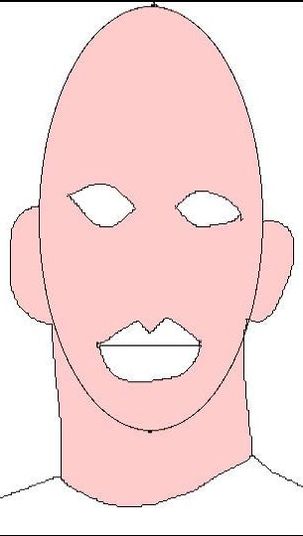
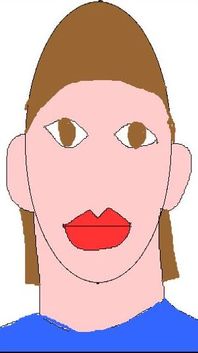
| I demonstrate on the interactive board (over a digital version of this handout) how I would draw eyes, nose, mouth, ears, hair, and a collar to make my portrait. Then, students try their best individually to problem-solve their own sketch. I like to save these sketches and pull them out on the last day so students can compare. After their painting is complete I tape their sketch to the back of their portrait. |
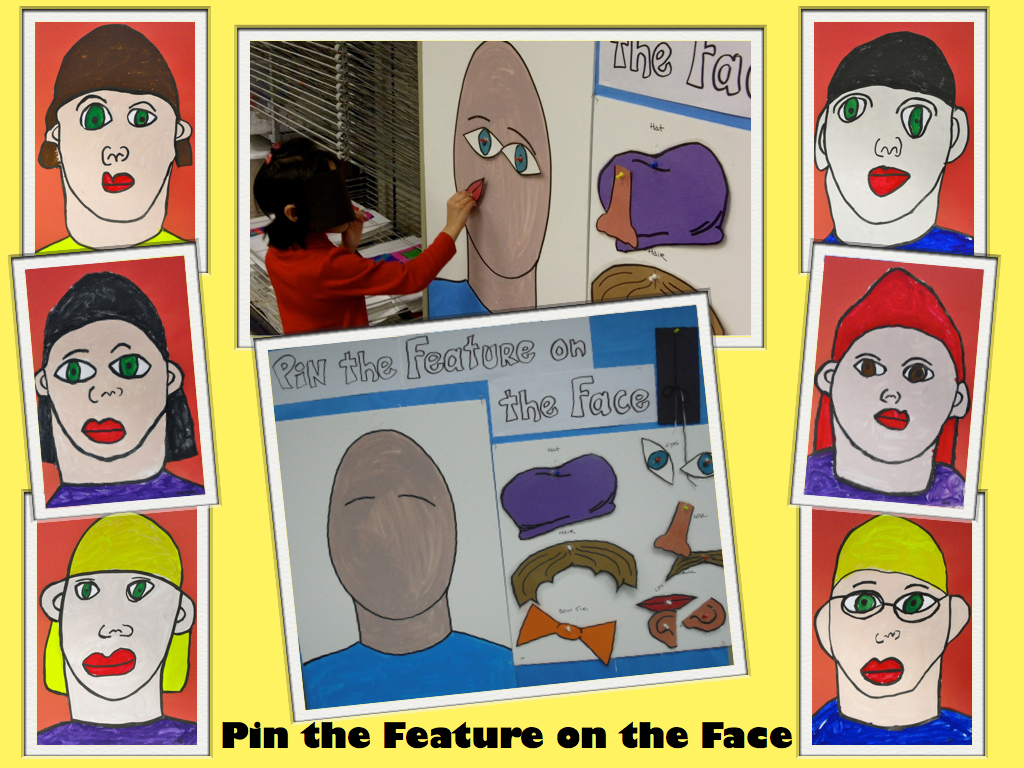
Step Three: Pin the Feature on the Face
| I made a physical game to help my students learn about the placement of the features of the face. It is just like pin the tail on the donkey. I made version that you can print out big and assemble yourself here on TpT. |
Step Four: Draw the Portrait
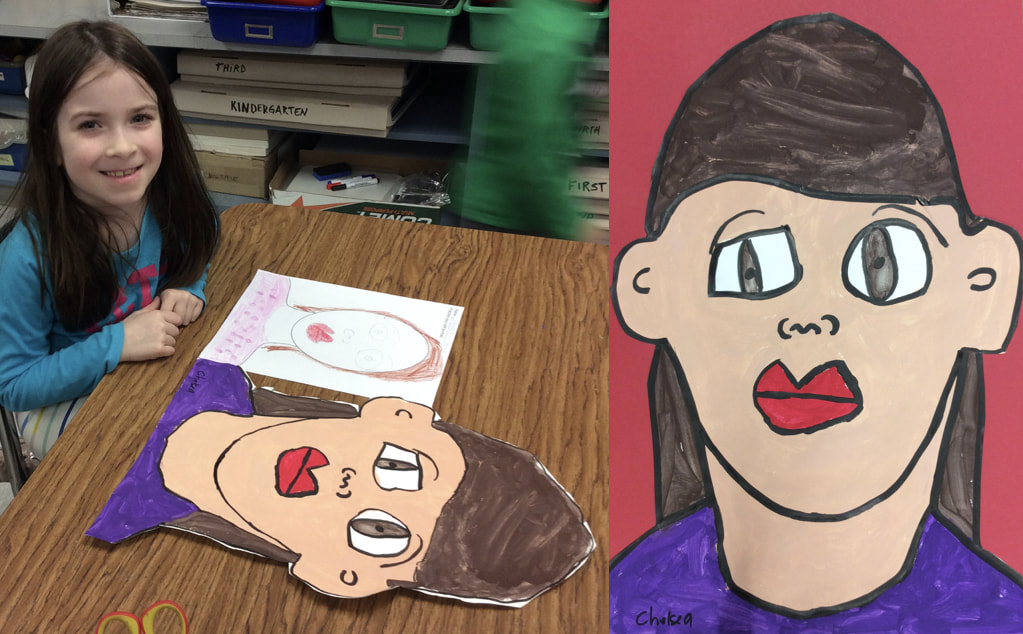
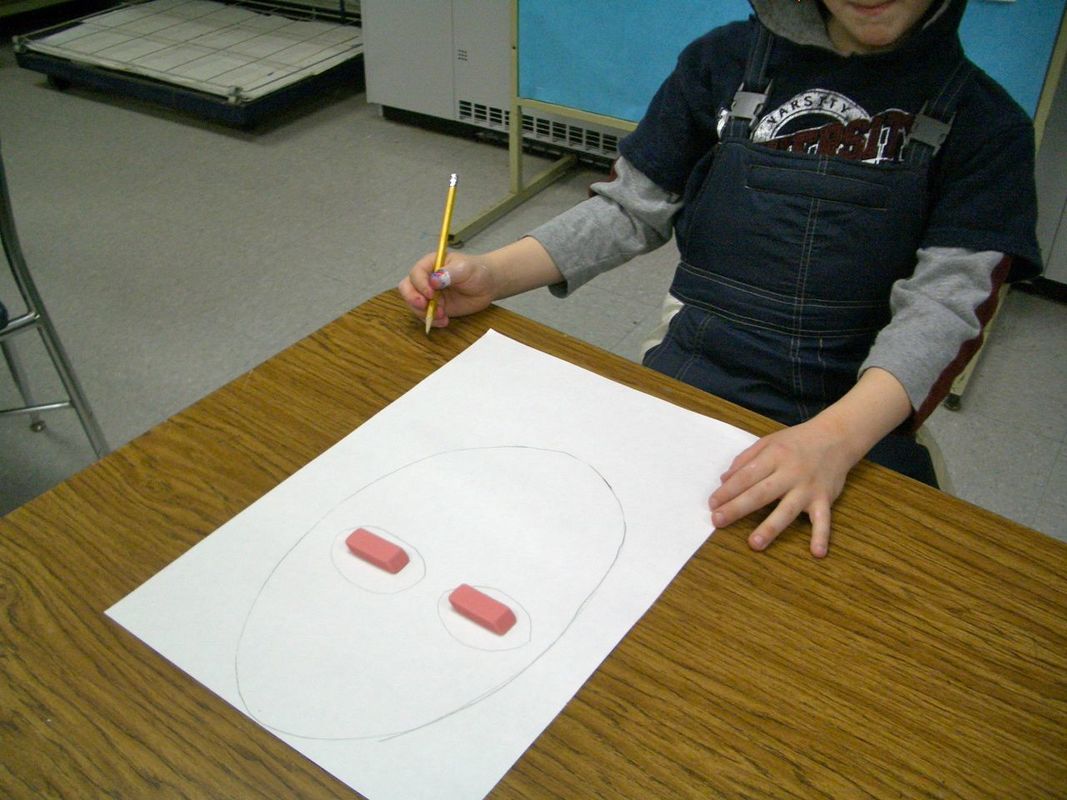
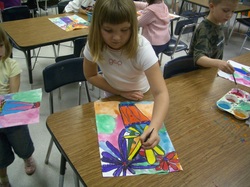
| One of the ways I help my students find the right size and placement for their features is what I call, the ERASER trick. I have them physically place two erasers in the middle of the oval and draw a "rainbow line" above, and a "smile line" below to make the football shaped eyes in the center of the head. They might look a bit big at first, but many of these eyes shrink during the painting process when they accidentally fill them in with skin. We don't draw the nose until the very last step in the black marker stage since we're going to cover that space with skin color anyway. We also just fill the whole top of the head with skin too and layer the hair on the dry paint it next time. That way they can make decisions about their hairline by see how much forehead is remaining as they paint. |
Step Five: Color Mixing for Skin
Step Six: Paint everything else
This is the day that makes or breaks the lesson. HINT- Don't do this step the day before Spring Break (like I did once UGH!)
There are no pictures available for this step of the lesson because I am too busy running around the room, coaching students, reminding them to dip their (brush) tip and do not drip, while putting out little "fires" created by messy fingers, happy artists pointing with drippy paint brushes, water cup spills as they splash around their brushes to clean them, etc. Even if I did think about taking a photo, my hands would be too messy to touch the camera. |
Step Seven: Black Marker
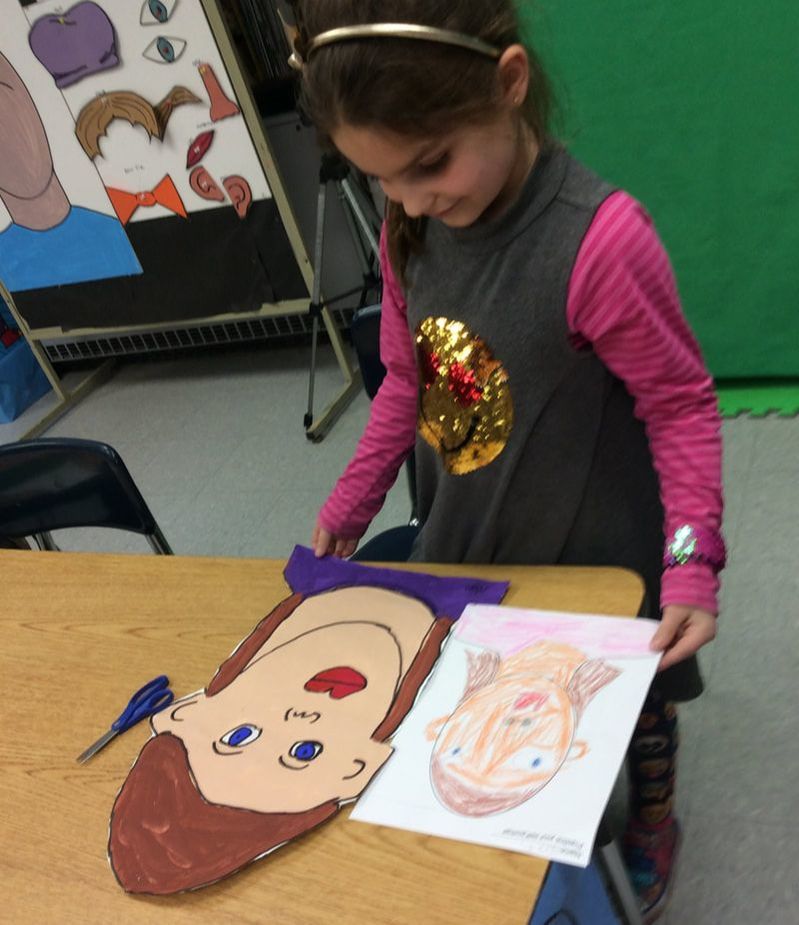
Step Eight: Cut out
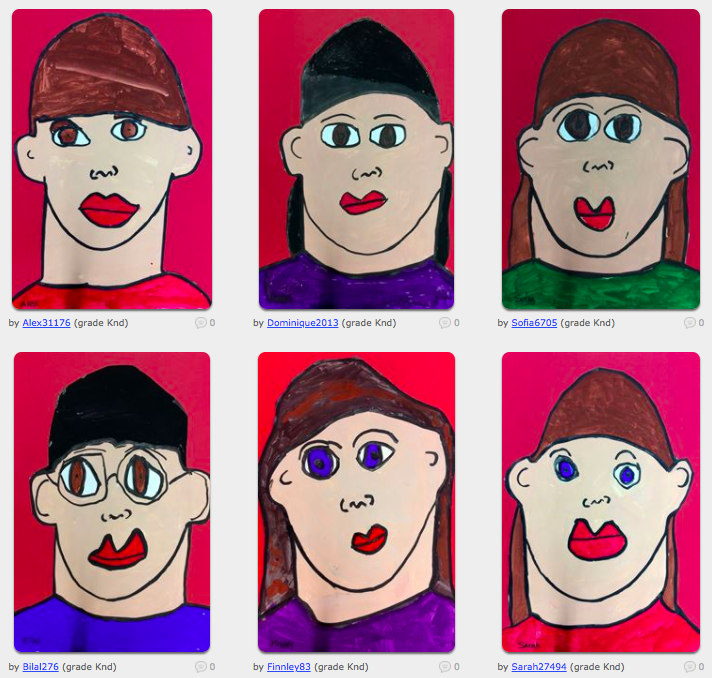
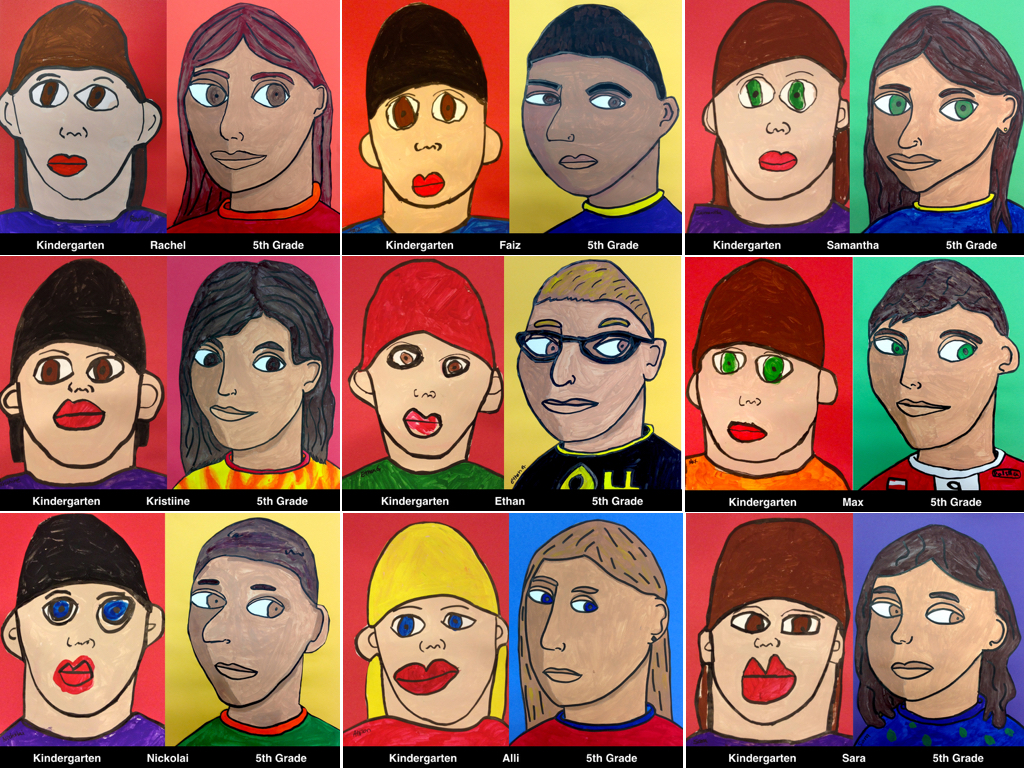
Finished Portraits on Artsonia
Digital Extension: Chatterpix
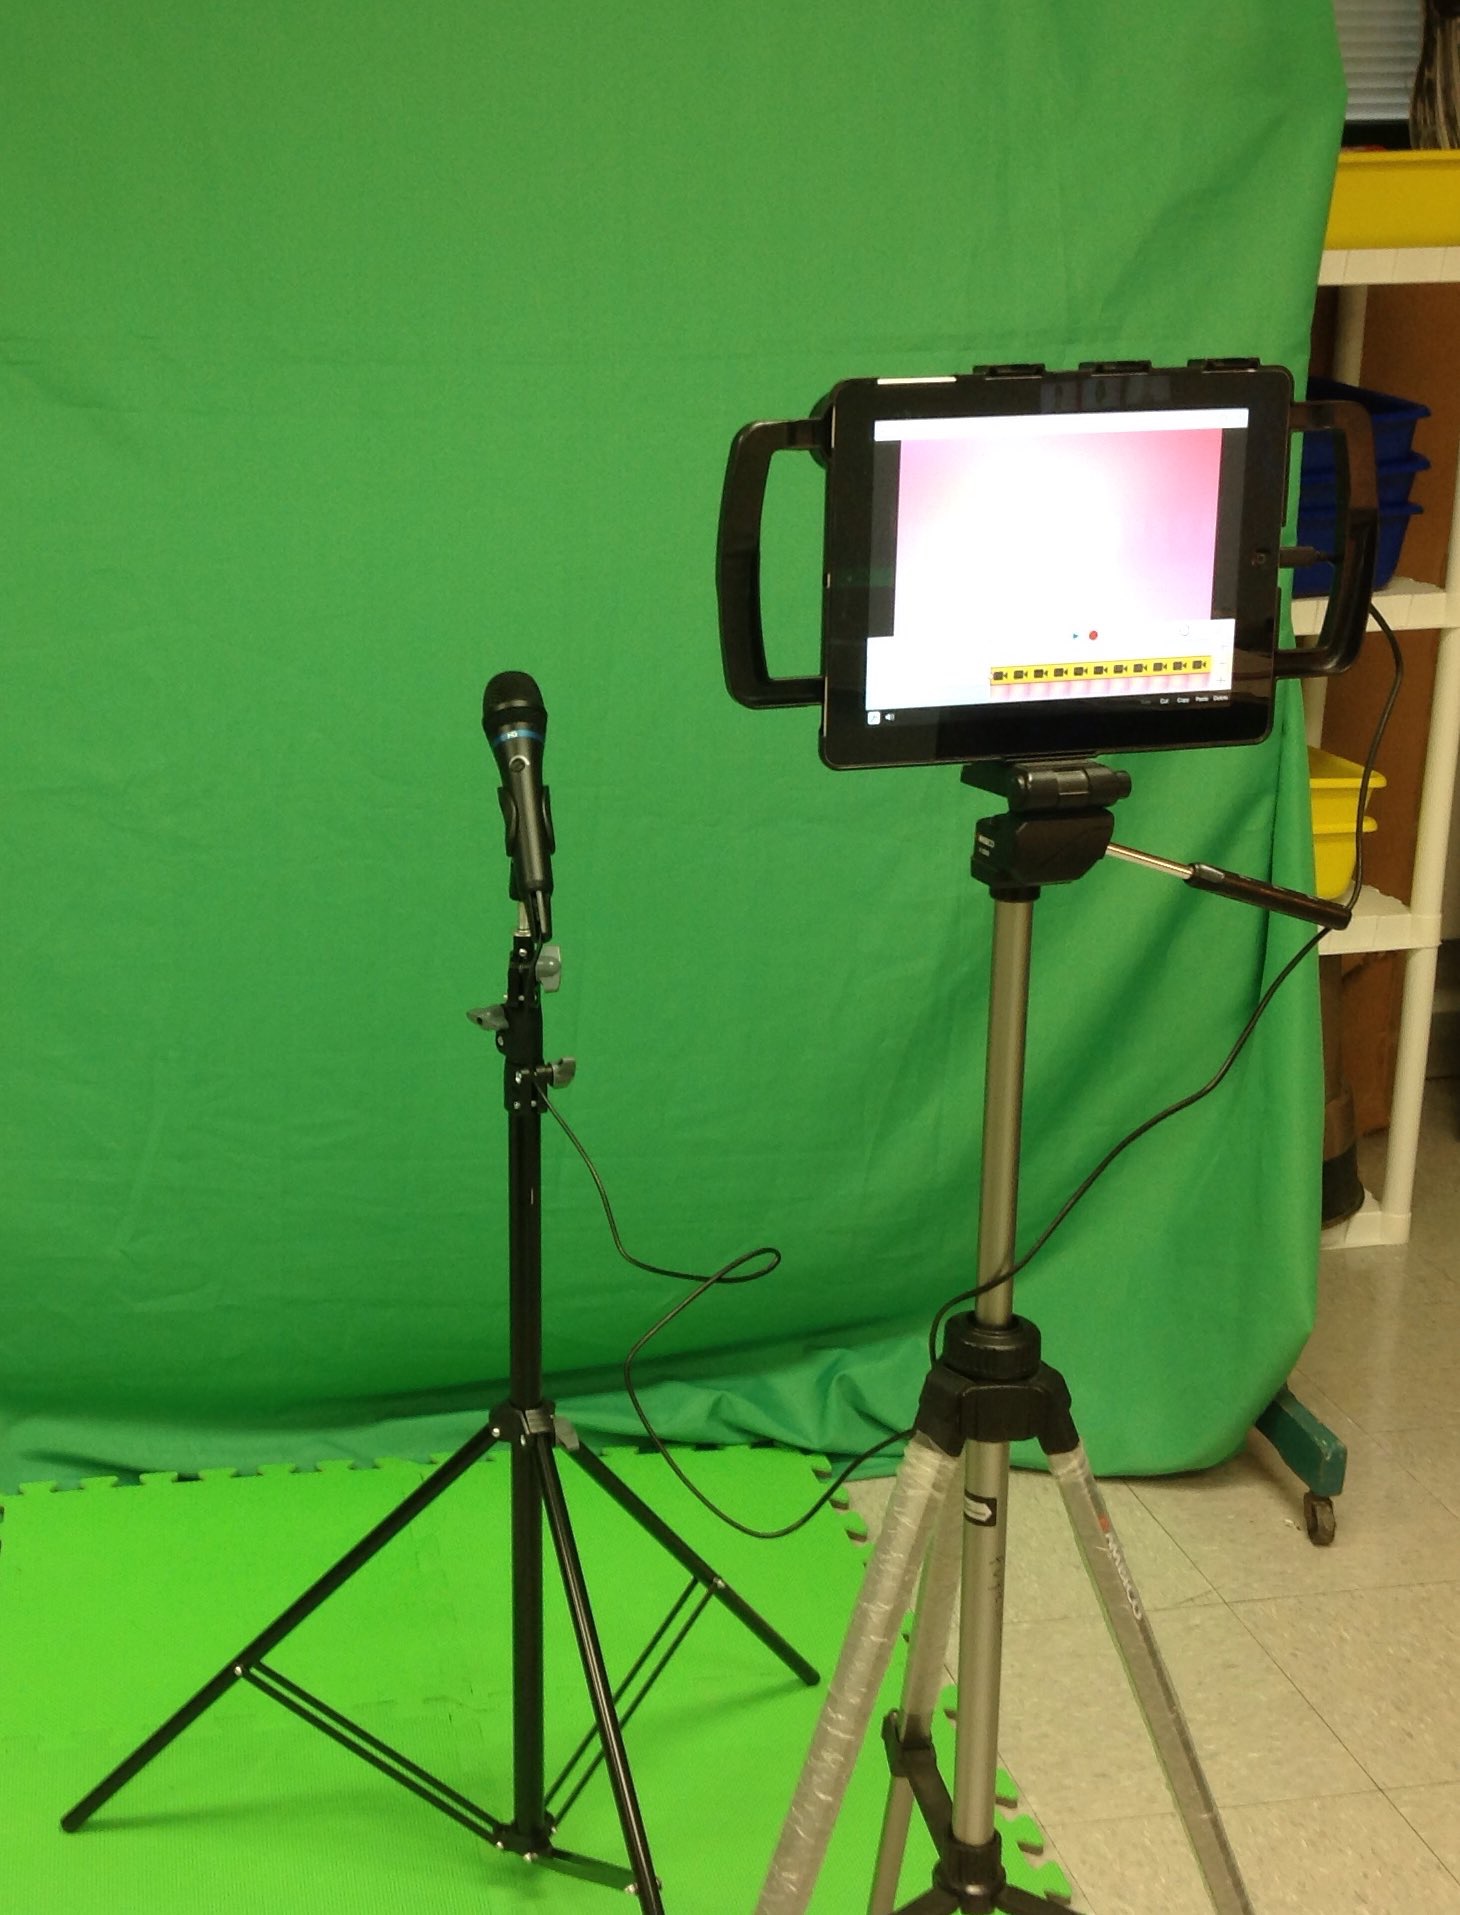
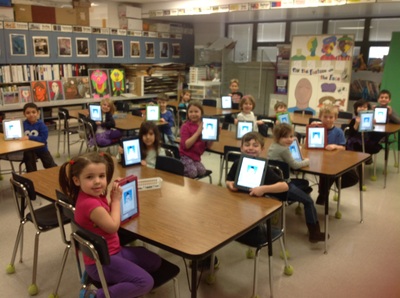
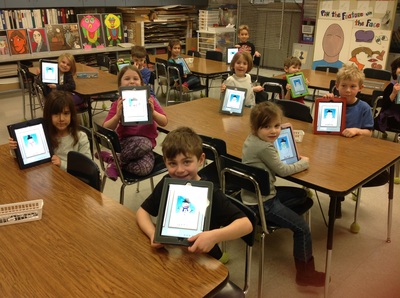
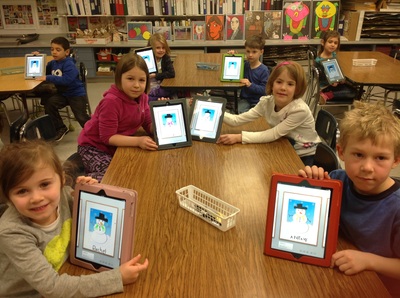
| | This year, my Thursday (PM) kindergarteners were a step ahead of my other batch so I planned a one-day digital extension lesson using their portraits. I asked the second graders who had art before Kdgr how I should set up the room for their digital project. They suggested and helped me do the configuration above so kids could sit on the mat with the iPad in their laps. This way I could see their screens and they can see me point to my mirrored iPad on the screen. |
The Plan: Speak through our Art
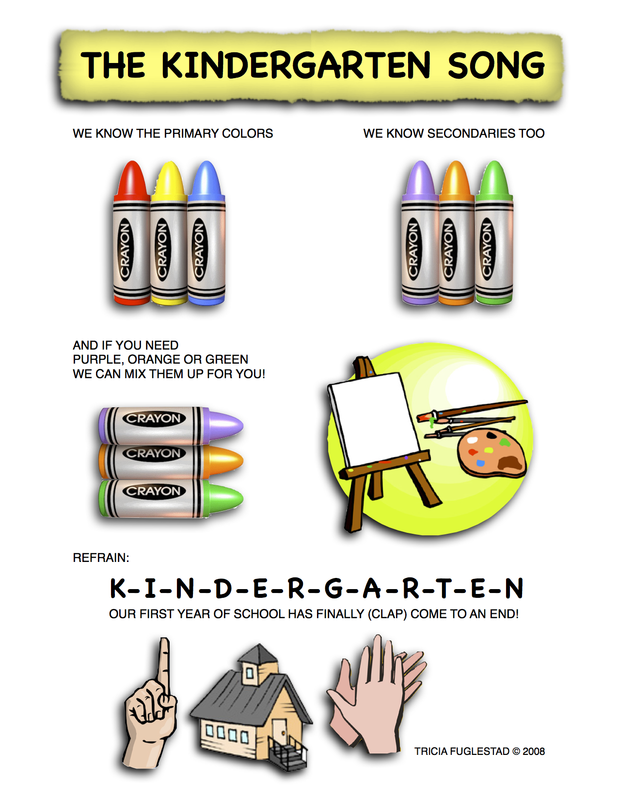
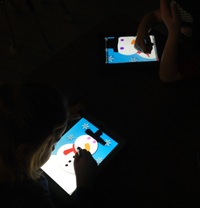
The plan was to download their portraits from the dropbox, load it into chatterpix, draw the line between their lips, and speak one part of the Kindergarten song.





















 RSS Feed

