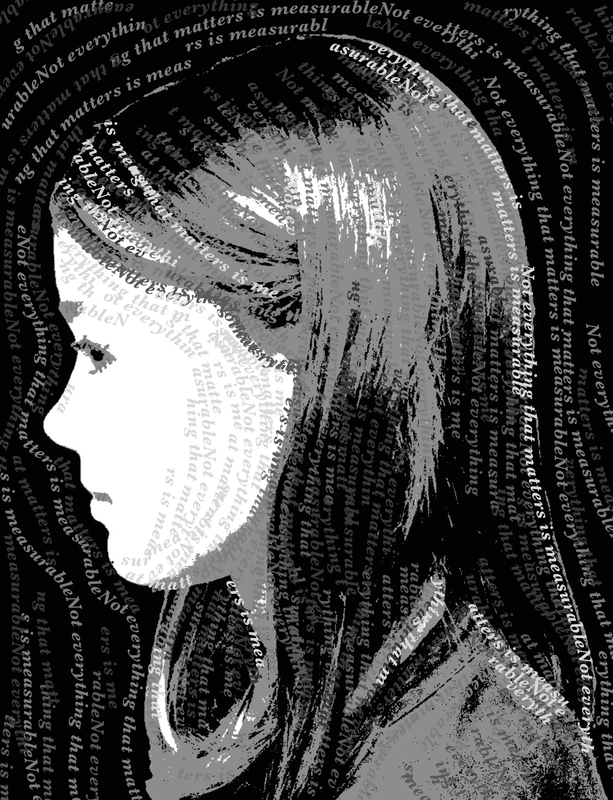
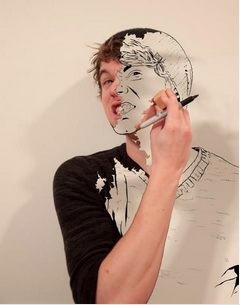
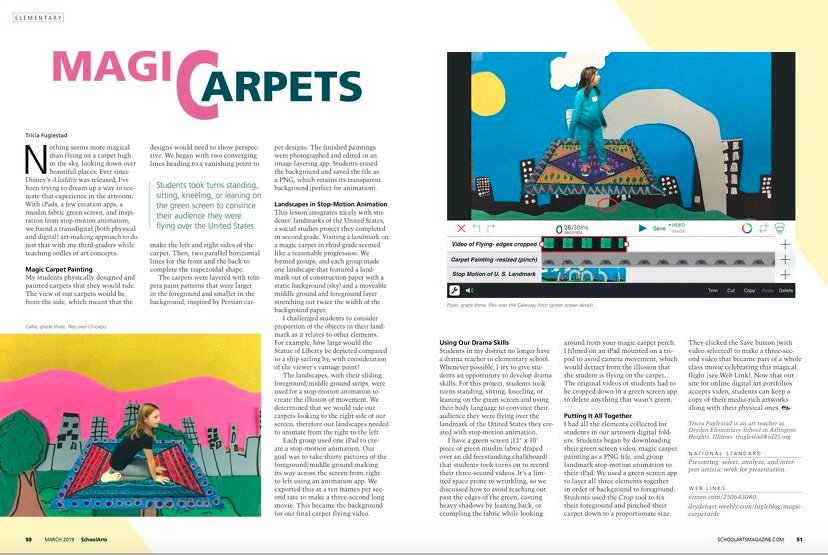
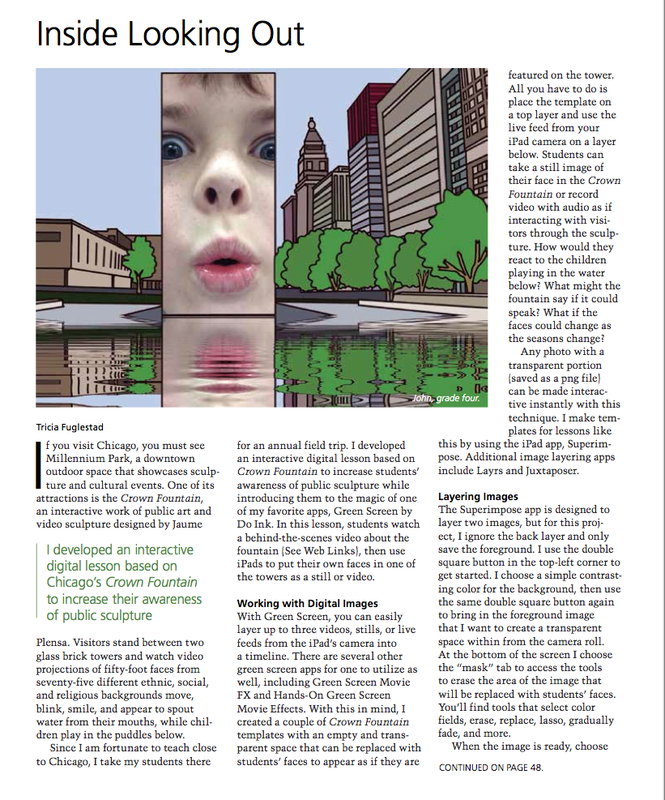
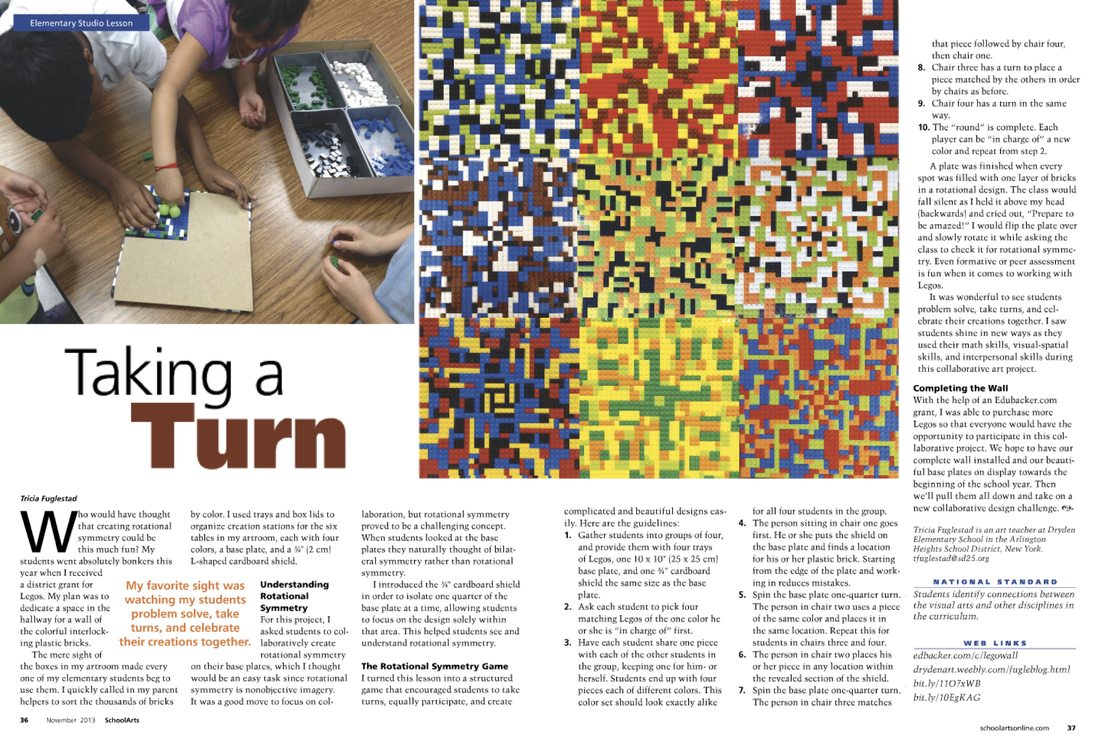
High contrast photo drawn over with matching values in TypeDrawing App
| I received a tweet from an expressive arts teacher in California, @expNovello, asking about digital tools for creating subtractive micrography portraits. Well, it just so happened that @giftedtawk had shared an app with me a few days earlier, TypeDrawing, that I suspected would work perfectly. So, let me explain how I approached this, though there are MANY ways to create these. |
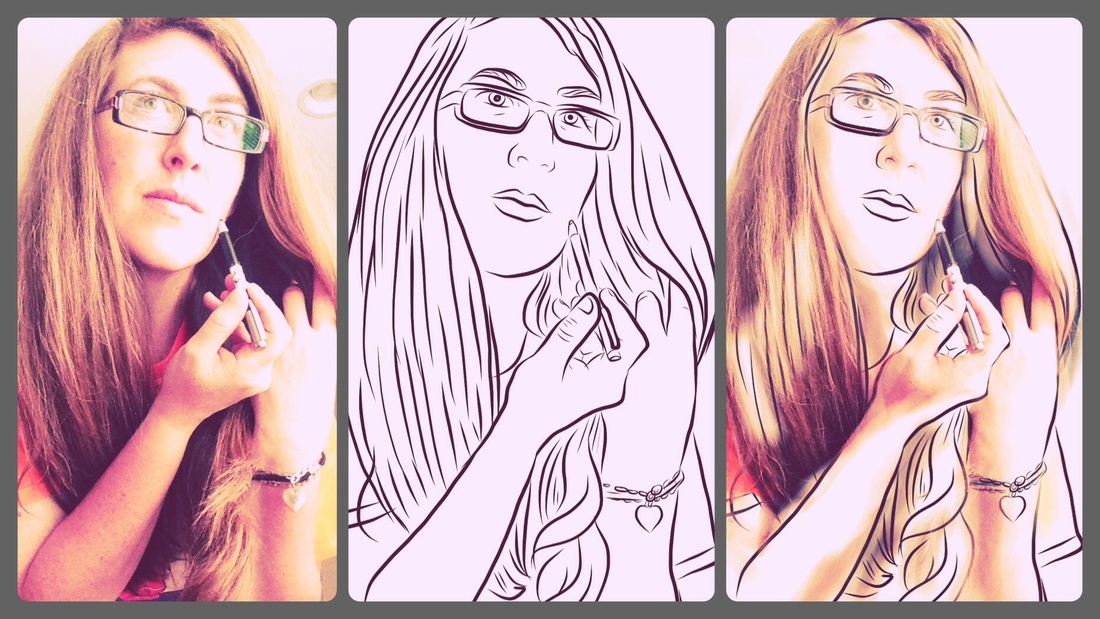
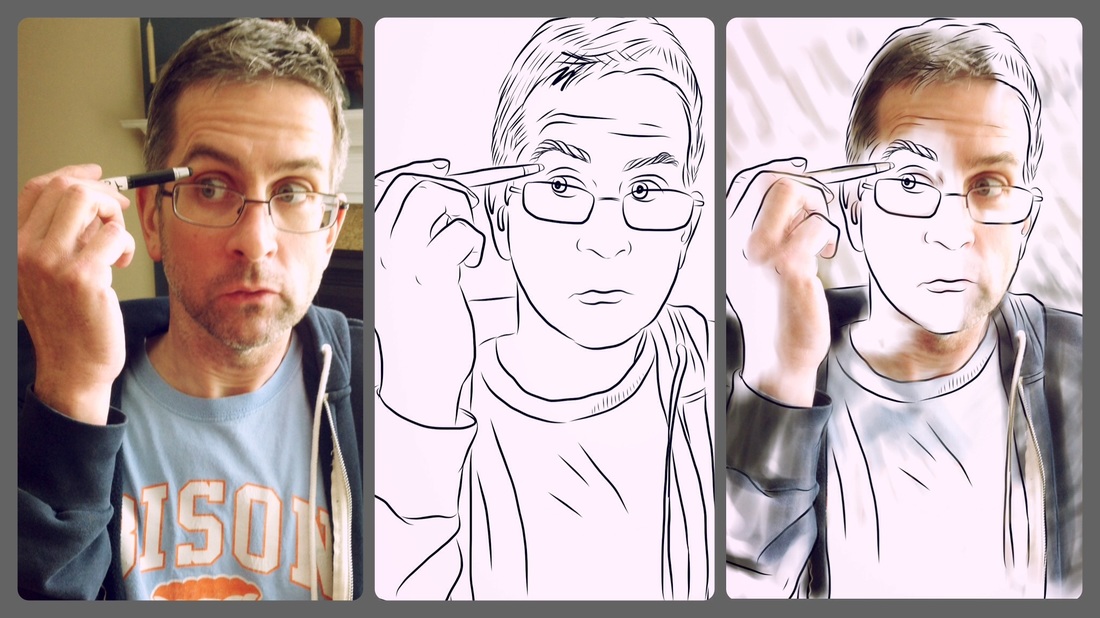
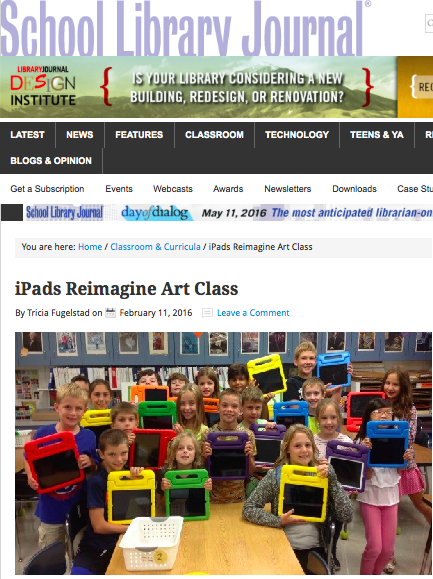
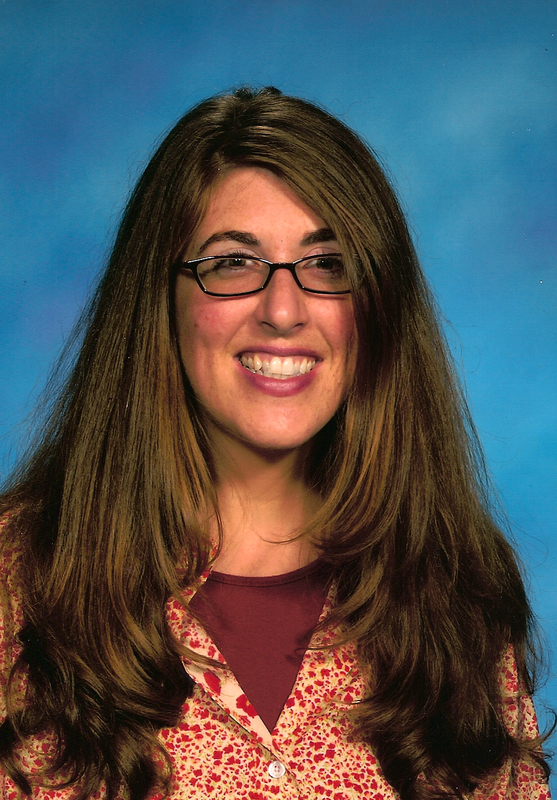 Subtractive Micrography: 1. photo 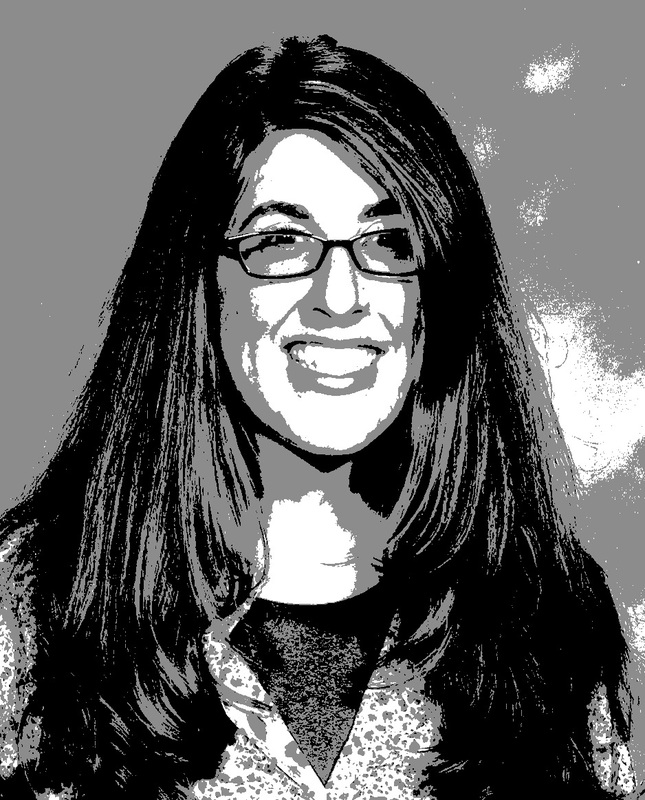 Subtractive Micrography: 2. Contrast 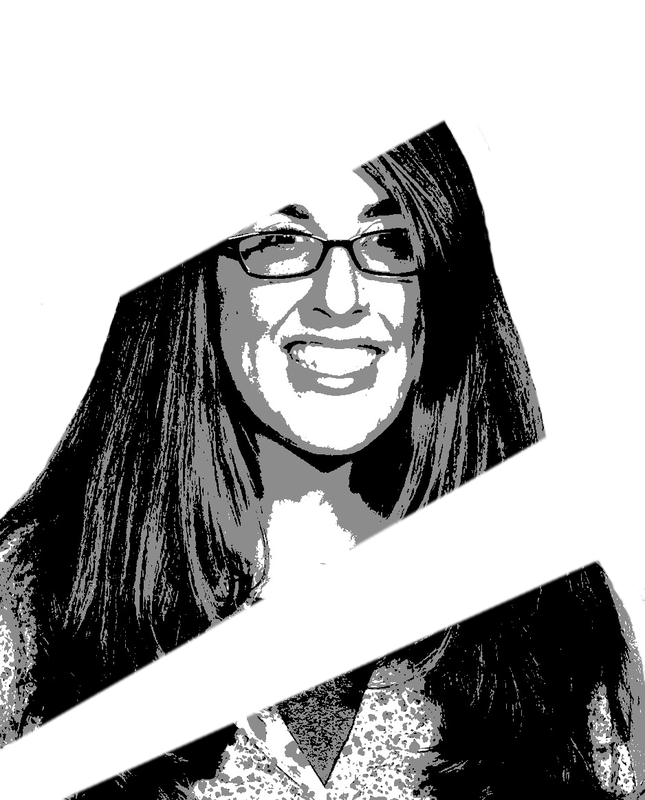 Subtractive Micrography: 3. Subtract 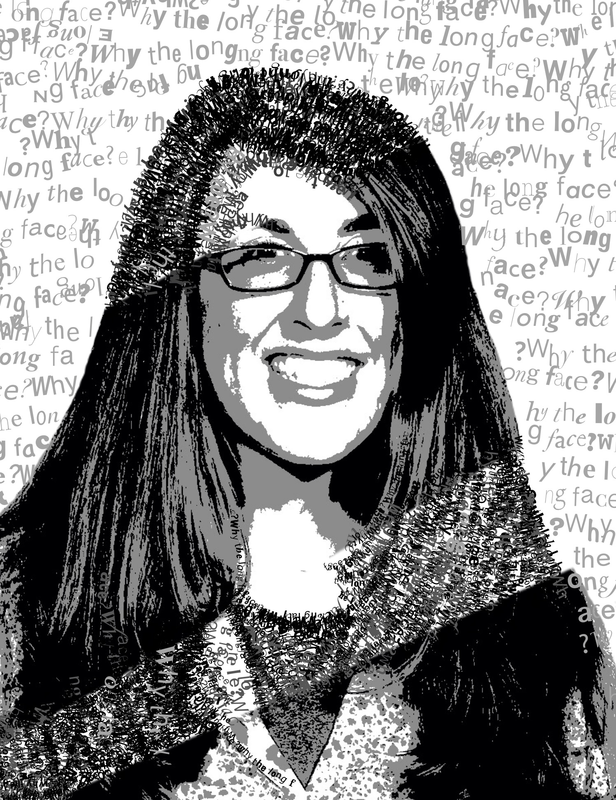 Subtractive Micrography: 4. add text |  In order to make a subtractive digital micrography on my iPad I needed to have a photo in high contrast, take away parts of it, and fill it in with text in a manner that resembled the values of what I removed. I had to use a collection of apps to do all these steps beginning with Pixlr. 1. I uploaded a digital photo into Pixlr app (free). This is where I created the high contrast effect using these steps: A) Adjustment-->stylize-->Poster-->apply B) Effect--->too old-->Agnes-->apply C) Save-->current size (to camera roll)  2. The high contrast image was then imported into Superimpose App to eliminate the background and subtract portions of the image with these steps: A) Import background-->pick color-->white-->3:4 proportions-->accept B) Import foreground-->choose high contrast image from camera roll C) Mask tab-->Brush-->(adjust size if needed) clean up the background. Use eraser, undo, and zoom in with two fingers to get details. D) Choose polygon tool (still in Mask tab) touch, lift finger, touch until you connected a shape to subtract. Double click shape and it will disappear. Repeat until you've subtracted a few sections of portrait. E) Home tab-->share button--> Mask as PNG (this way of saving keeps the transparent background, if you choose photos, then you save the white background with the foreground, but you should use the transform tab to resize the image first so you don't have to crop it later.  3. Next you are ready to start making your micrography using the TypeDrawing app. Here are some steps to get you started: A) Turn your iPad to portrait view. Tilt the iPad to make sure your tools adjust to the new orientation. B) Use the photo button (top right) to import your photo C) Choose "T" to write a phrase of text, Choose "F" for font style, size, spacing. This is what your "drawing lines" will look like. D) Choose the eye dropper, touch a gray value from the image, it will automatically match it. This is how i began adding text to the subtracted areas. HINT: you can't go back and erase your work, you have to hit "undo" after your mistakes. E) Save by touching Gallery then the share button. |
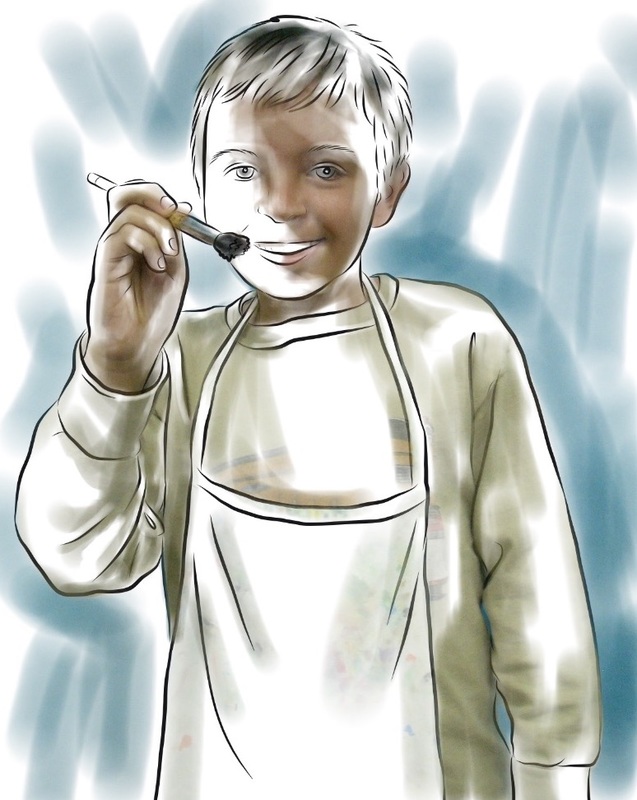
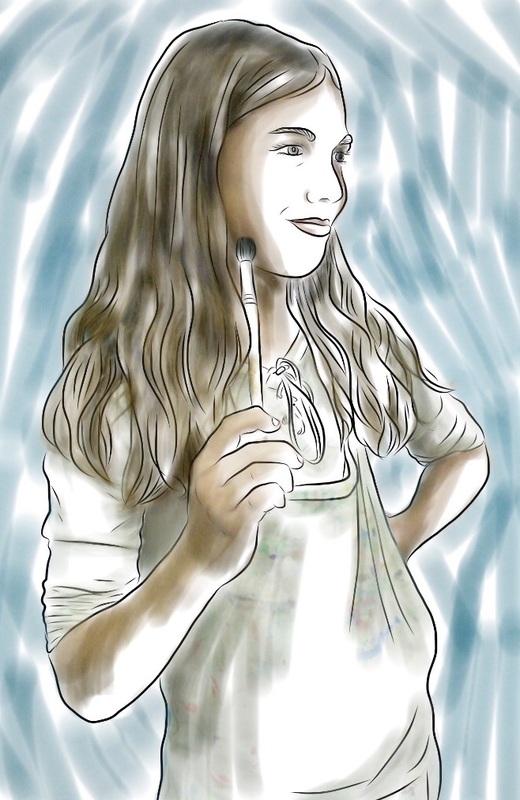
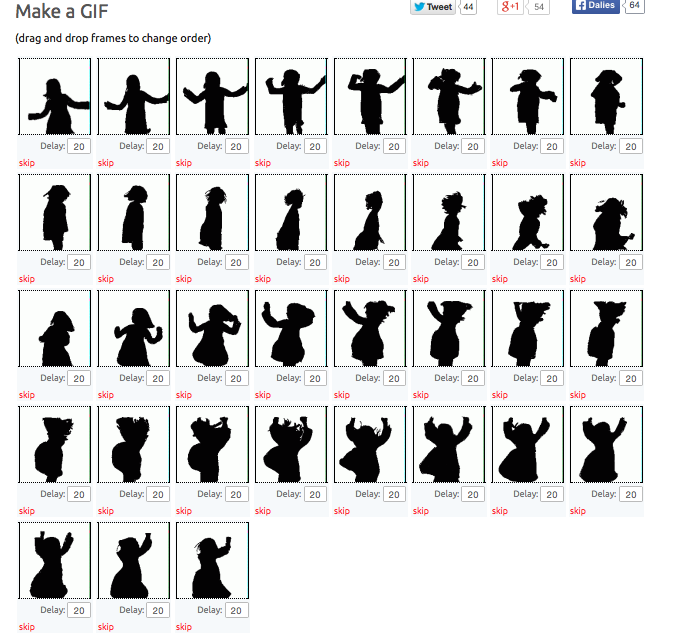
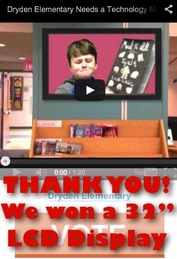
Micrography (without subtraction)
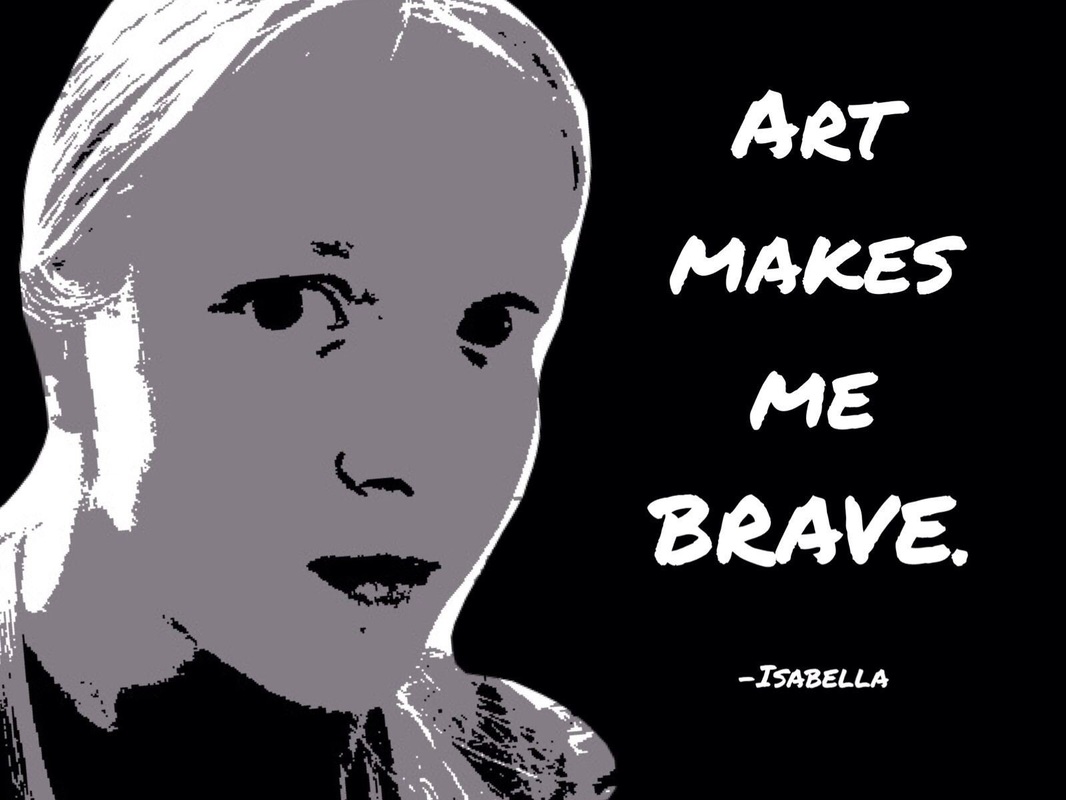
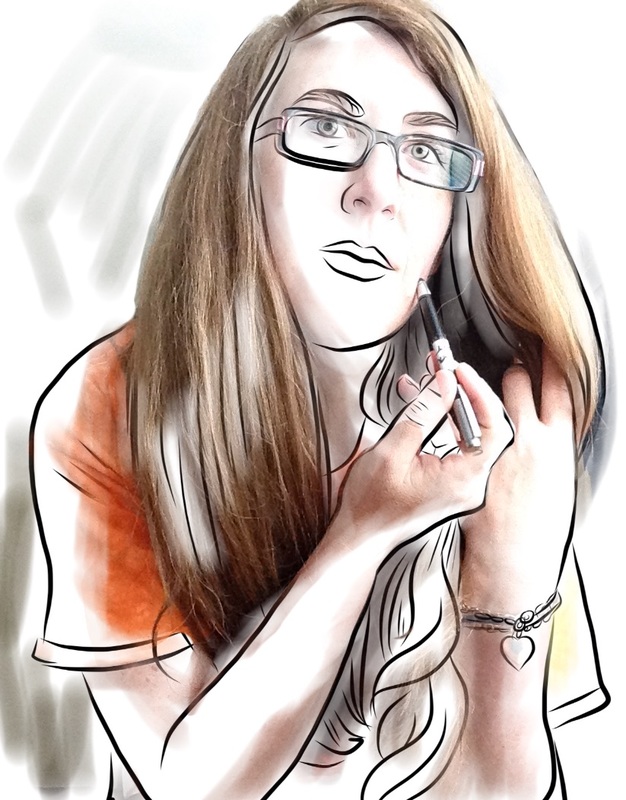
As I continued to explore the TypeDrawing app and the concept of micrography (artwork created from text that forms an image when viewed at a distance, creating an interplay between the text and image) I came up with a different approach. I liked the idea of beginning with a high contrast photo so I used that as the base in the app. I selected the grays with the eyedropper tool and covered, enhanced, and emulated the photo with a sentence of text. I had to remember that if I didn't like something I had to hit the undo button because I couldn't change my mind later and erase (however I could use white text to try to cover over my work). I changed the size of my font for small areas, bigger for the background. I thought of my lines of text as if they were brush strokes meaning I considered the thickness, length, and direction to complement the image. If you look closely I added very low contrast choices in the light areas as well.
I think this would be a great variation on the artist statement lesson I posted about here.
I think this would be a great variation on the artist statement lesson I posted about here.

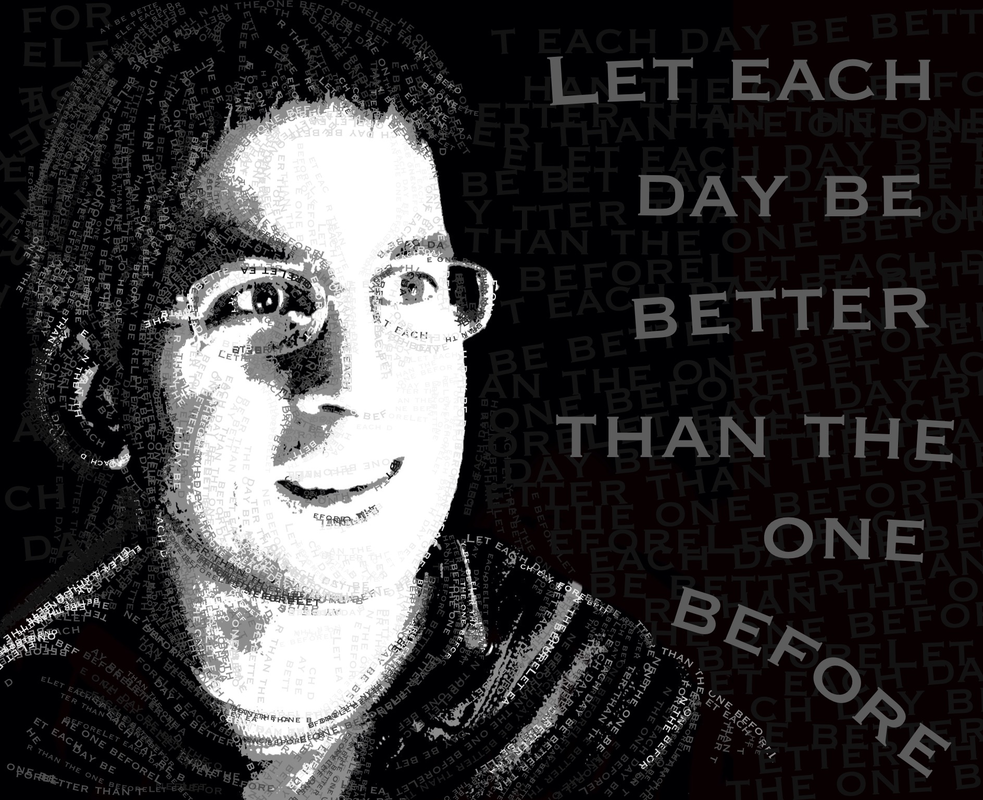
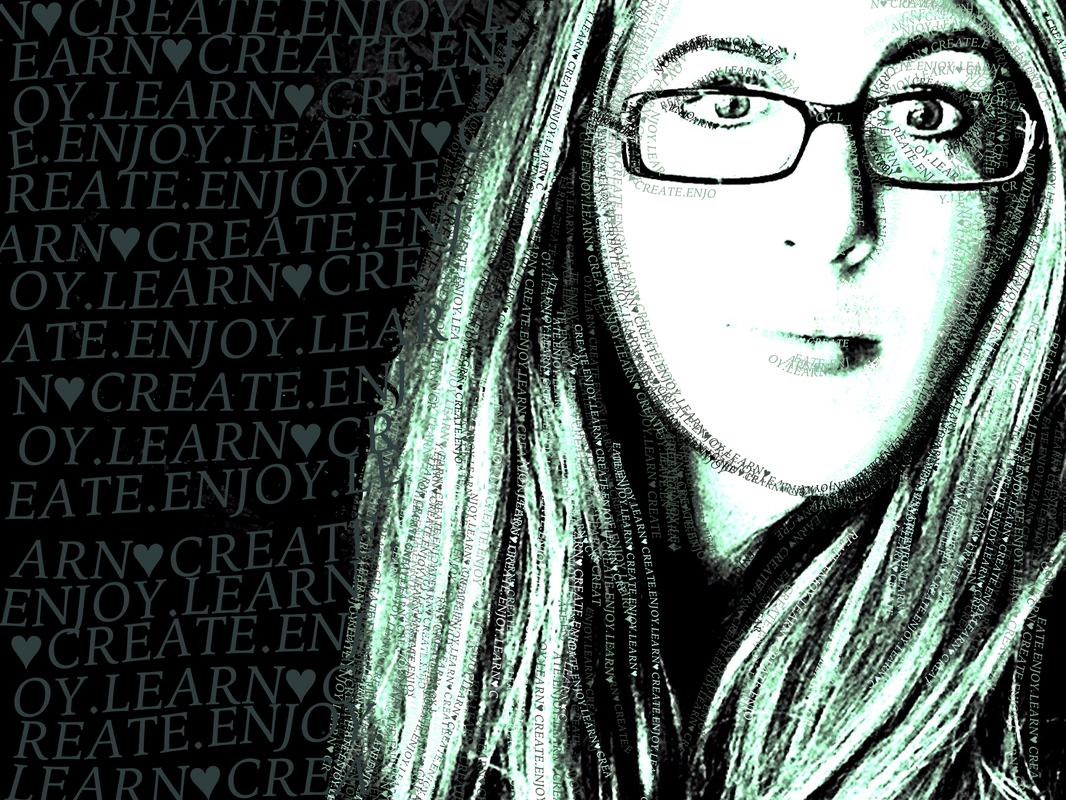
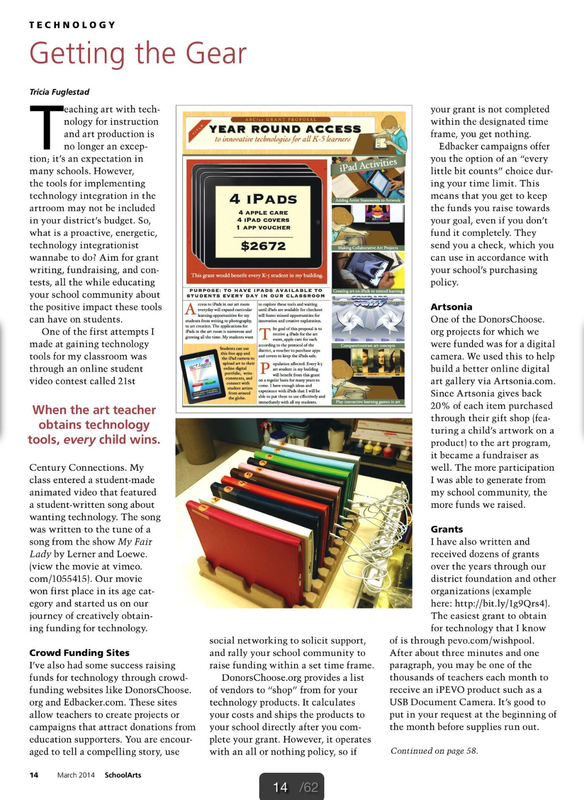
Black and white high contrast image covered with matching values of text
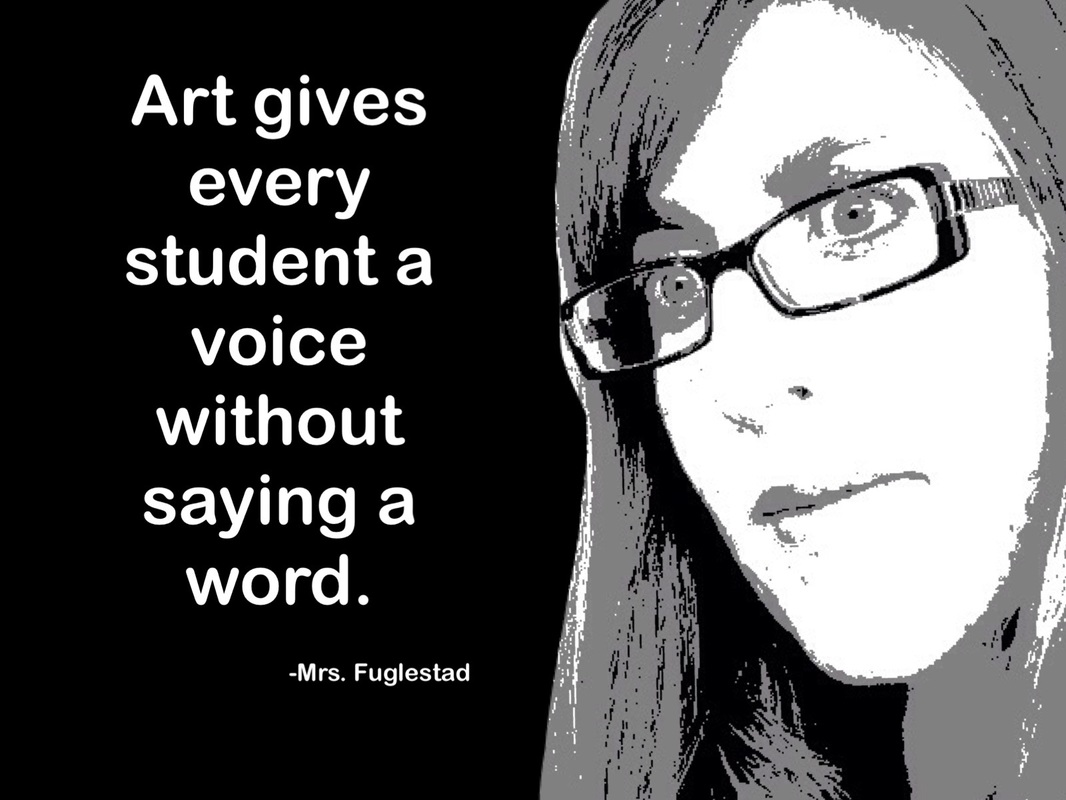
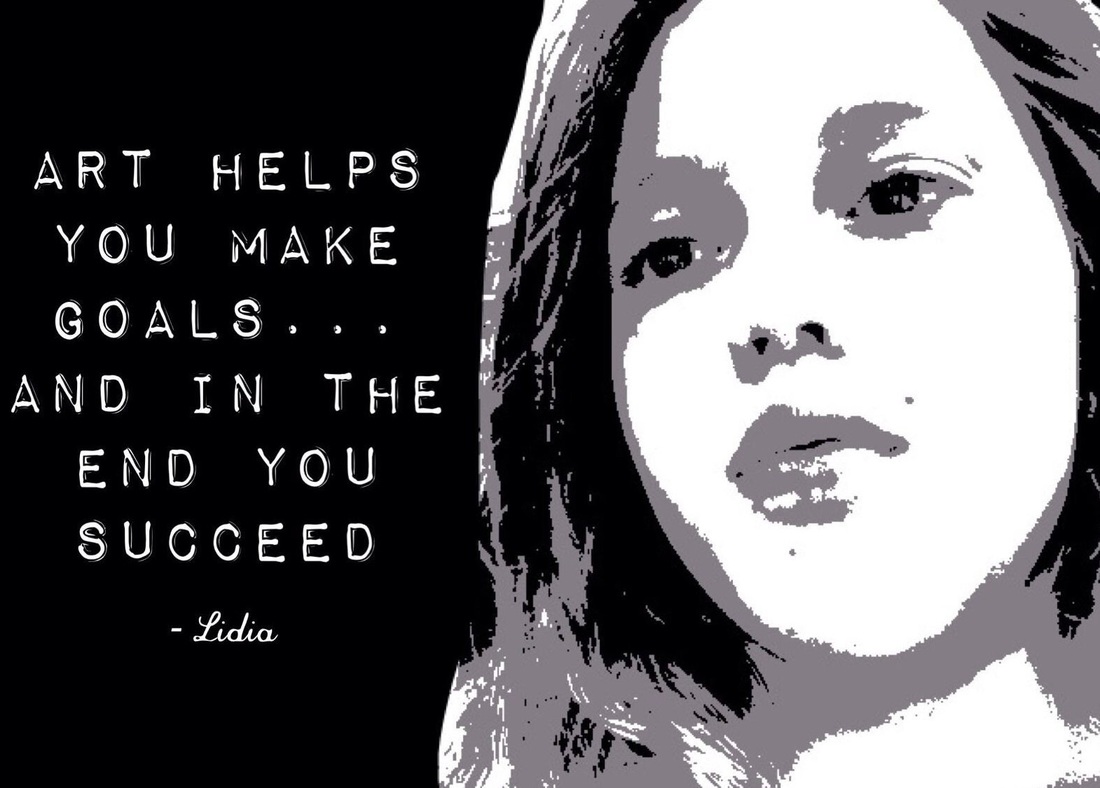
Offset image to create emphasis for text in negative space
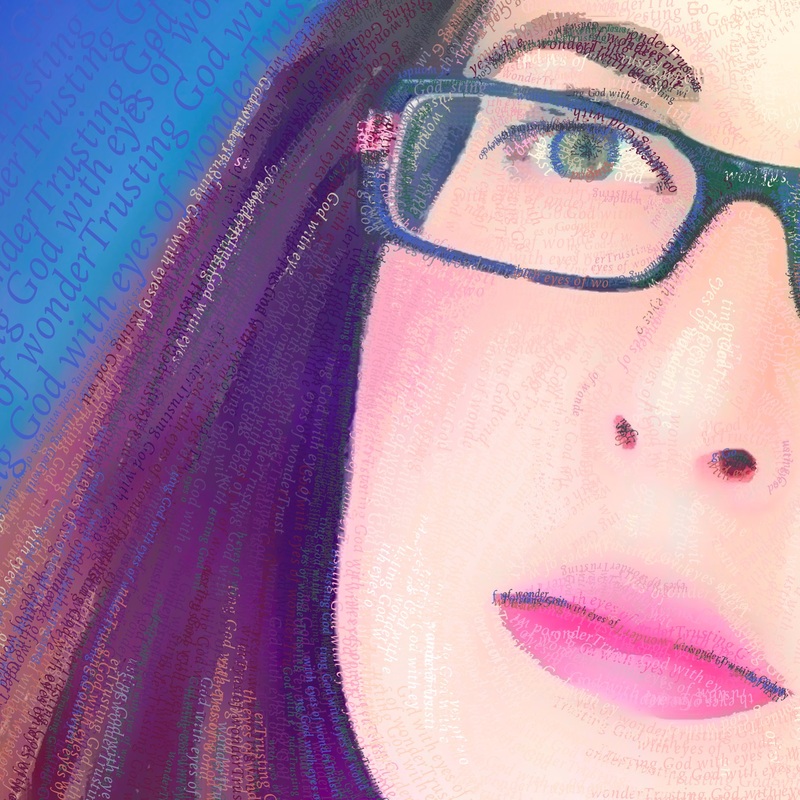
Color image enhanced by text size, direction, and color
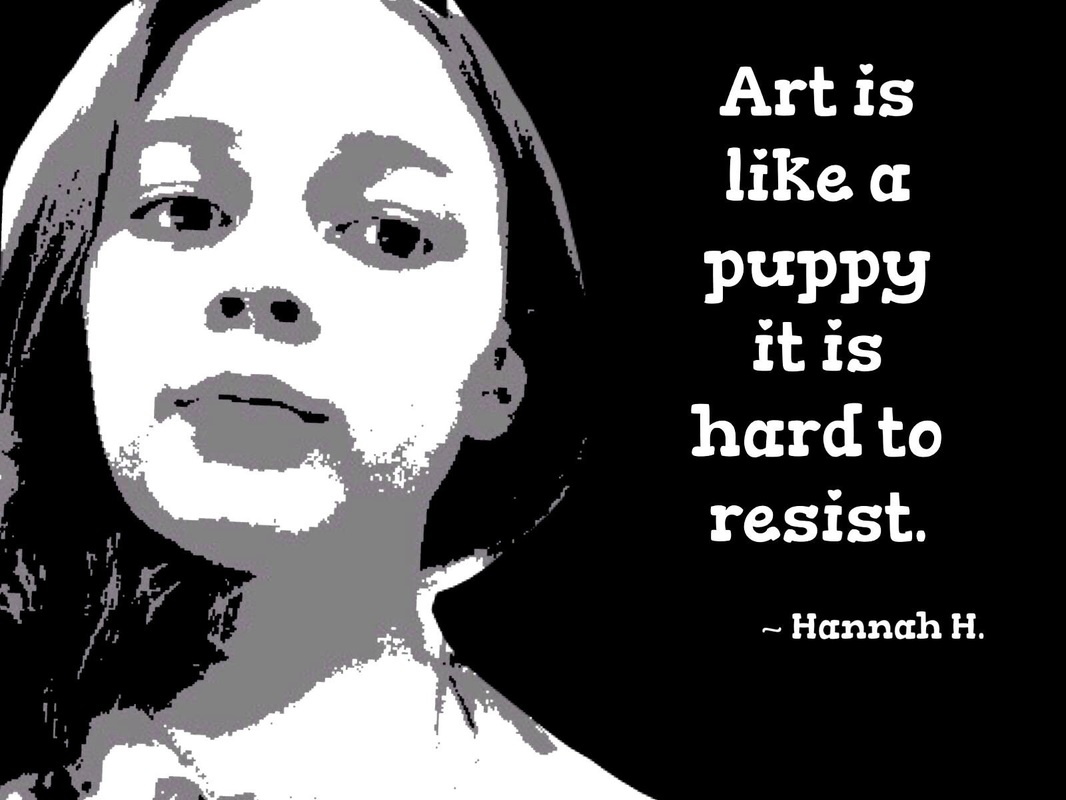
Using TypeDrawing App for self reflection


 RSS Feed


