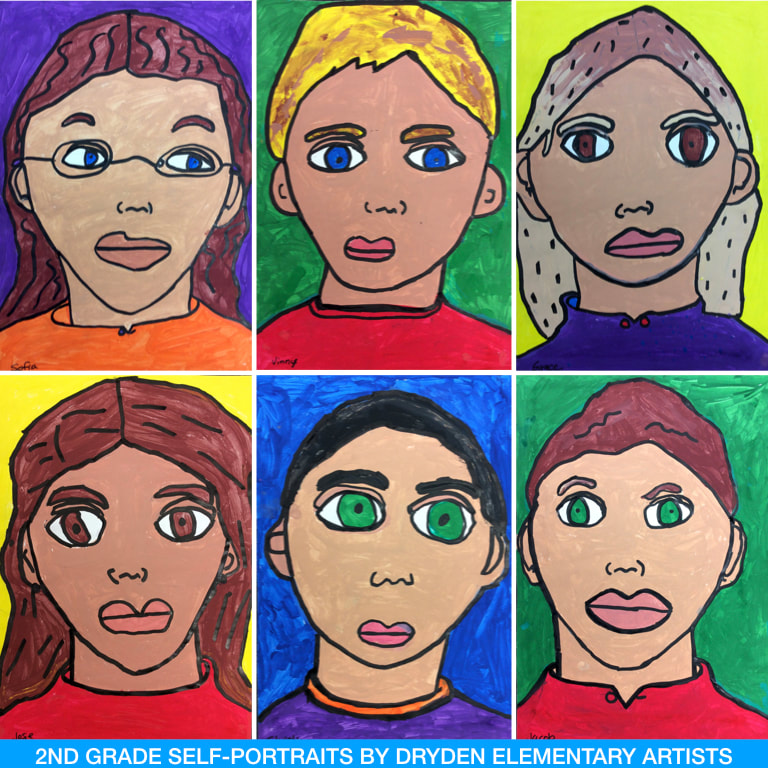
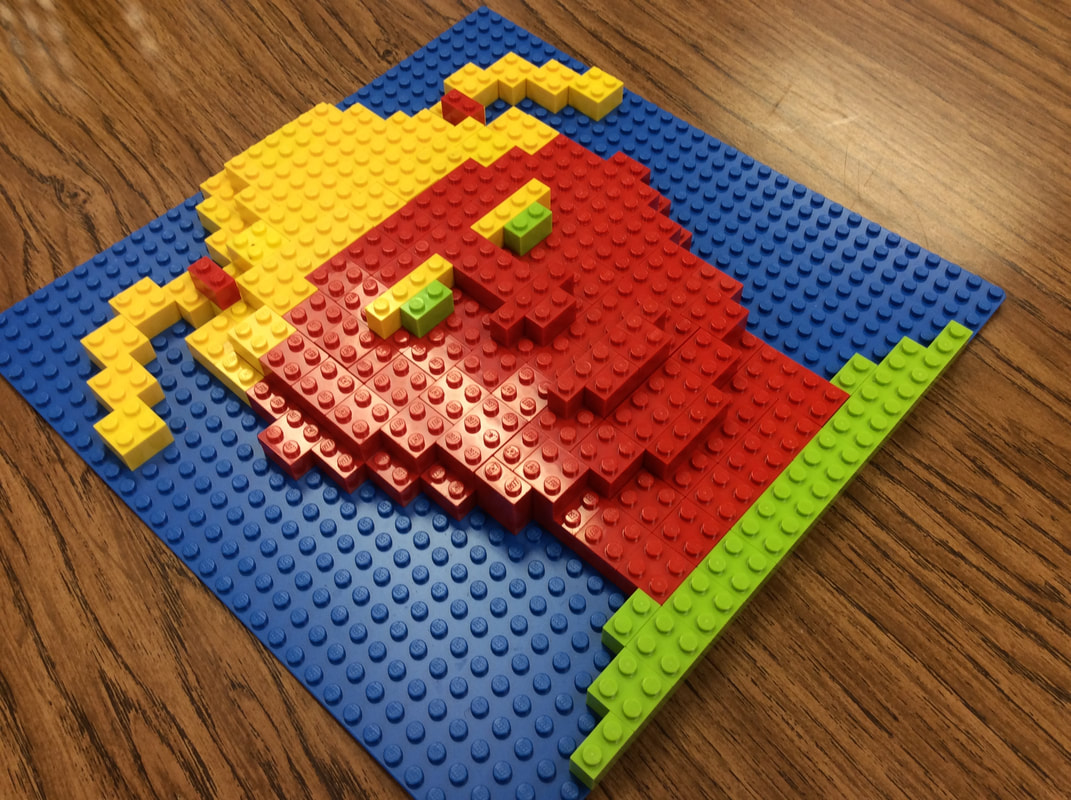
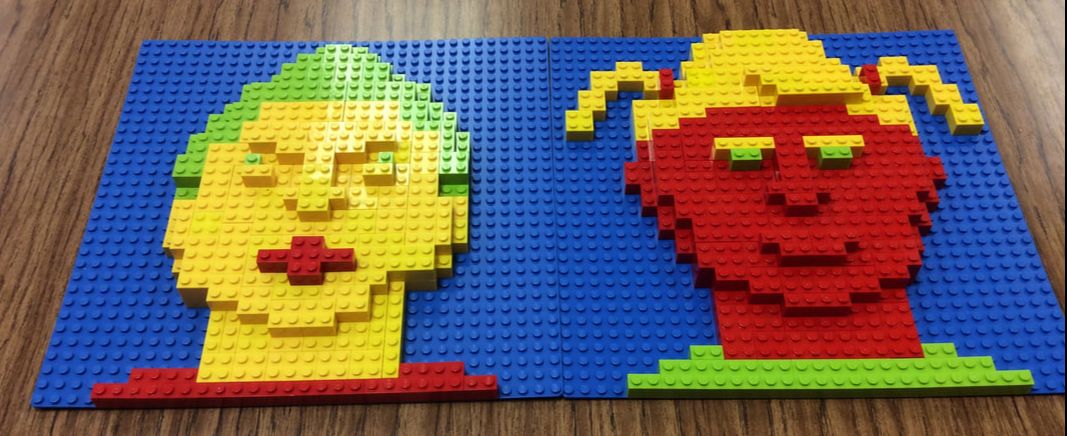
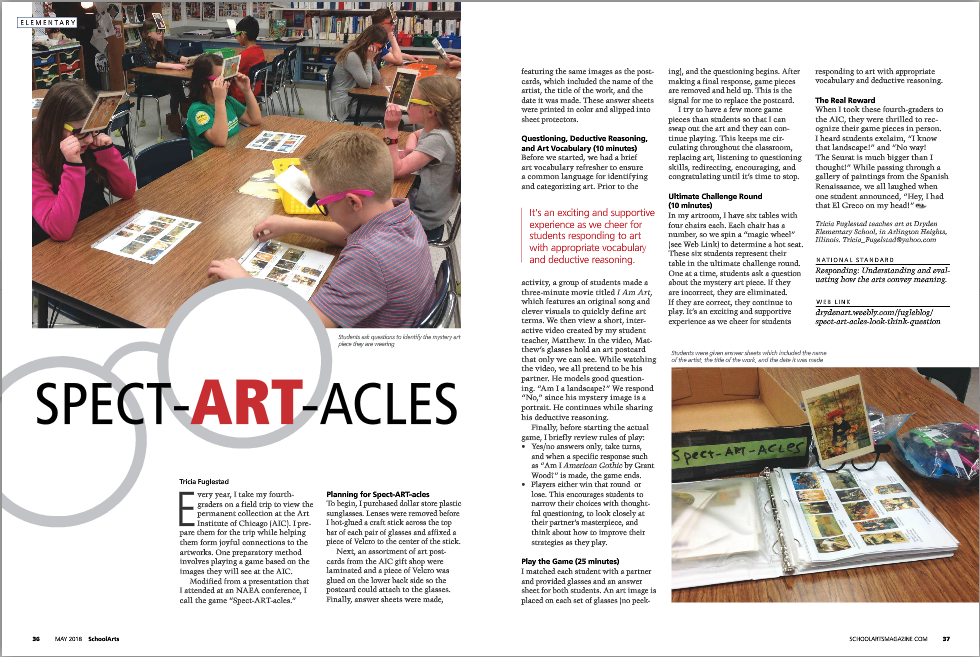
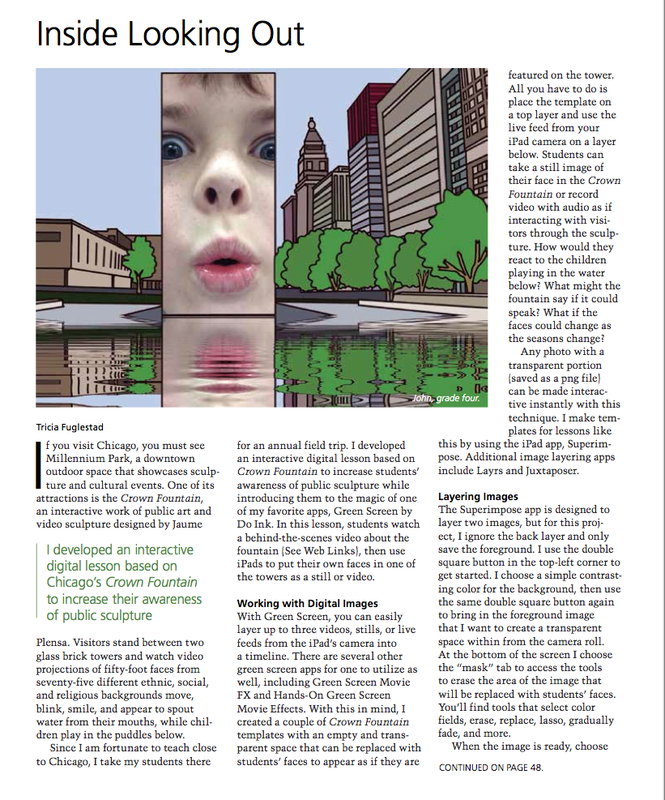
I have two more lessons packaged up this week for you to explore. These are both favorites of my 3rd and 4th graders. Since they were "repeat" lessons, meaning I would try teaching it again over the years, the lessons guides include my best tricks, tips, or techniques to help students engage and succeed.
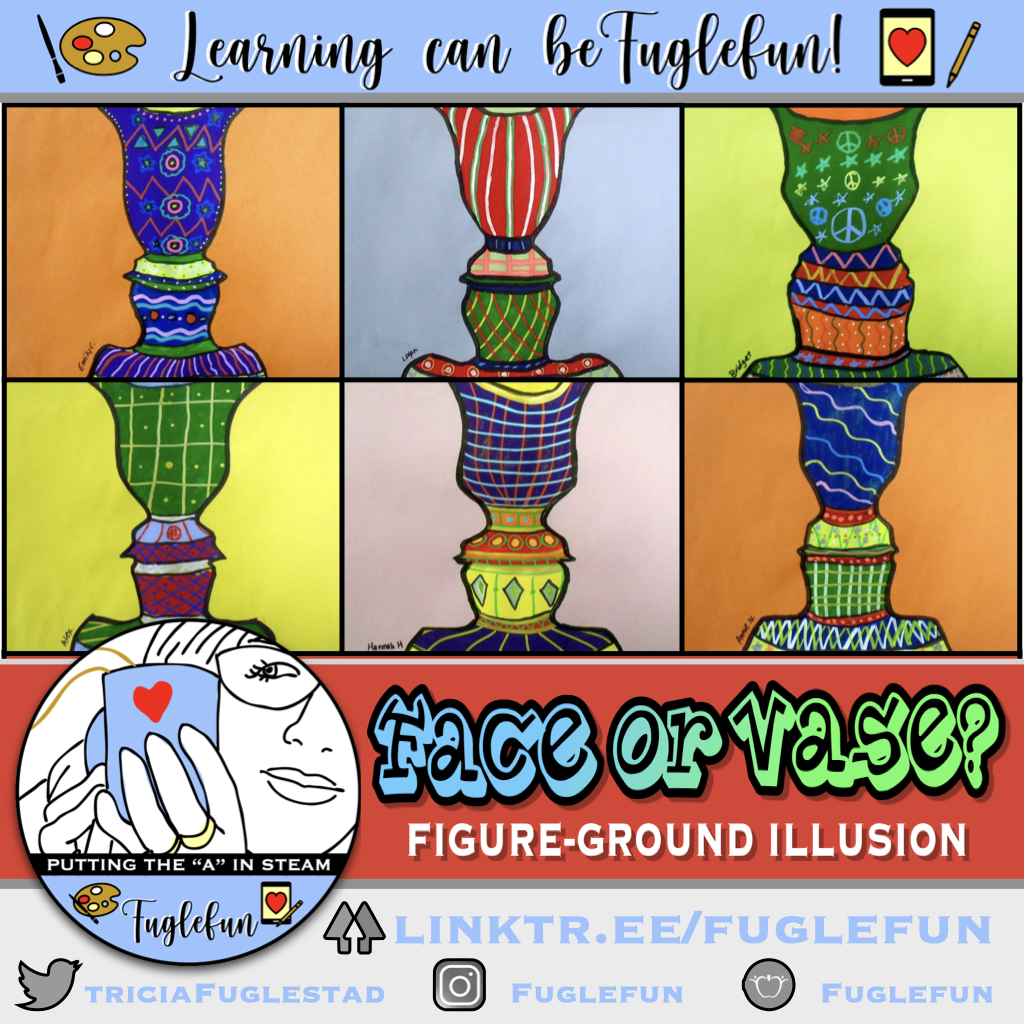
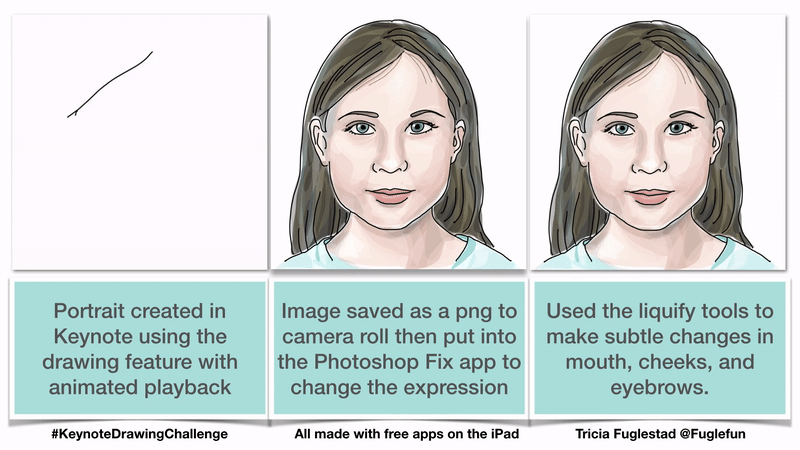
Click the image to explore my Figure-Ground (Face or Vase) Illusion Creation Guide
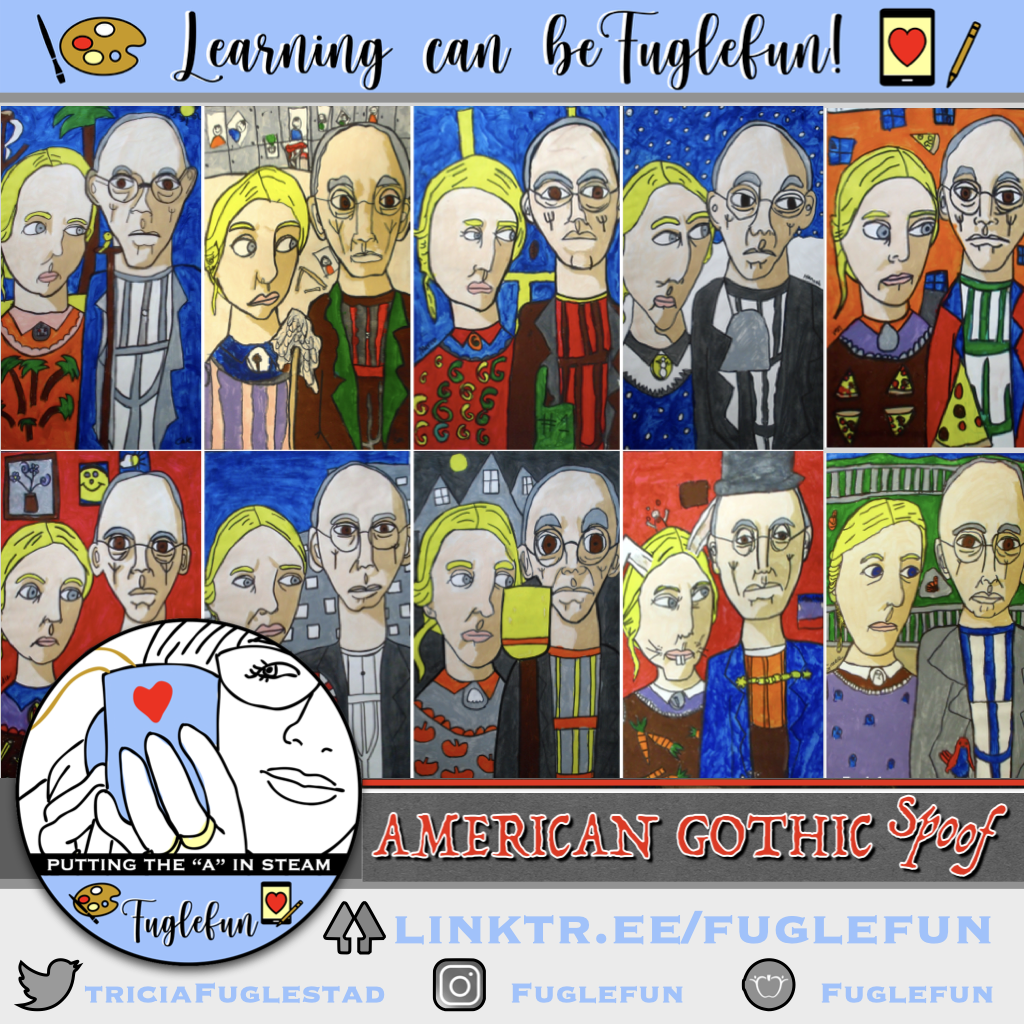
Click the image to explore my American Gothic Spoof drawing guide


 RSS Feed


