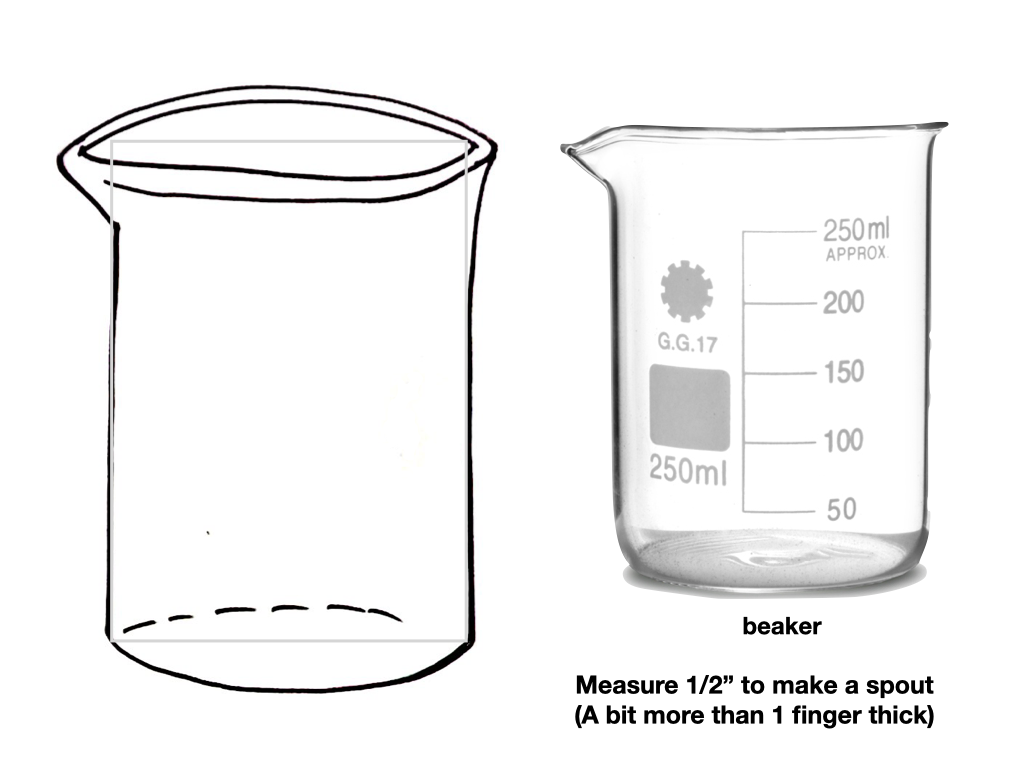
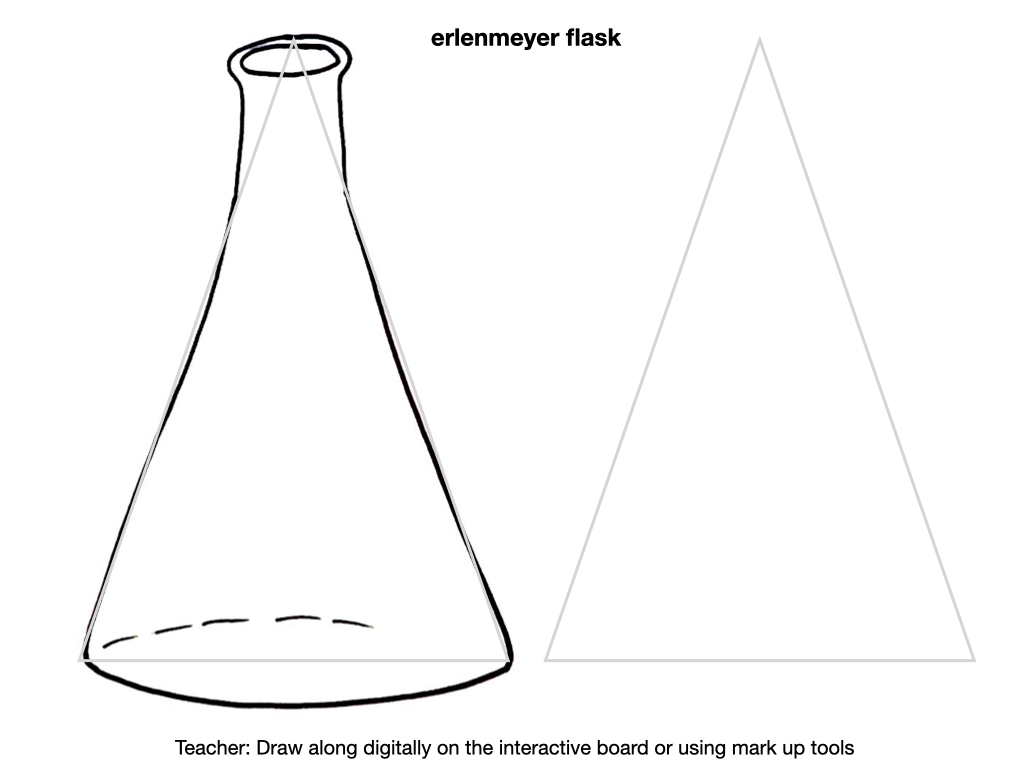
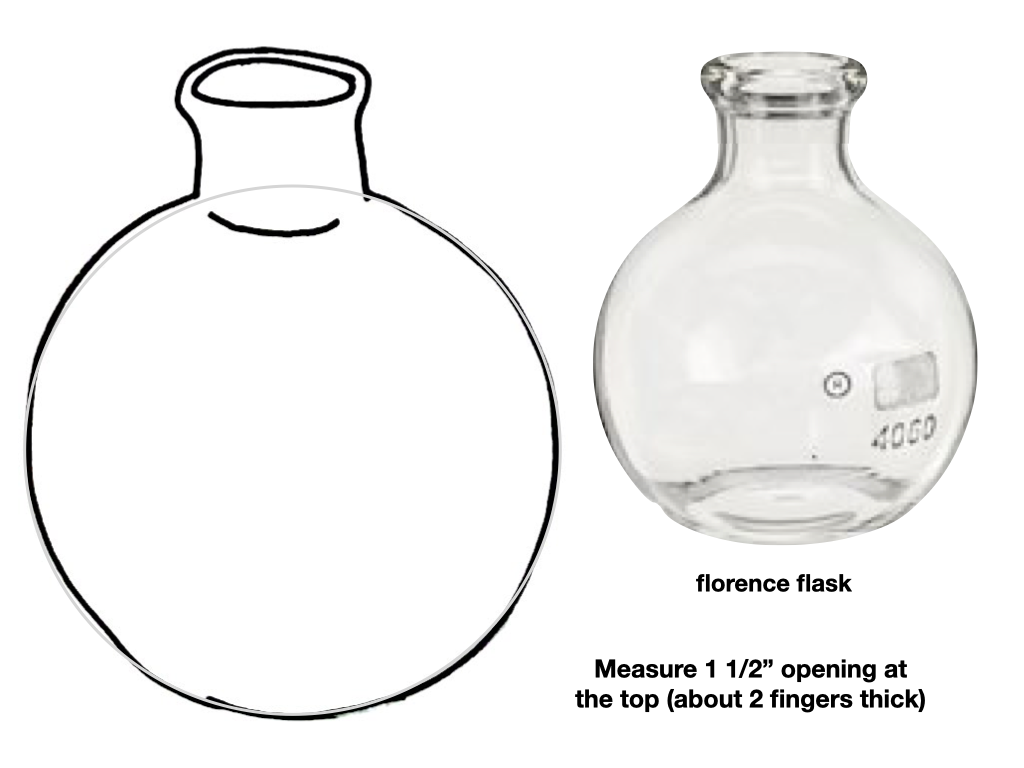
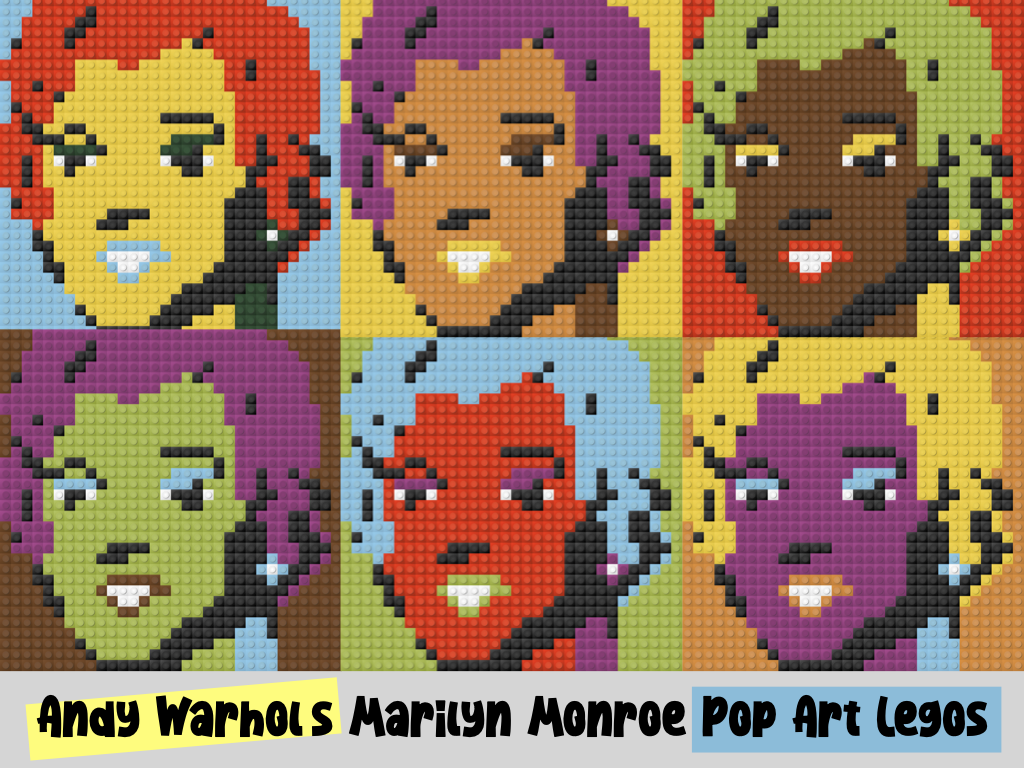
I finally packaged my Bubbling Beakers STEAM transdigital lesson on TpT. It is a 40 page step by step visual guide for creating the forms from shapes, color mixing, drawing and painting a background in perspective and using complementary colors. Explore
|
|
|
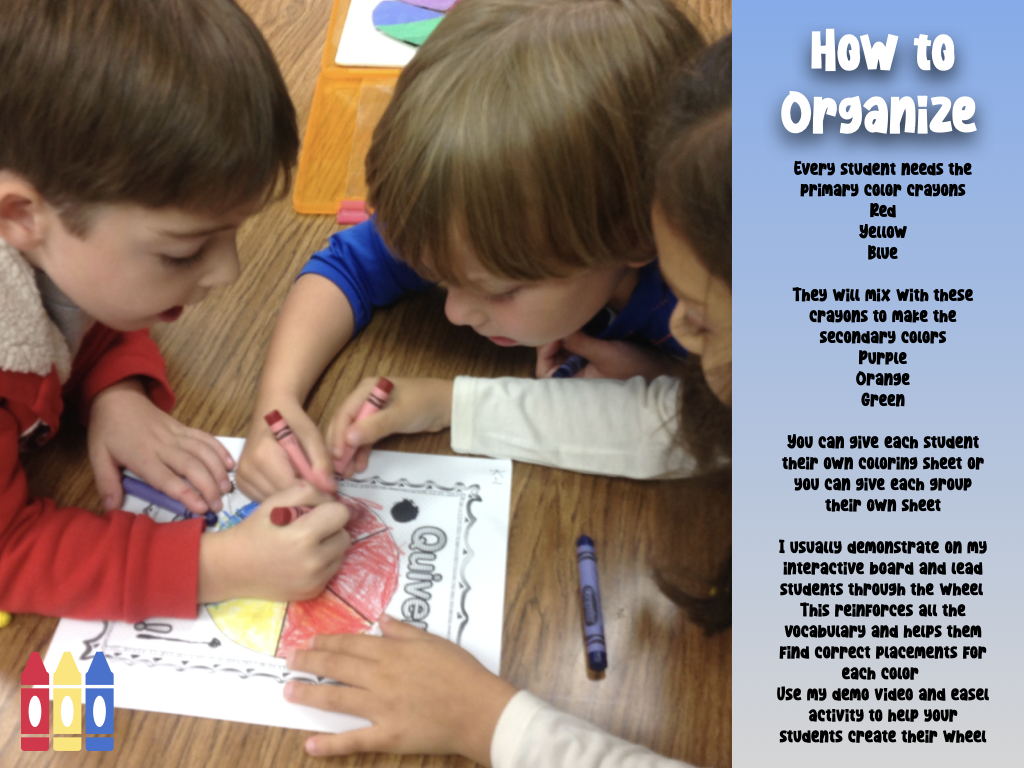
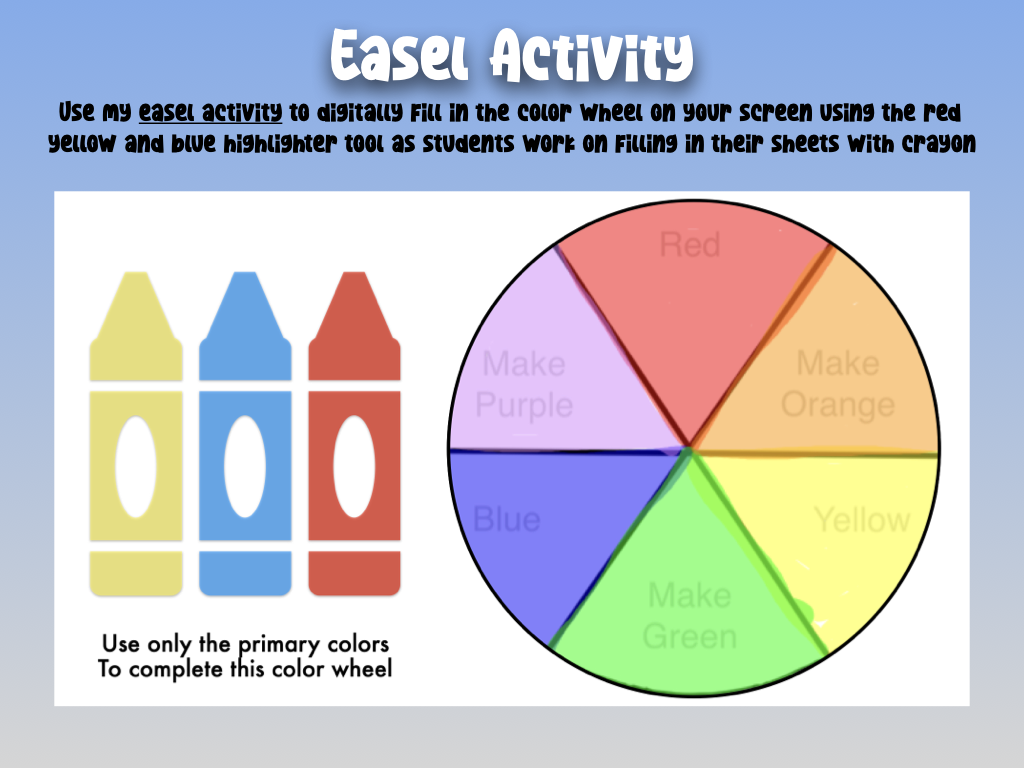
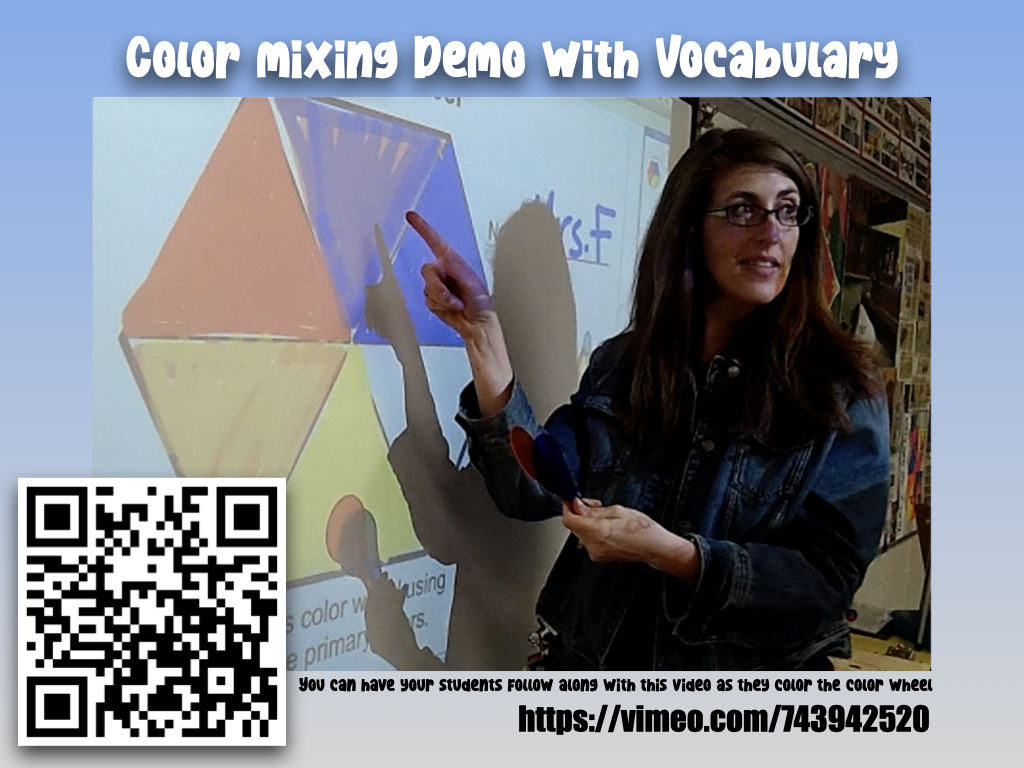
I also packaged up the Dot Day Augmented Reality Color Wheel Activity. It includes the handout and guided instructions for creation and exploration with Quivervision. Explore
|
|
|


 RSS Feed


