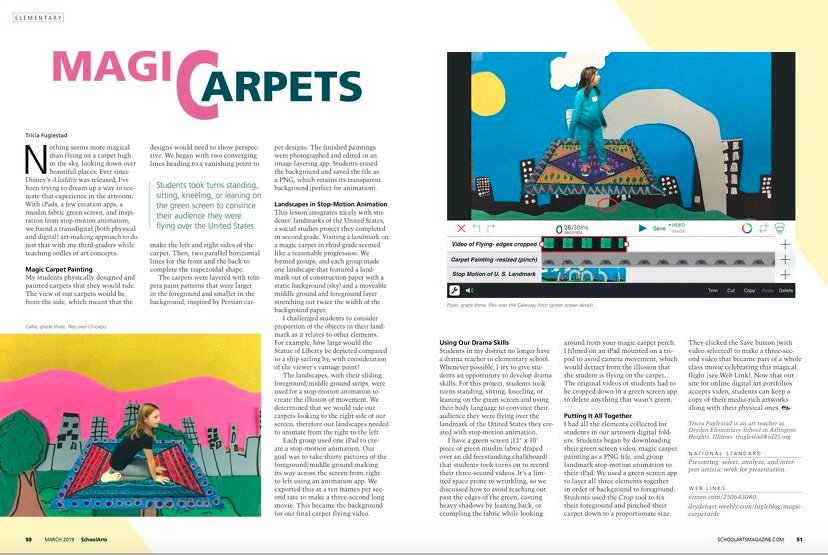
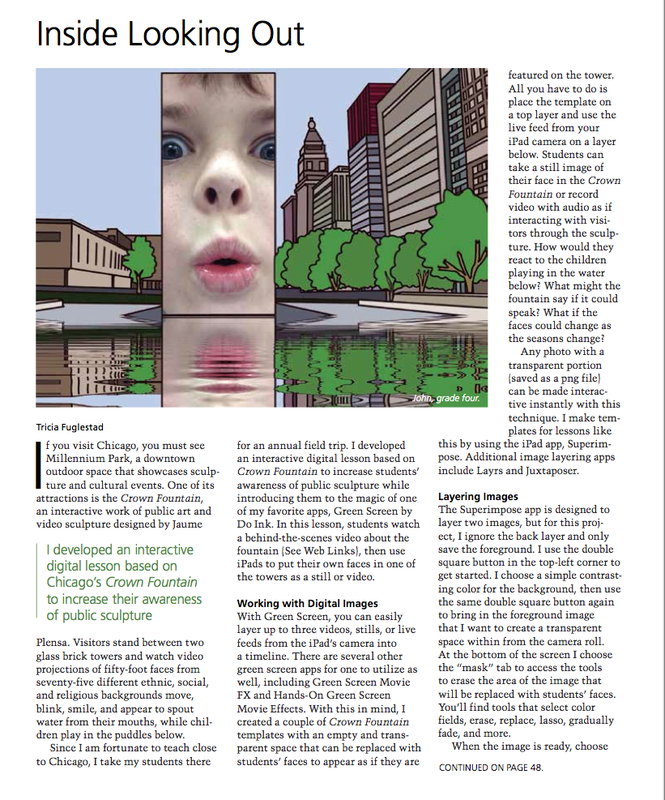
  |  Made with DoInk Animation App. Drawn and animated on the iPad. |
 Robot animated using DoInk Animation App | I've been exploring animation on and off for years now and am frankly addicted to the DoInk Animation app. There are so many possibilities in that lovely app and the more I play the more I learn. Here is my animated gage showing this process. I love summer since there is so much time to play.  |
The robot above was inspired by my little neighbor's robot t-shirt. We talked about the moving parts in the design and what should flash, light up, and spin. It was a challenge that I couldn't wait to try. He said the eyes should move and lights on the belly light up, the lever should go up and down, and electricity should come out of his head. I added some gears that turn, a moving gage, animated teeth, and growing/flashing lights.
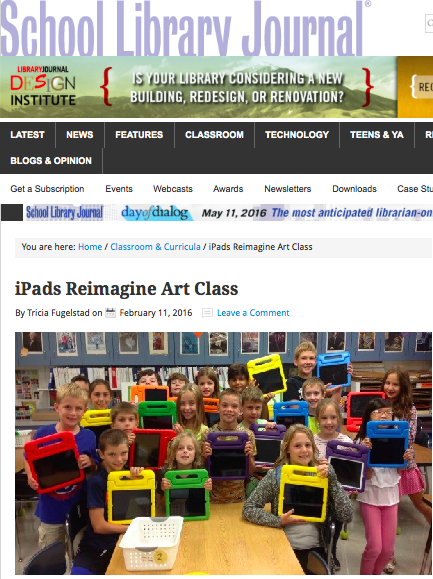
 close up of moving parts | Some of the movement was created within the drawing mode while others were added during the composition mode. Learning the tools enough to figure out some short cuts has been empowering. What looks hard, can be very manageable now that I'm tapping into more and more of what the app can do. |
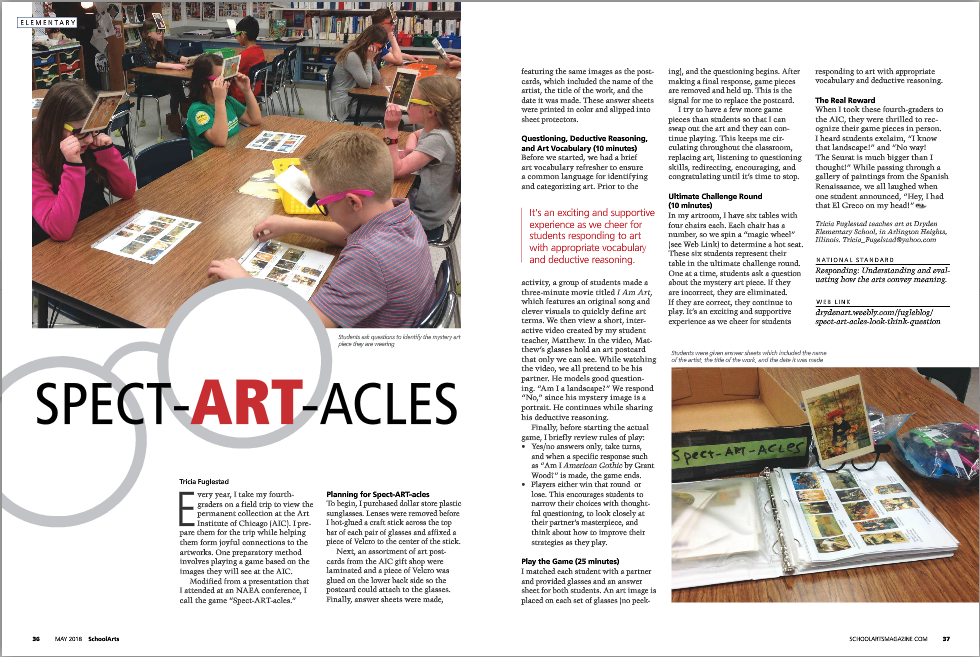
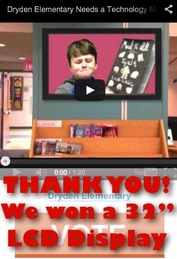
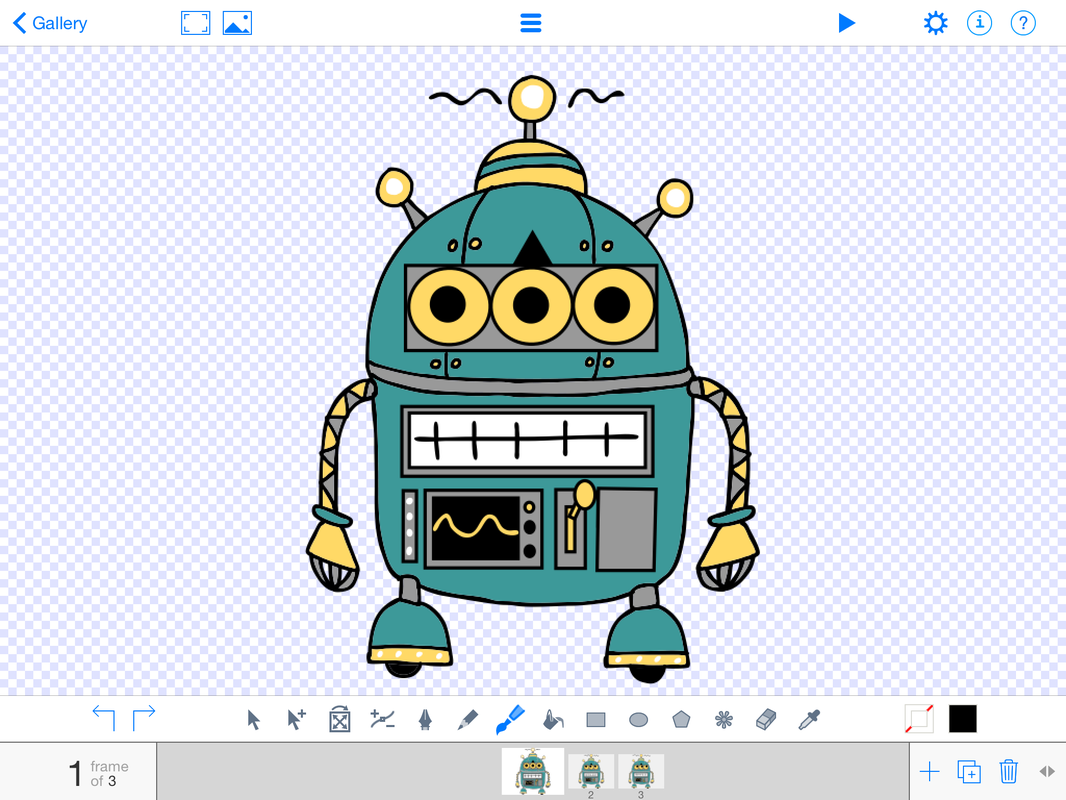 Frame 1: Robot 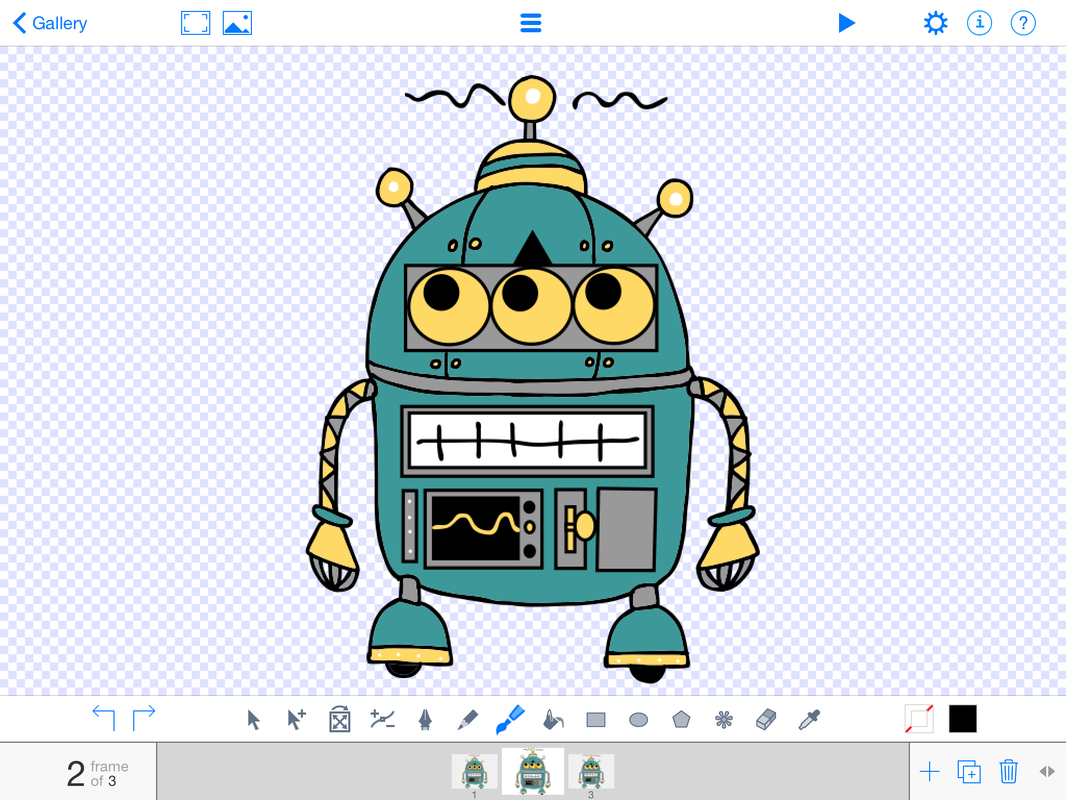 Frame 2: Robot 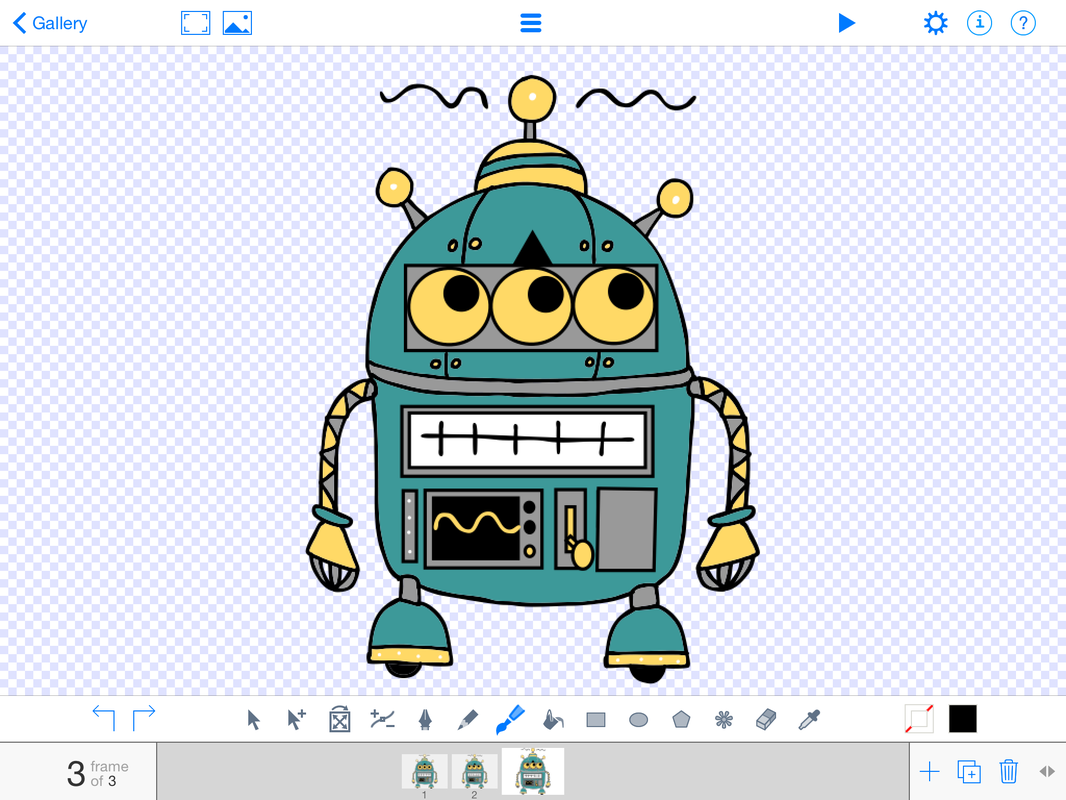 Frame 3: Robot | The robot is basically only a THREE frame drawing. In frame 1 I drew all the parts of the Robot including the starting point of the elements that will move. For frame 2 I duplicated the drawing and made adjustments for the objects that I wanted to move. This meant that I redrew the teeth, selected the black circles of the eyes and repositioned them, made changes for the flashing lights, lever, the wiggly line on the belly, and the electricity lines. In frame 3 I did the same thing as in frame 2. Notice that I didn't do anything to animate the gears or the gage. I saved those for the composition mode. When I finished this frame I duplicated each one with the copy and paste tools 4x's to slow the animation down. |
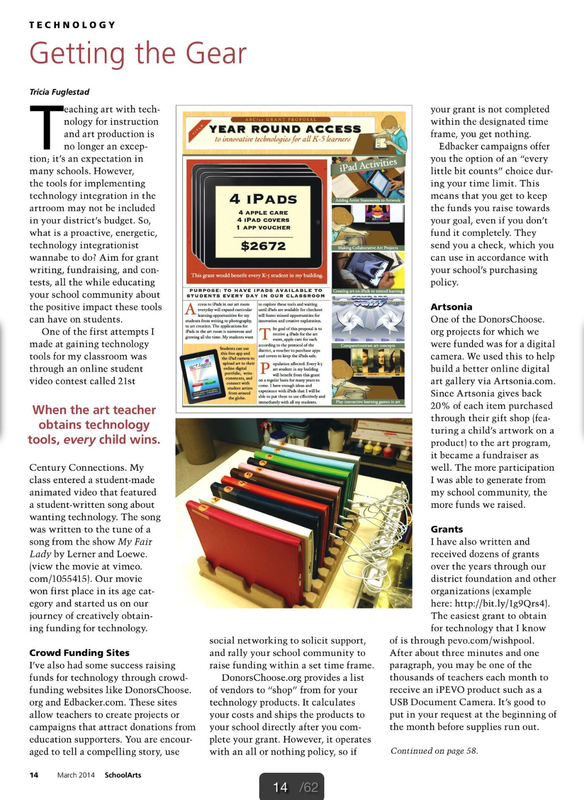
 Gears were made in drawing mode and animated in composition mode. Then added to the robot as a unit. | The gears and a the levers were made separately in DoInk. I began by making one gear out of a circle and a square. I copied, pasted and placed the squares in a pattern around the circle. Then I duplicated the design and changed the colors. In composition mode I brought in both gears, lined them up, and set them spinning with the rotation option. |
| The gage was made in a similar way. It is really just an arrow made from a rectangle and triangle combined in the drawing mode. That was all I needed ahead of time to make a moving gage. I brought the arrow into my composition on an animation layer over my robot in the timeline. I pulled it out to 6 seconds (so I could create a vine movie) as well as the robot design. Then, I used keyframes to help point the arrow to the location at different intervals on the timeline. I have a tutorial where I used keyframes to animate my bobbleheads. It's exactly the same idea. So, now think of the possibilities for animation, design thinking, and science integration! Take a look at my other ideas for robots here. |  |
Here is my new kind of American #TERPart #k12artchallenge #k12artchat made w/@doinktweets #Robot https://t.co/vt6lc392Si
— Tricia Fuglestad (@fuglefun) July 4, 2015Ideas in transit #TERPart #k12artchallenge via @doinktweets #STEAM https://t.co/wSvtxxZrQA... https://t.co/GGfLu3ieWk
— Tricia Fuglestad (@fuglefun) July 3, 2015Totally addicted to #robot #animation #STEAM W/ #doink http://t.co/RnxyGZLMUP https://t.co/1mulkCY5qN
— Tricia Fuglestad (@fuglefun) July 12, 2015This video was made by combining stop motion animation of wire figures and drawn animation created in DoInk animation app. I layered both together in the DoInk Green Screen app and put FXs on the footage using Funimate App.
Adam, Rover, and Robot from Tricia Fuglestad on Vimeo.
1thing leads 2another.A chain of events can help U form conclusions #reflect31 https://t.co/q0odSuYSHu #rubegoldberg #simplemachines
— Tricia Fuglestad (@fuglefun) August 7, 2015


 RSS Feed


