|
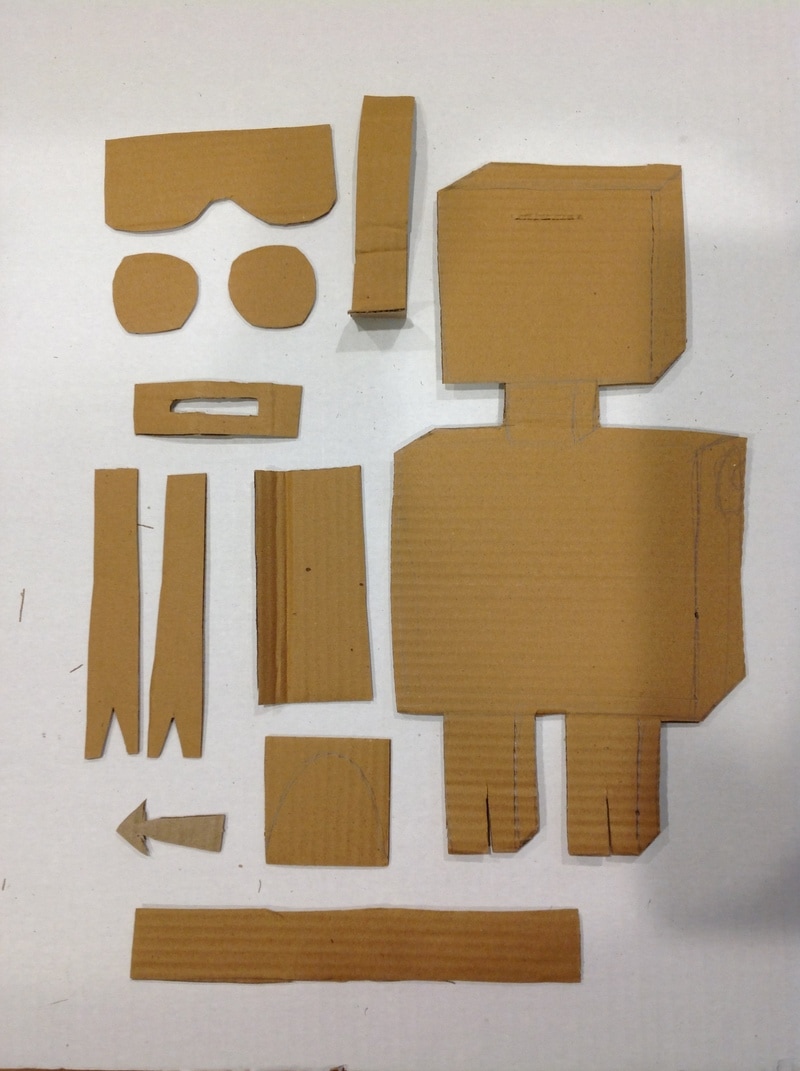
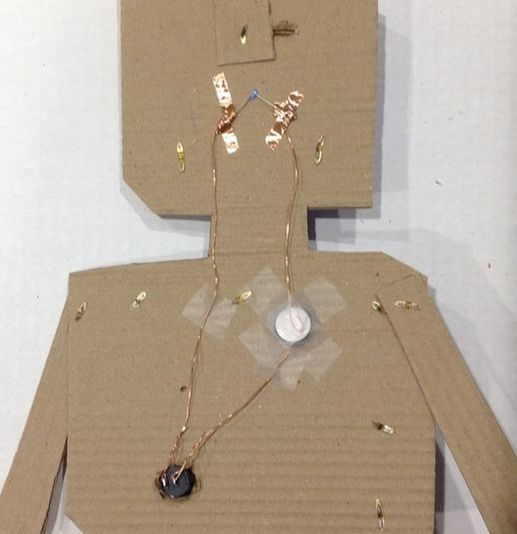
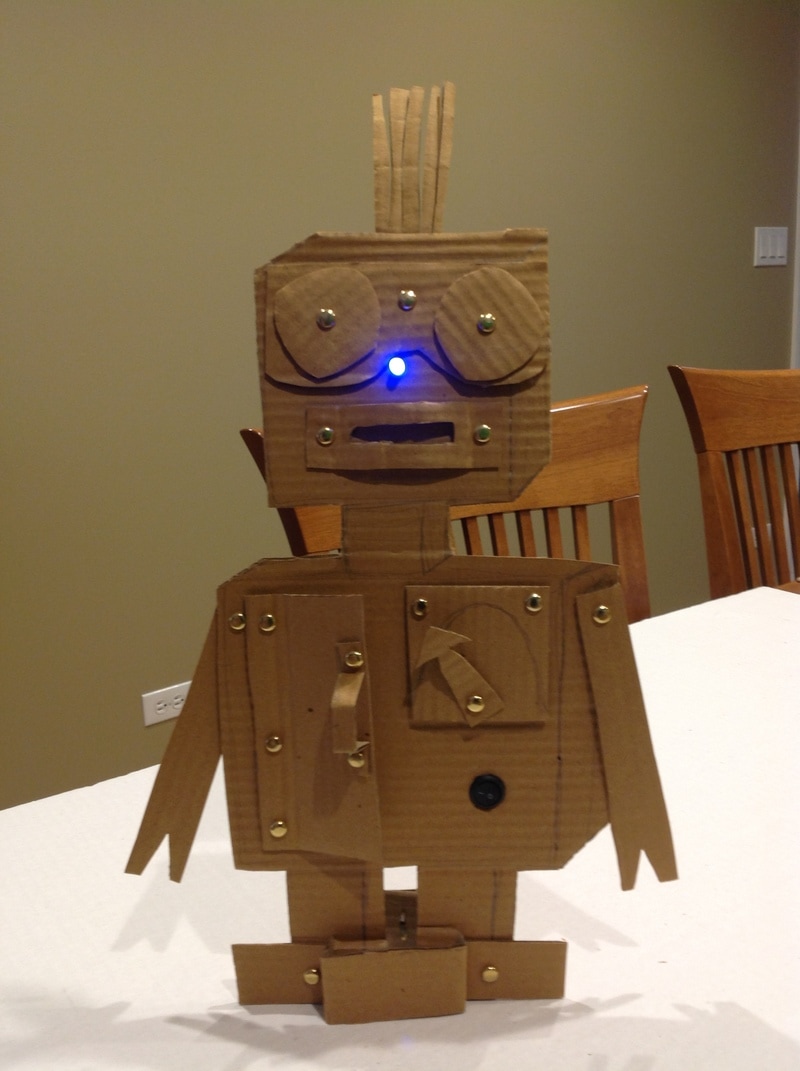
I found an advertisement for a pre-made stand up robot craft here. It made the maker in me curious to see if I could make one myself. So, I dug up a thin piece of cardboard and played. As I began cutting and attaching pieces using brad fasteners to give it the look of rivets I realized fasteners also add the option of movement like eyes spinning, levers pivoting, doors opening, and arms flapping. I knew somewhere I would like to attach a switch, circuit, and LED to light up. Since the robot is free standing and made from cardboard it was easy to make the switch and LED pop through the design and attach the circuitry to the back similar to these projects from a previous post or this one with a switch.
|
Resource: Paper Circuit Robot Lesson
Process: designing the robot
Crowdsourcing solutions: using twitter
My Prototype stand-up light-up #Cardboard #robot (named Brad) Q? Will he curl up if I paint him? Any tips? #STEAM #makered #papercircuit thx pic.twitter.com/XPI20TOVA3
— Tricia Fuglestad ☕️ (@fuglefun) June 18, 2017
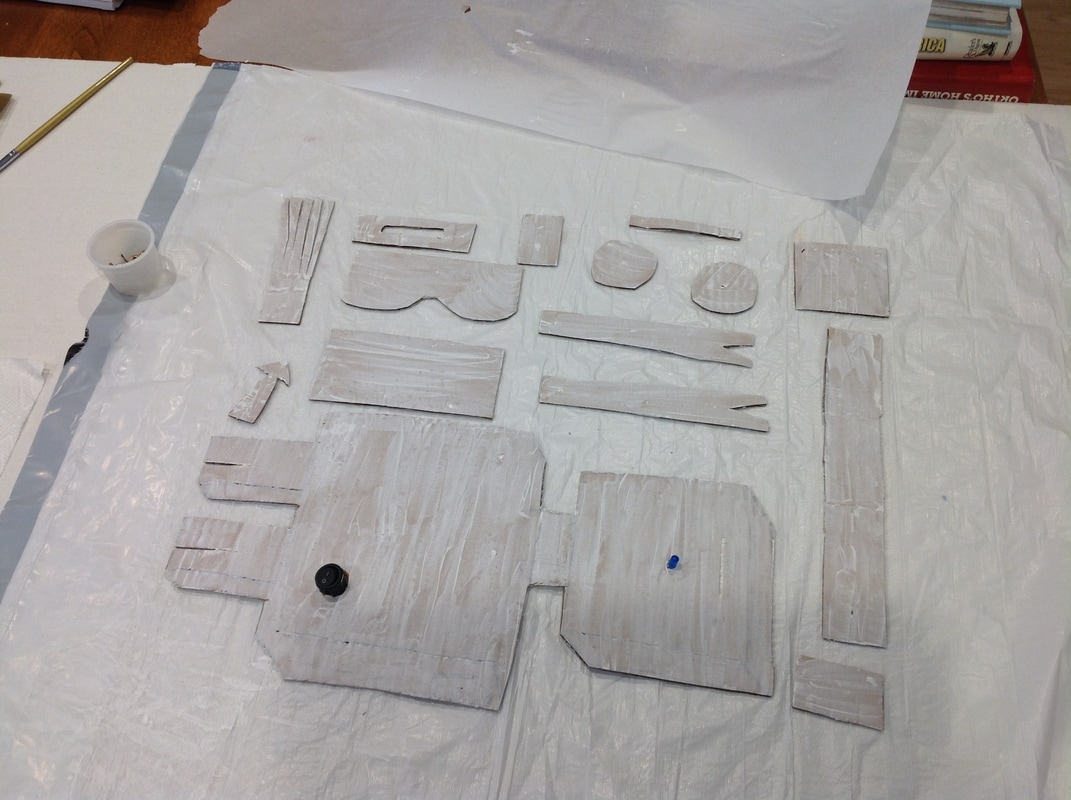
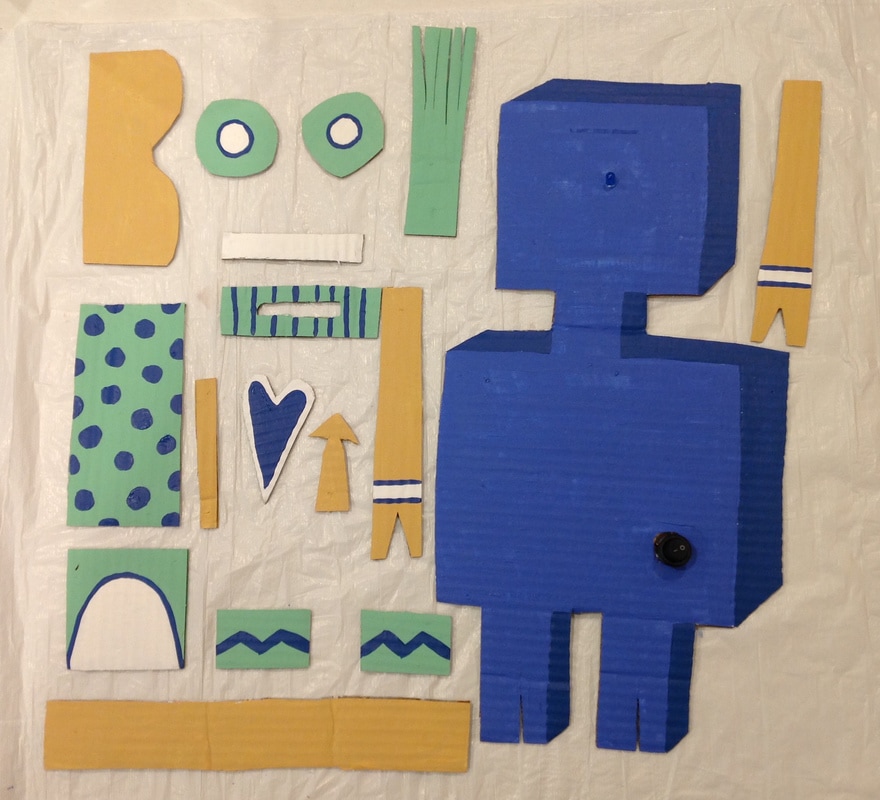
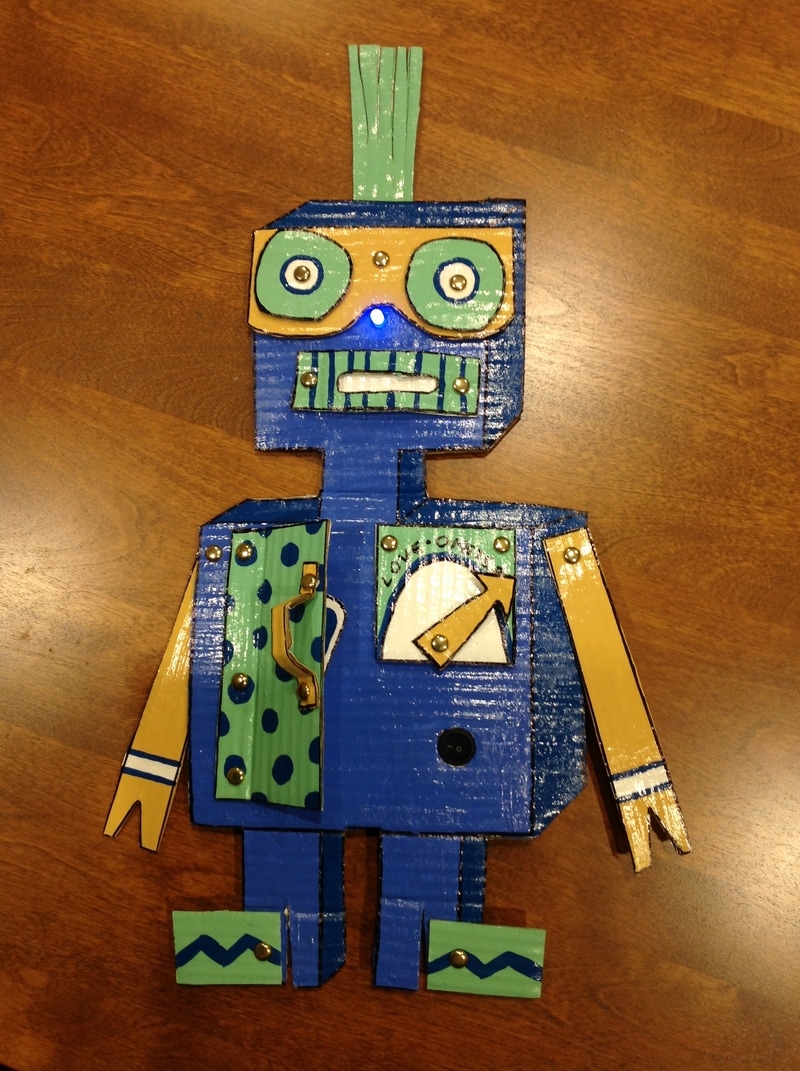
Painting the Robot: disassemble, paint, press
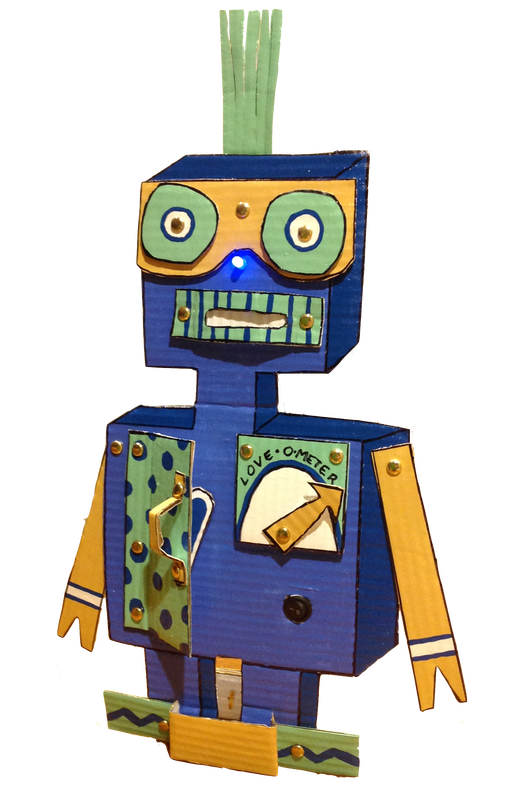
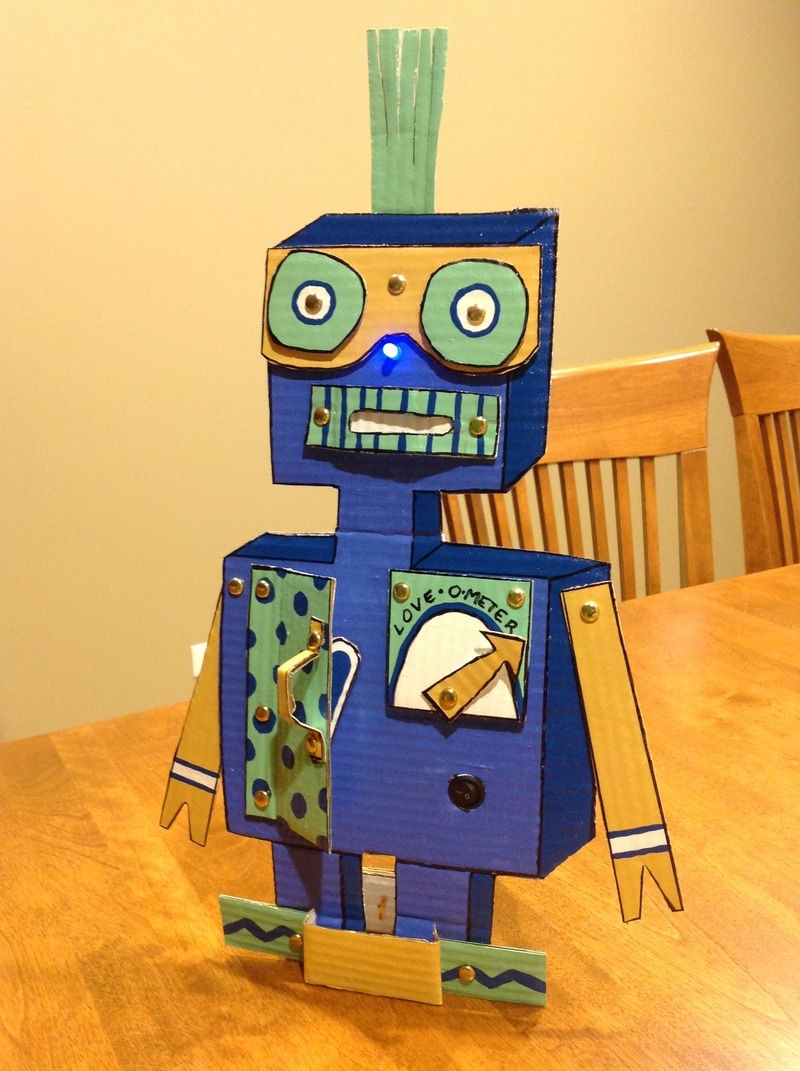
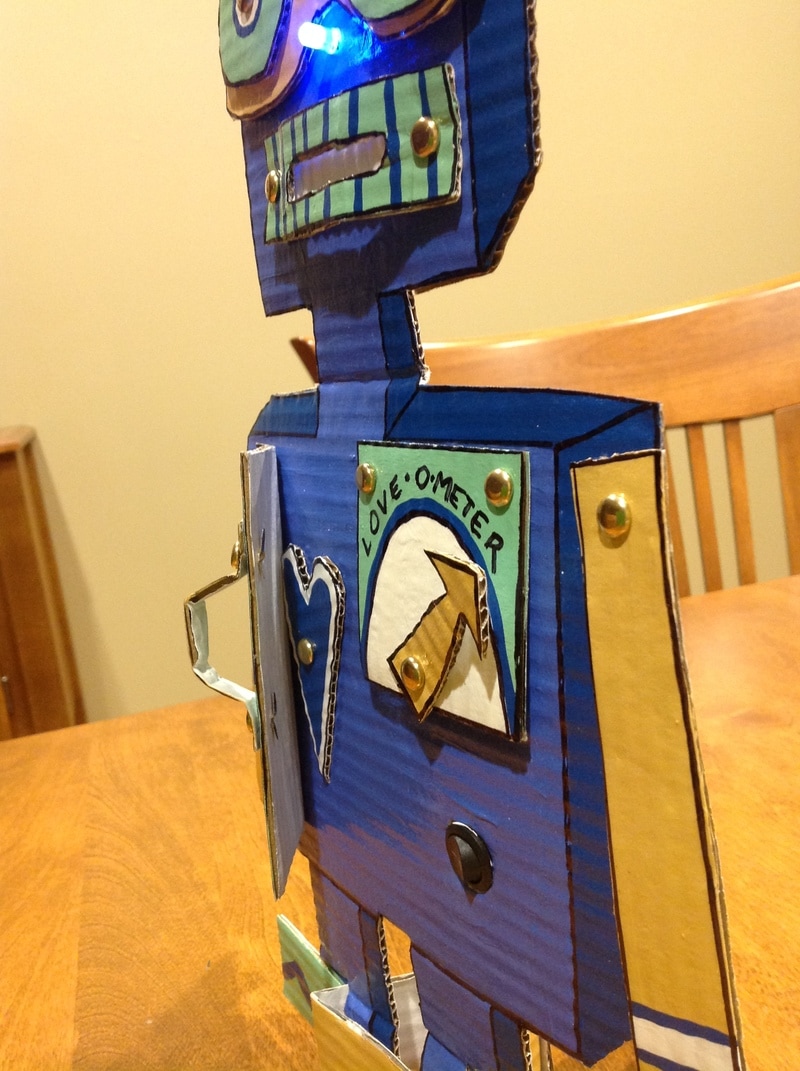
Complete: B-Rad Fastener the LoveBot
Digital Extensions:
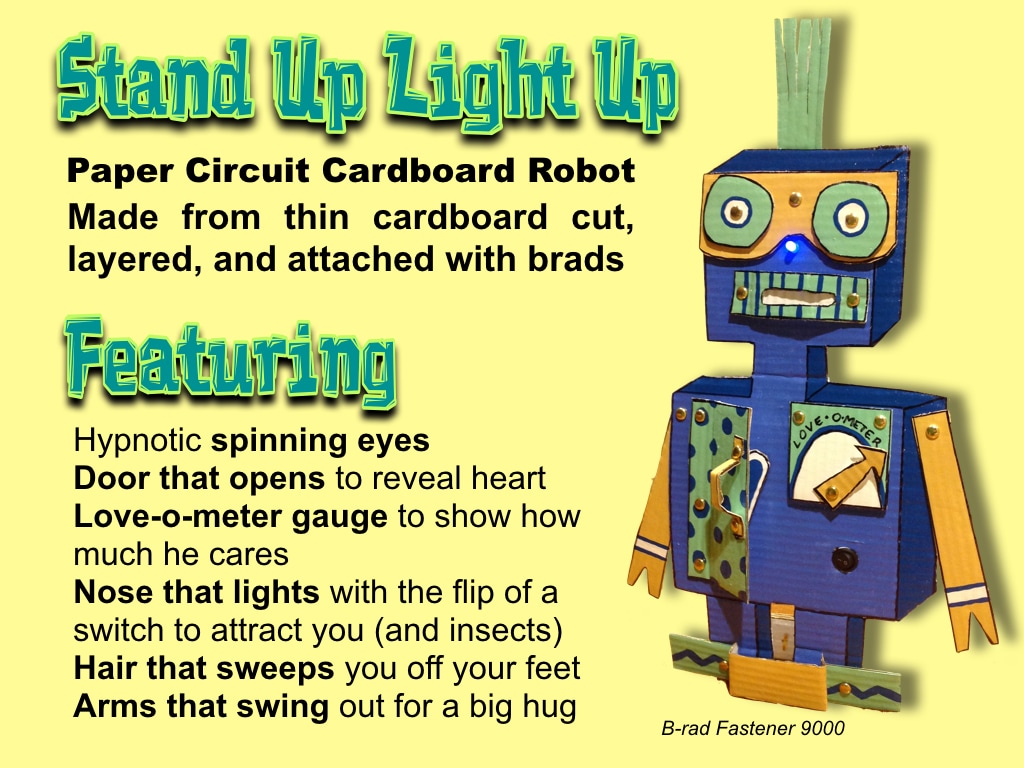
As I was making my robot, I kept thinking about his cool gadgets and what they can do. This is my chance to fully explain B-Rad's coolness to the whole universe.
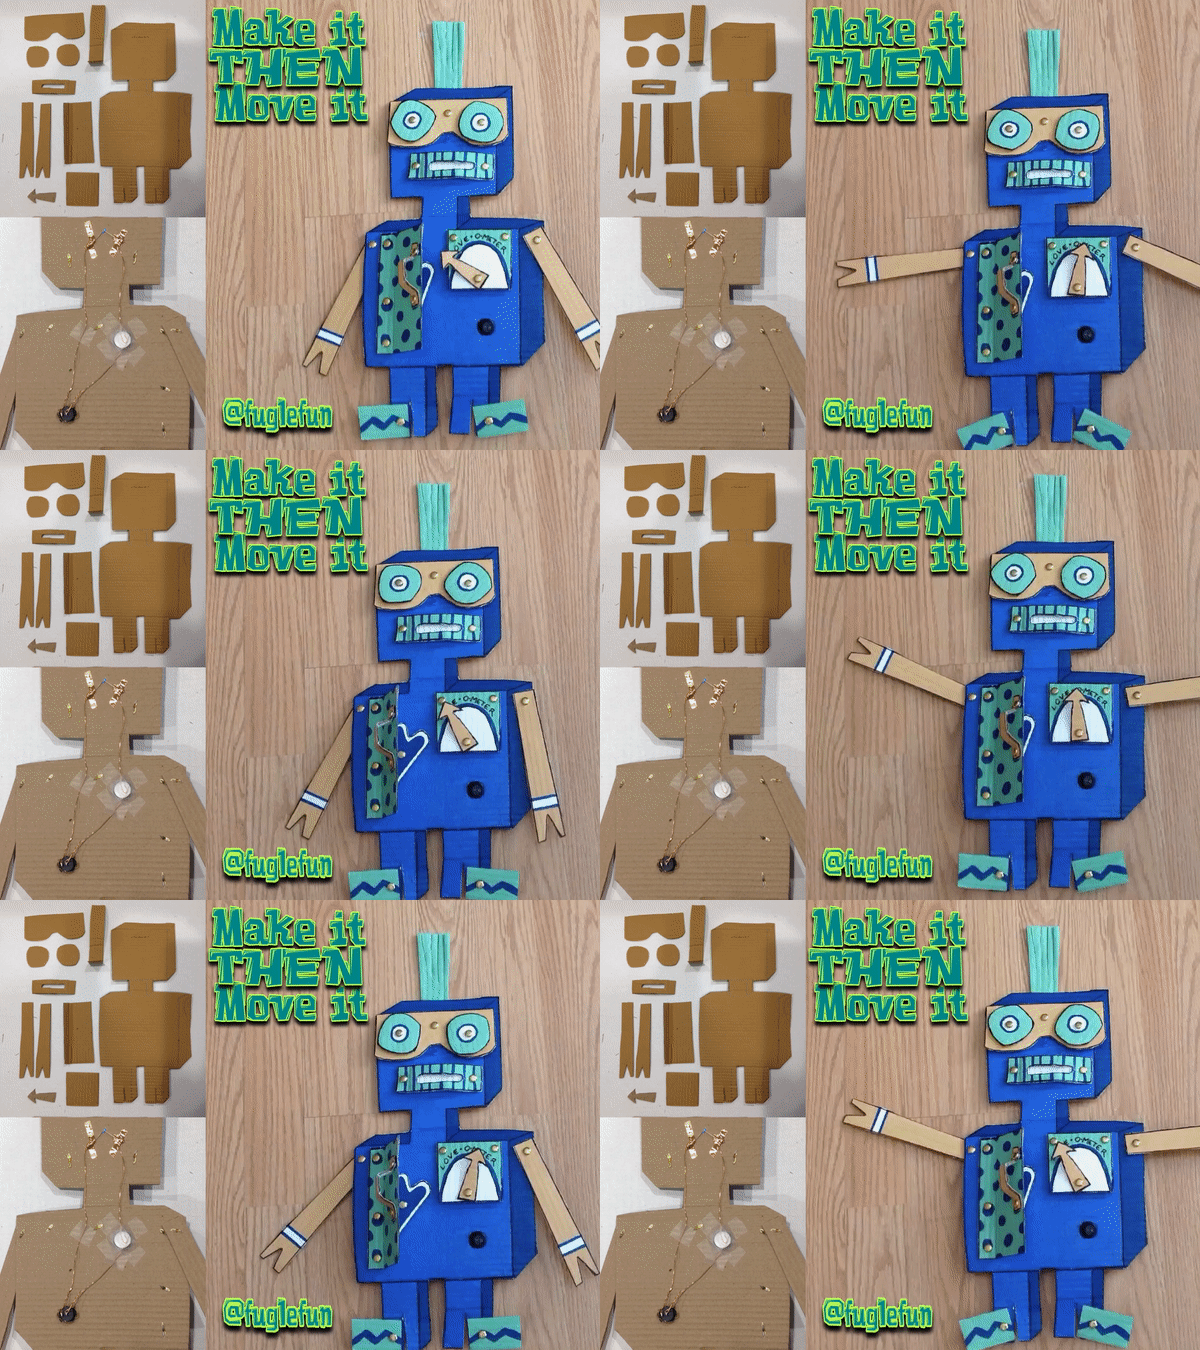
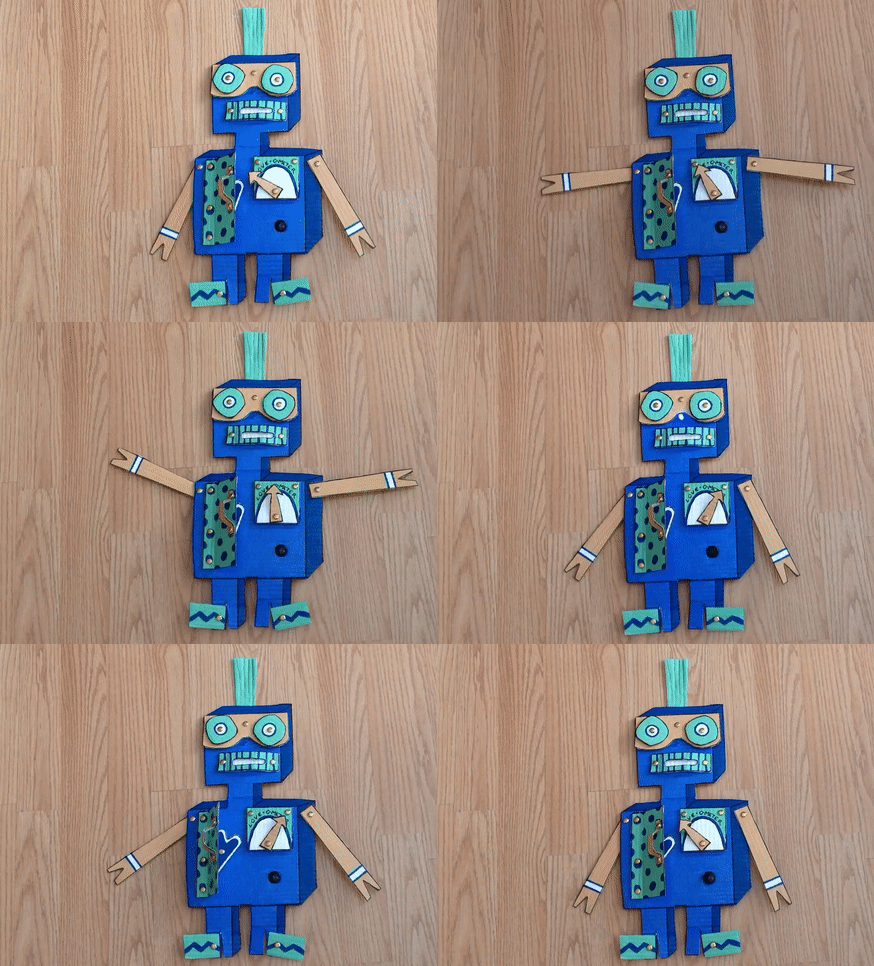
Show off your robot's moveable parts in a stop-motion animation. Notice the spinning eyes, moving gauge, peeking door, flipping feet, and flapping arms. (Oops, I should have included the blinking light)









 RSS Feed

