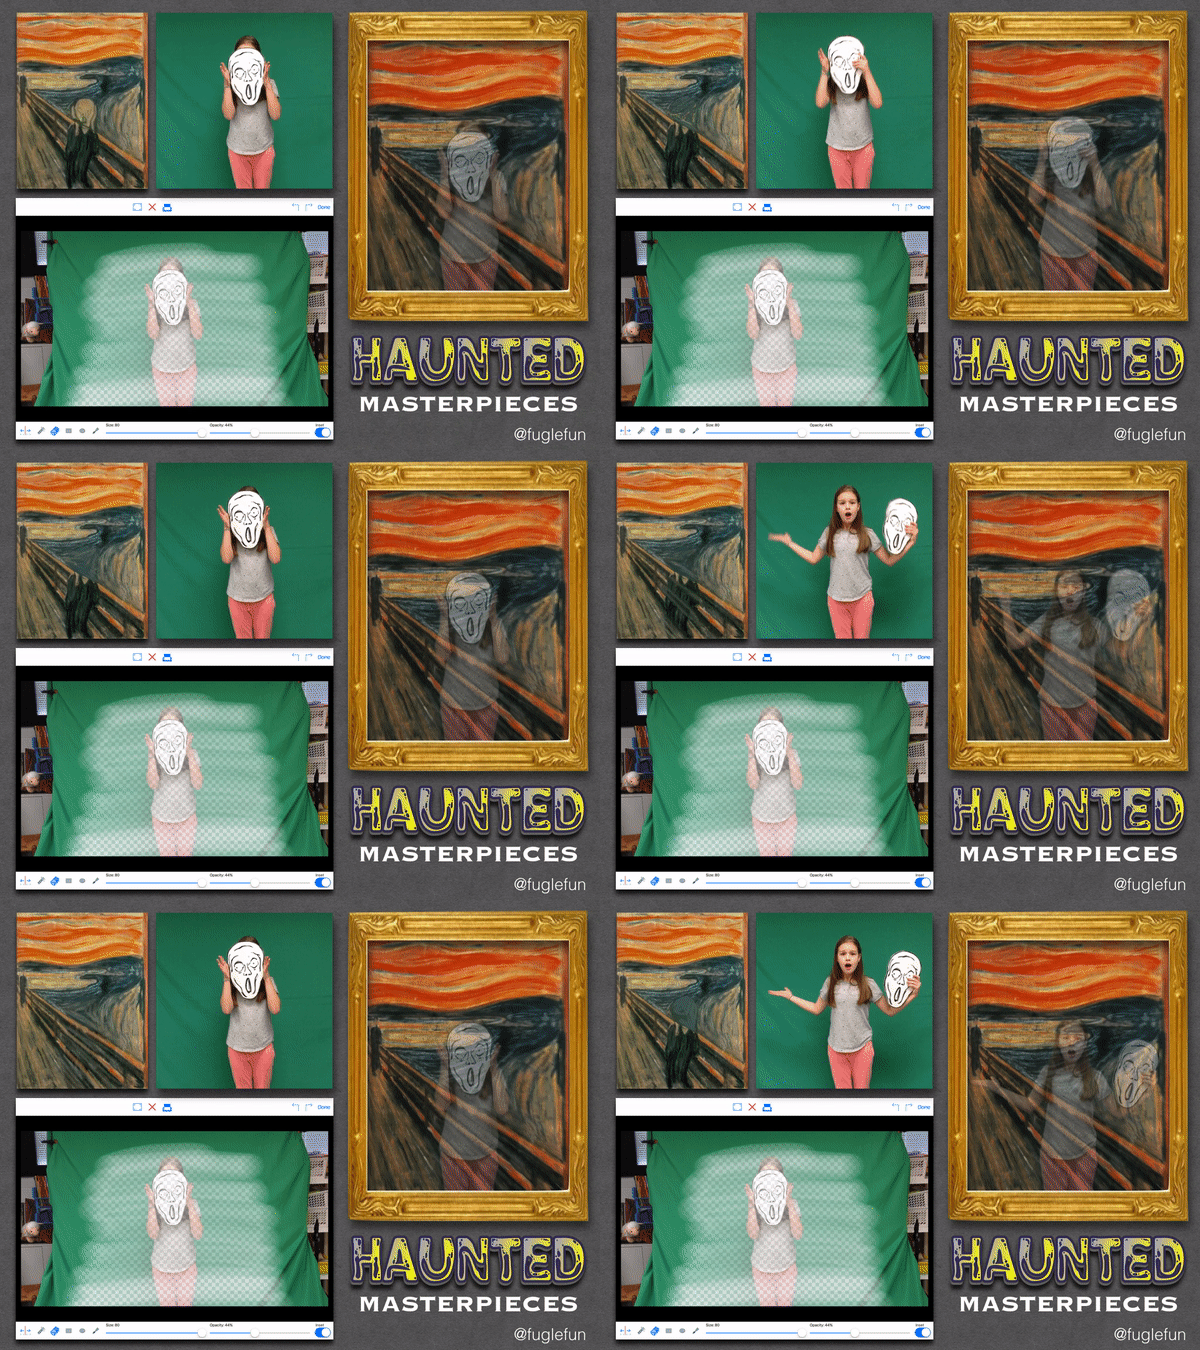
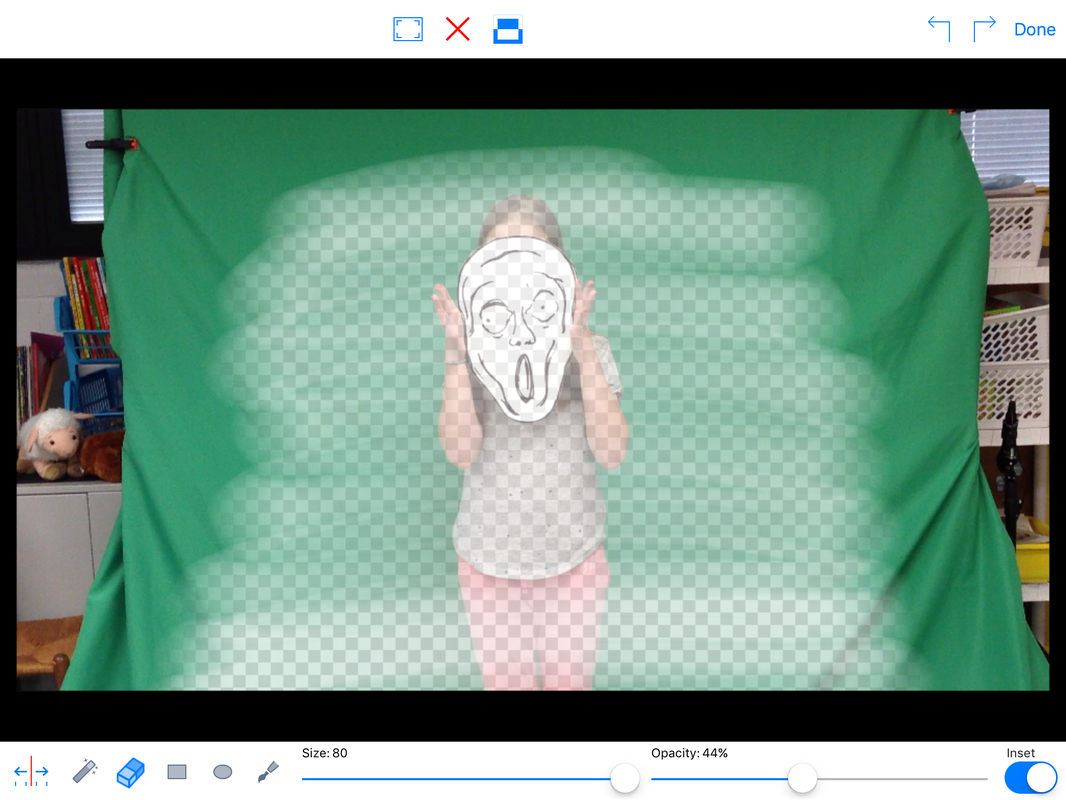
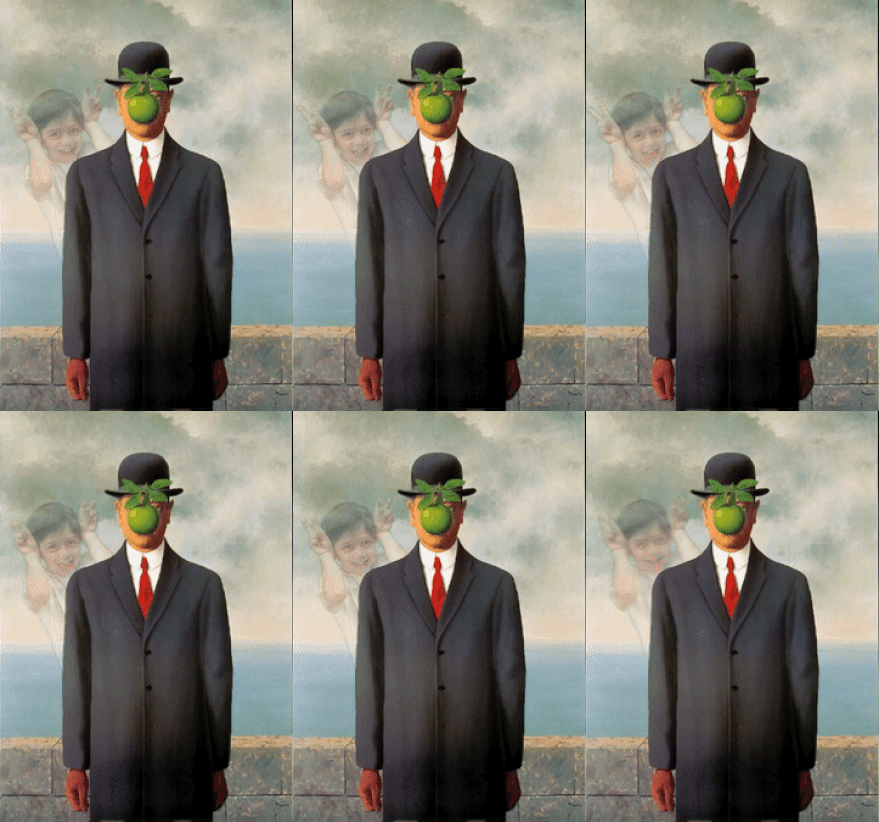
BUT, the green screen app takes away some of the difficulty of creating two exact videos with and without a figure since you can layer using the magic of green screen over anything and change the opacity with their mask tool. Here is how I was able to achieve the effect. There might be an easier way, but this is pretty simple.
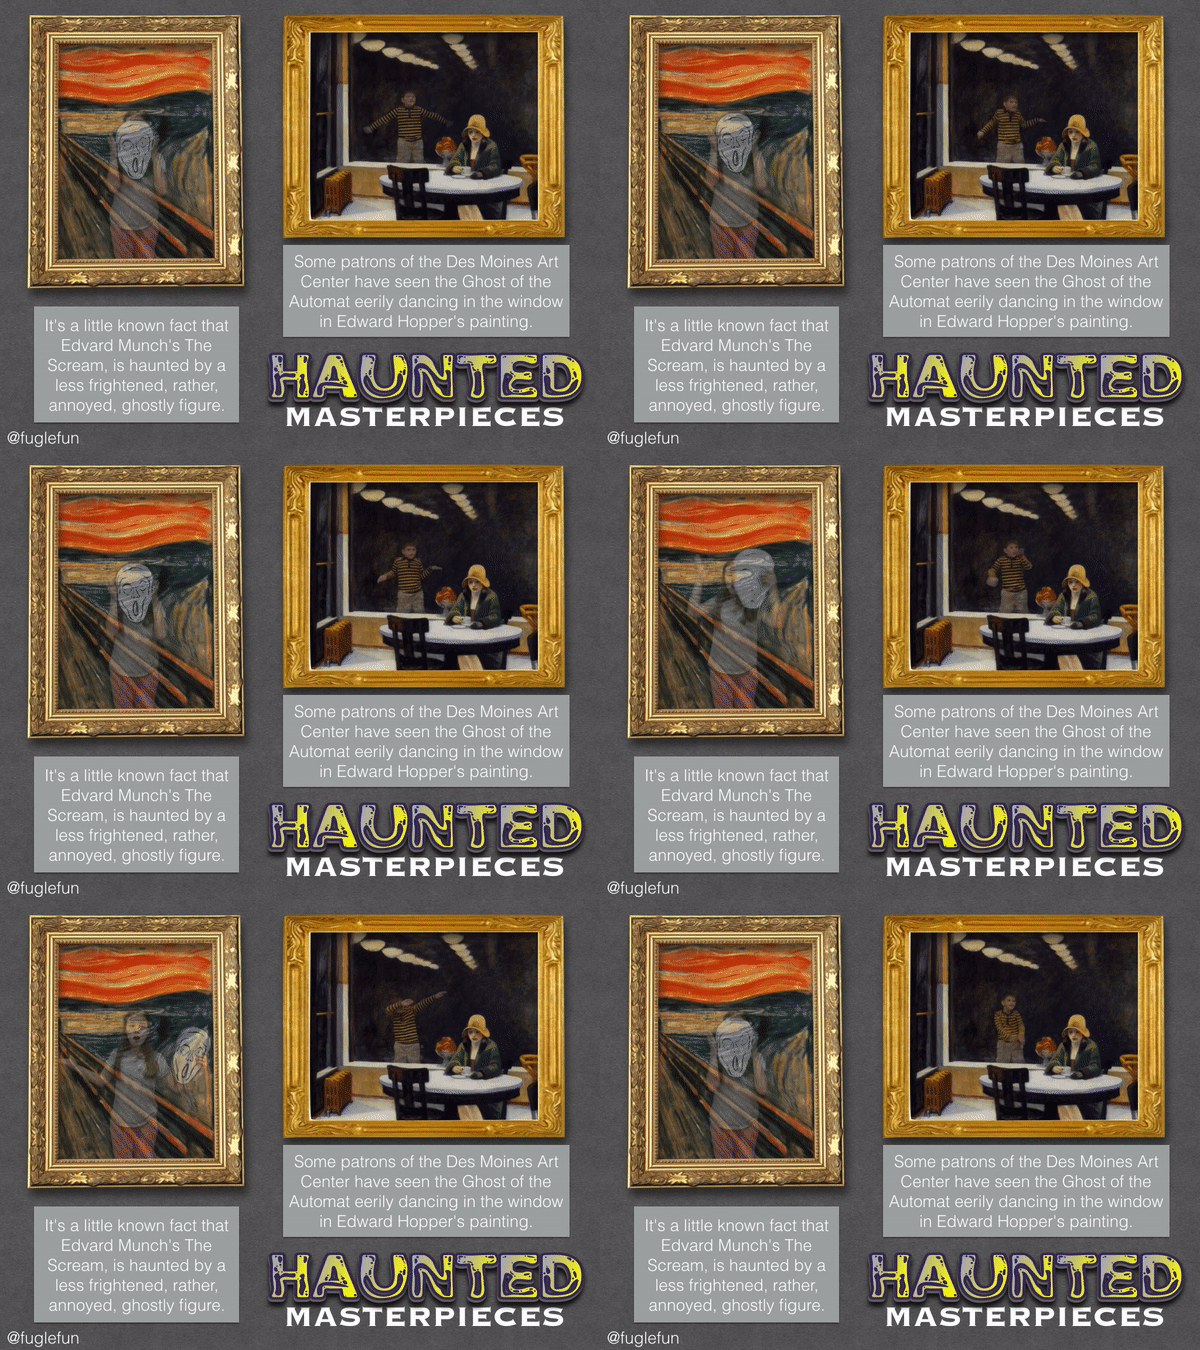
Haunted Masterpieces from Tricia Fuglestad on Vimeo.
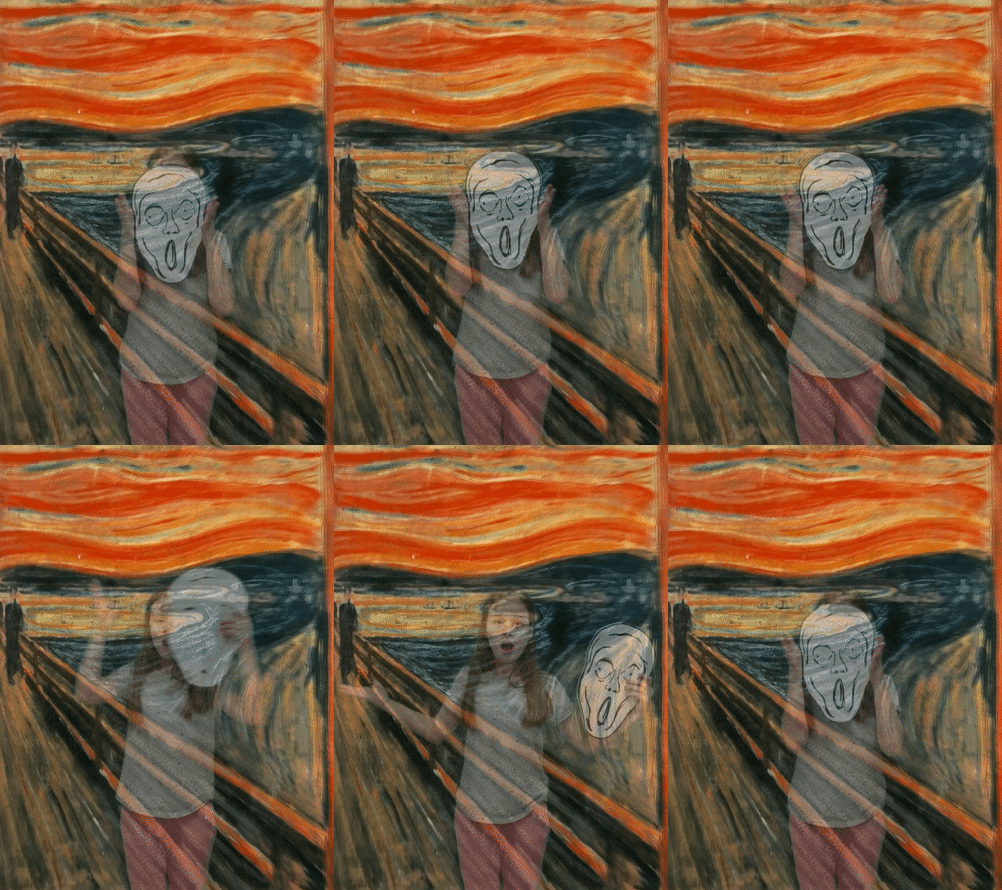
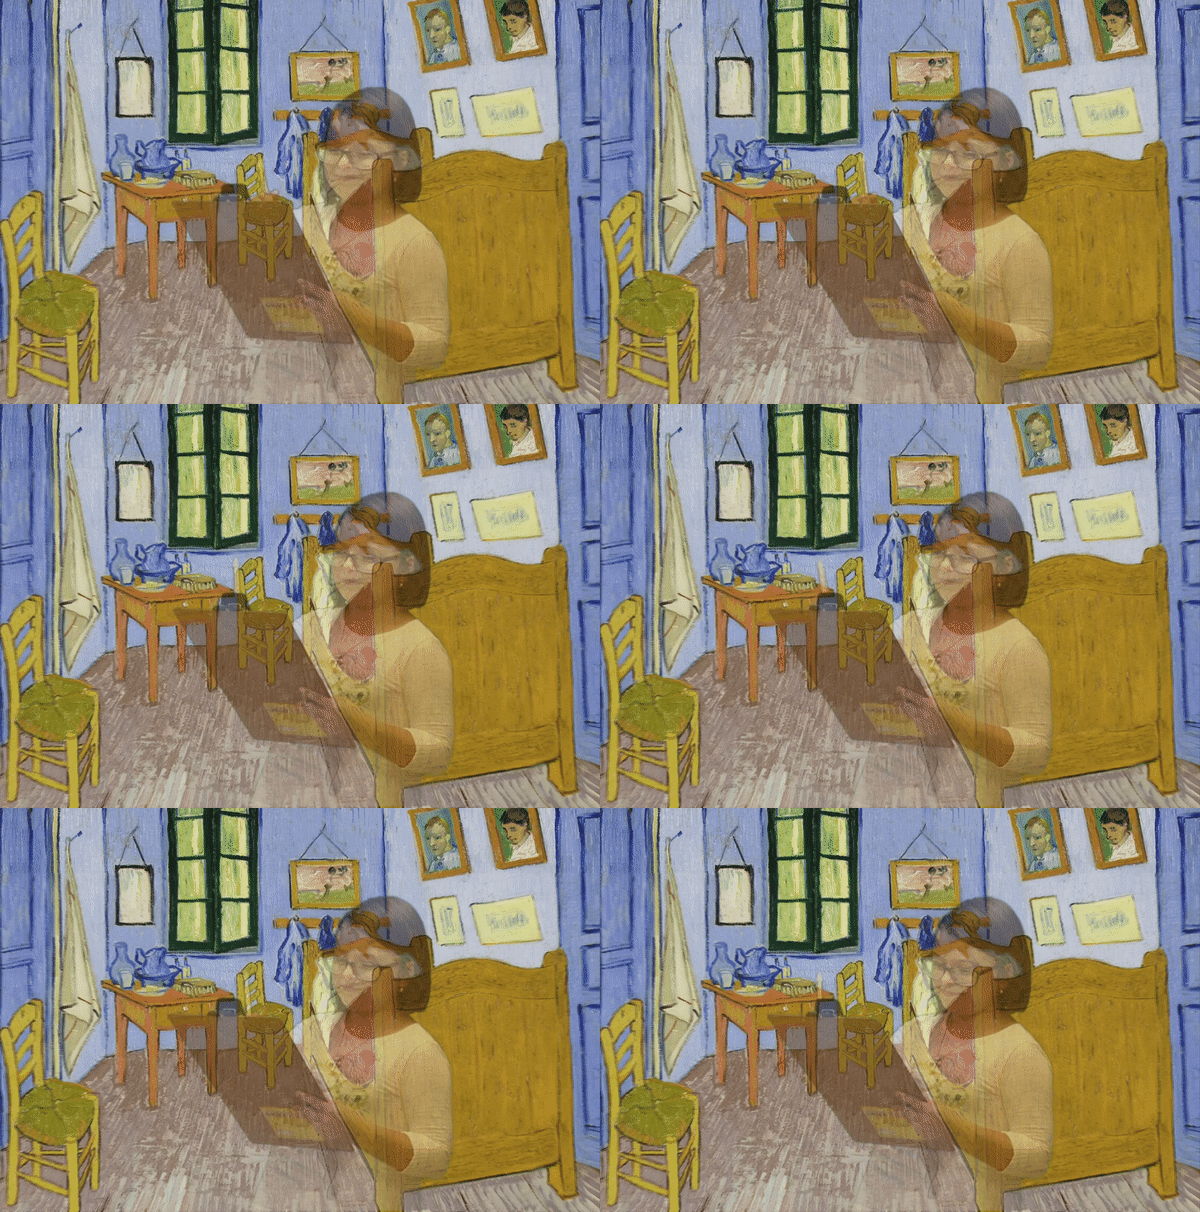
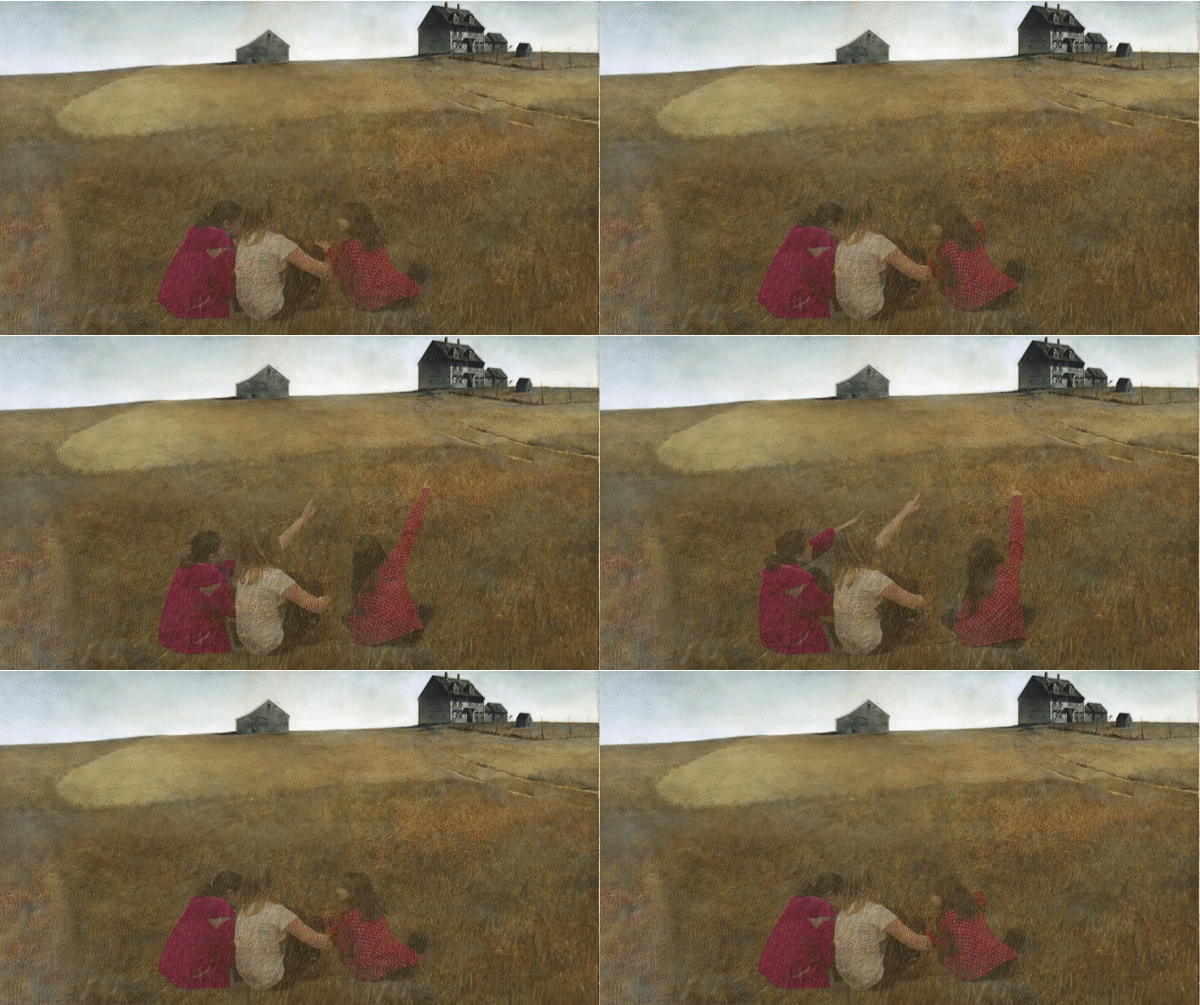
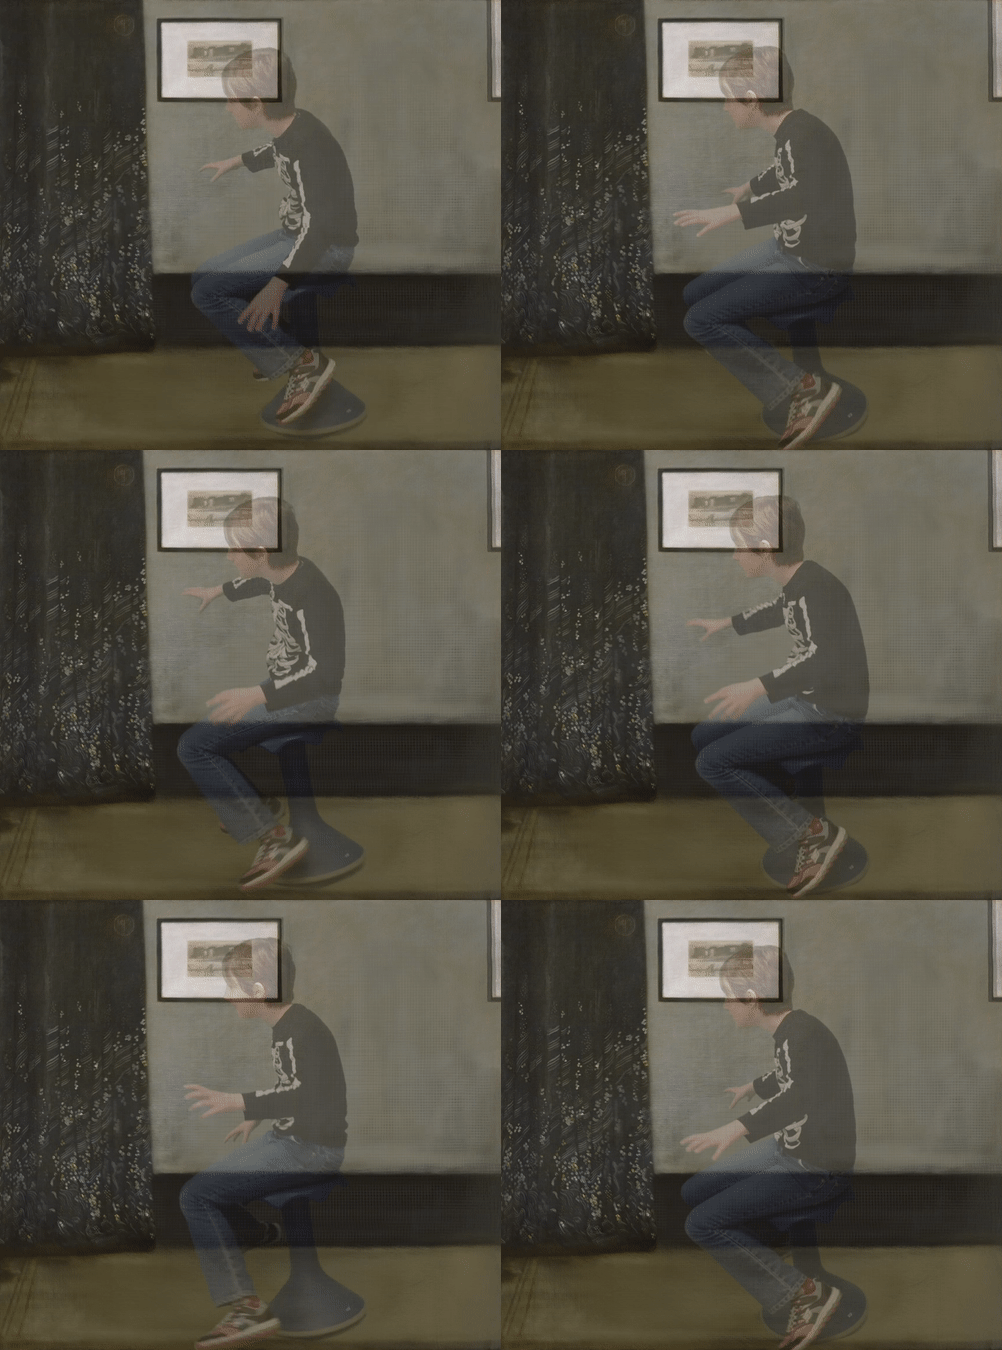
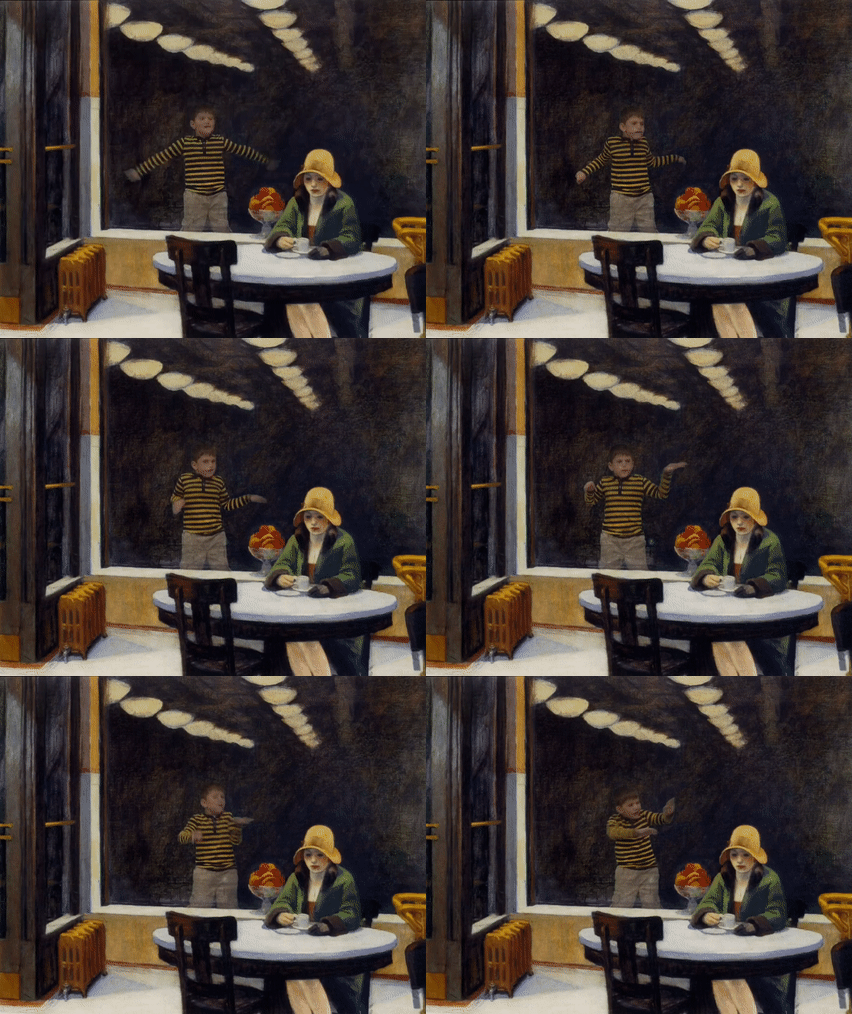
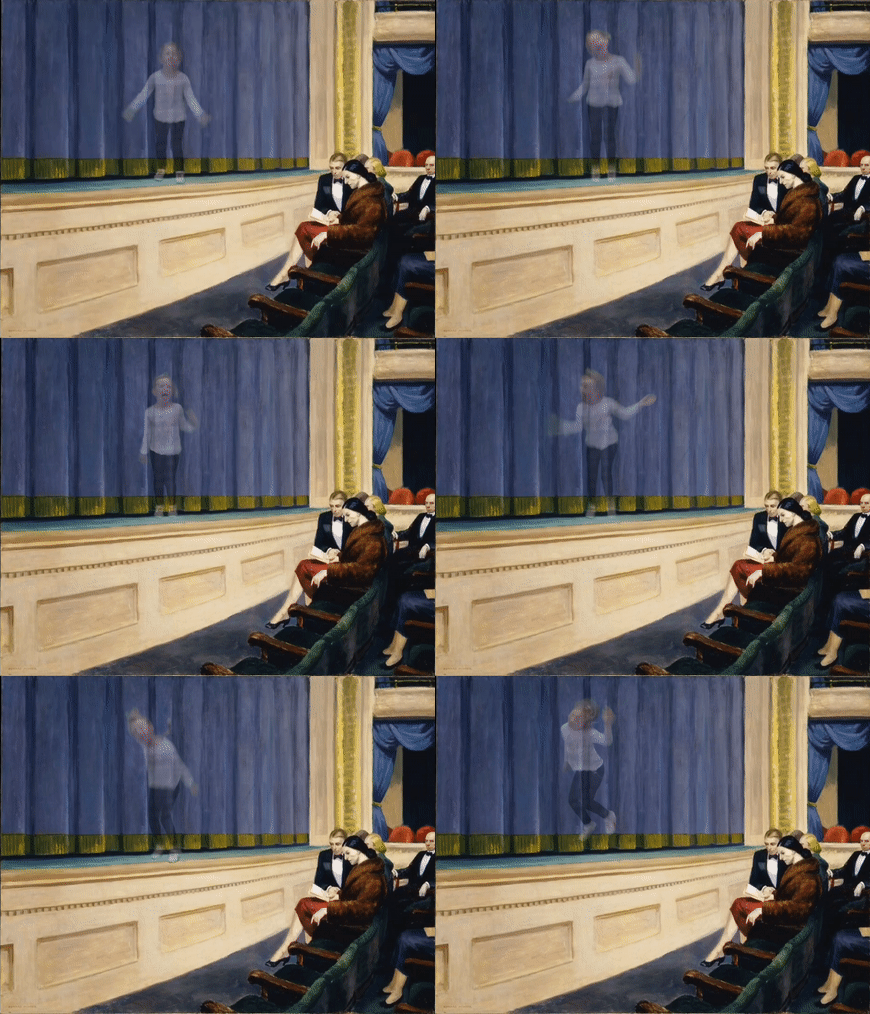
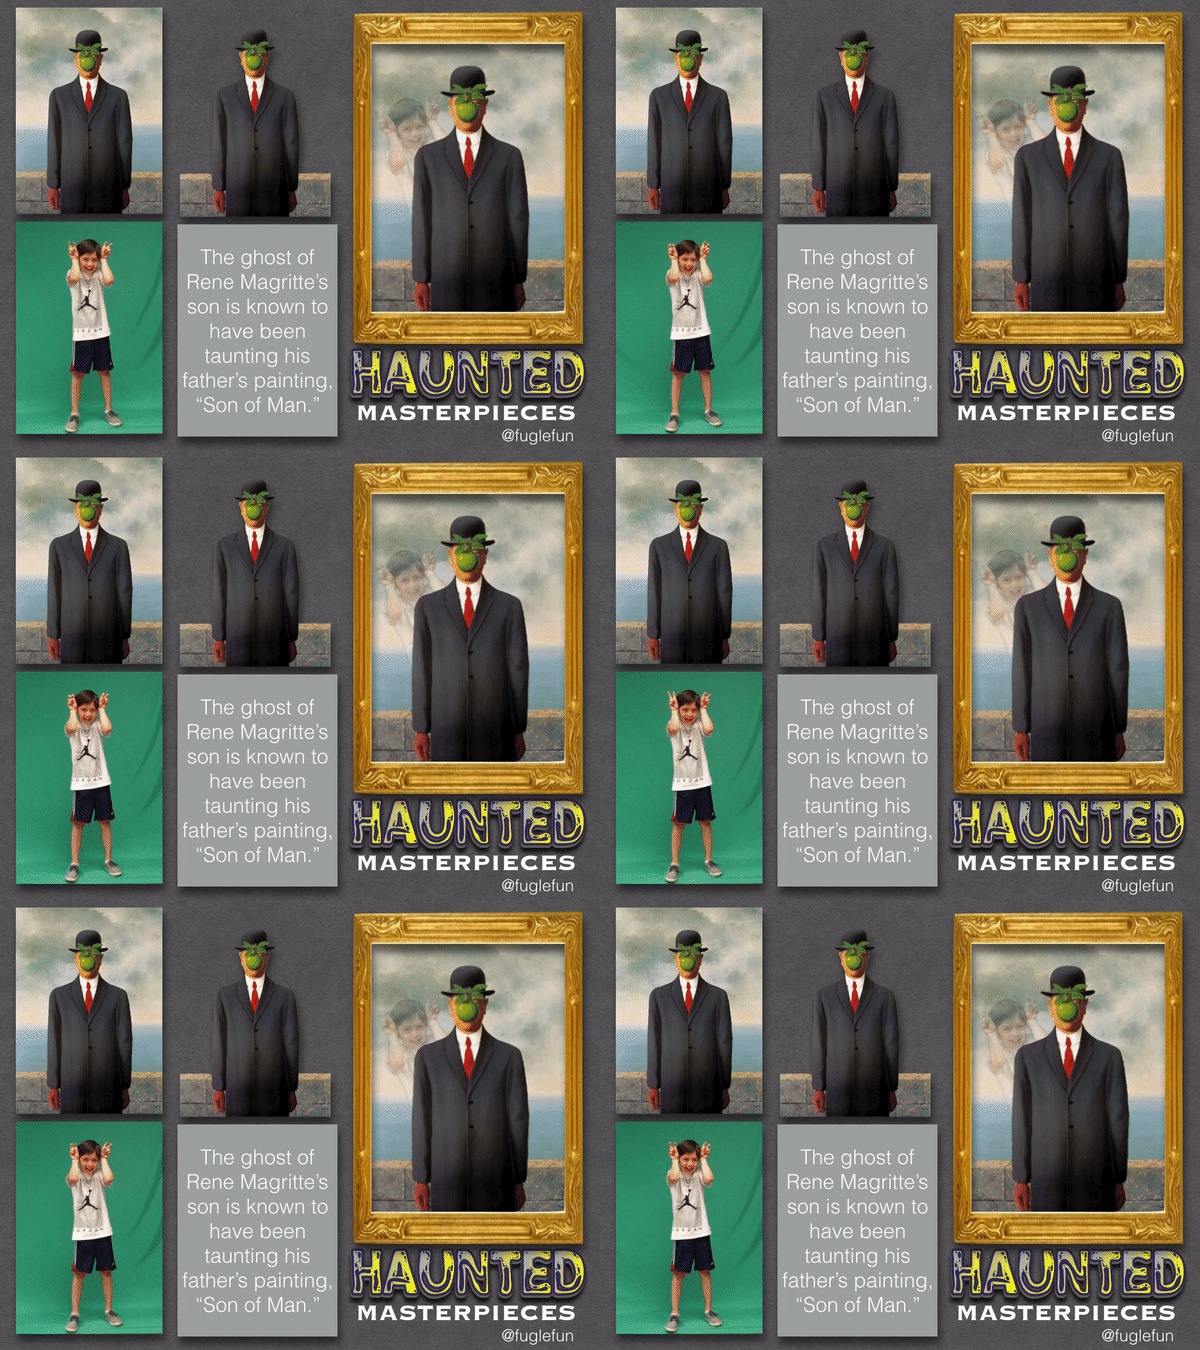
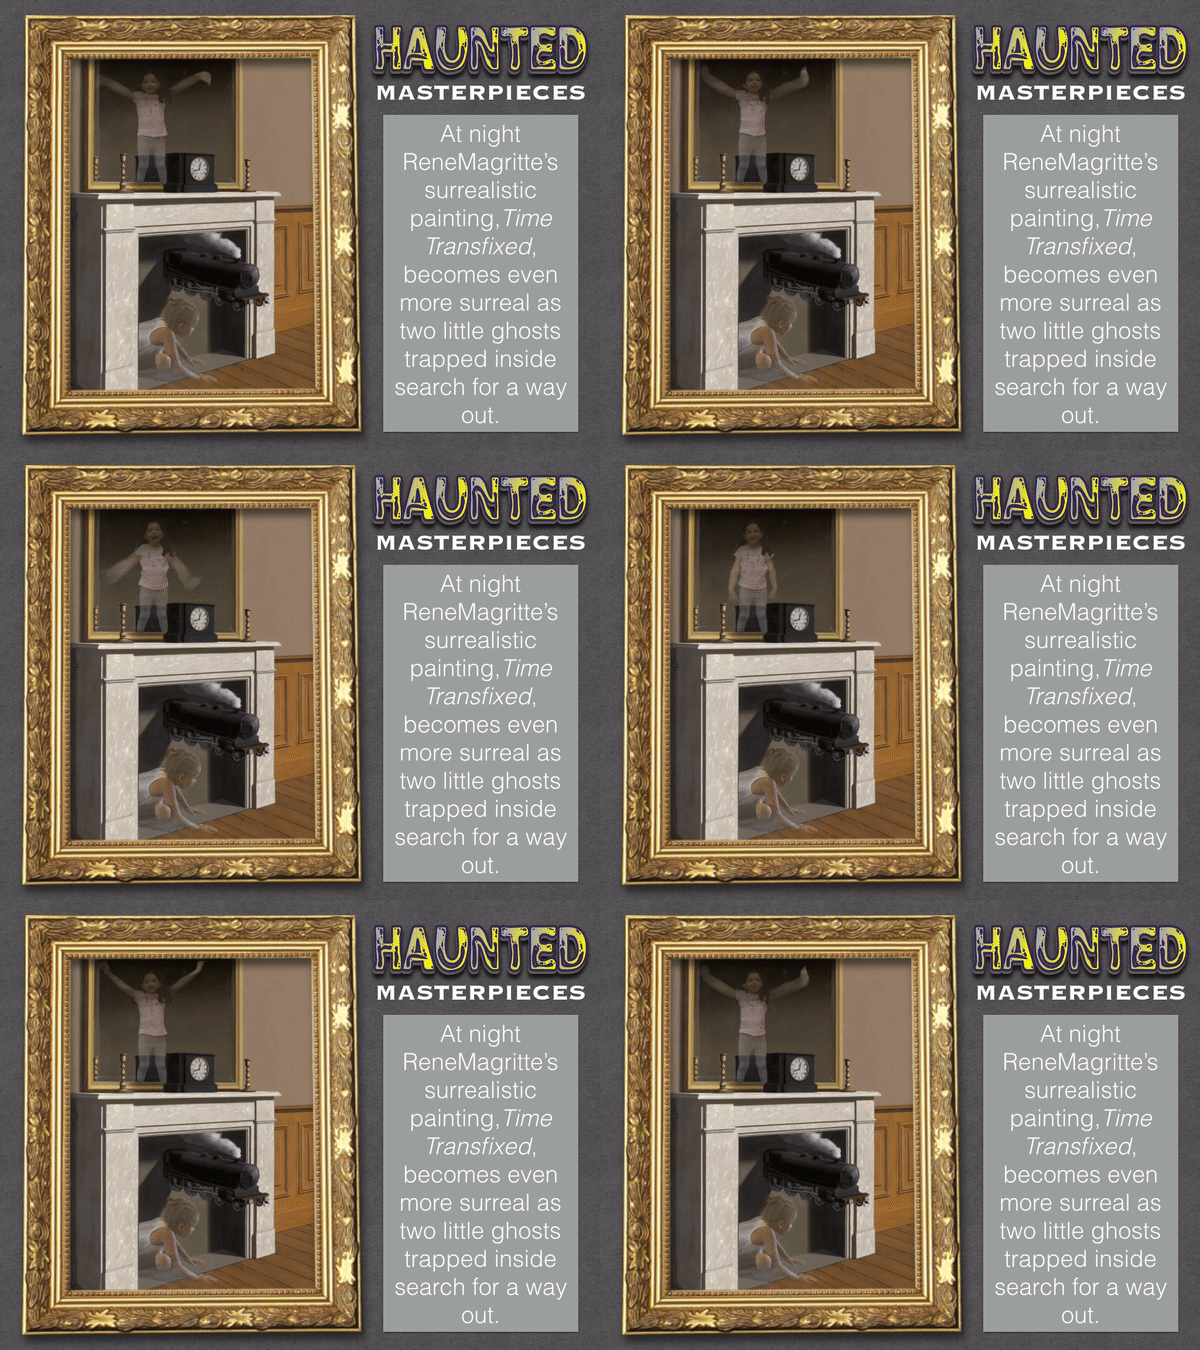
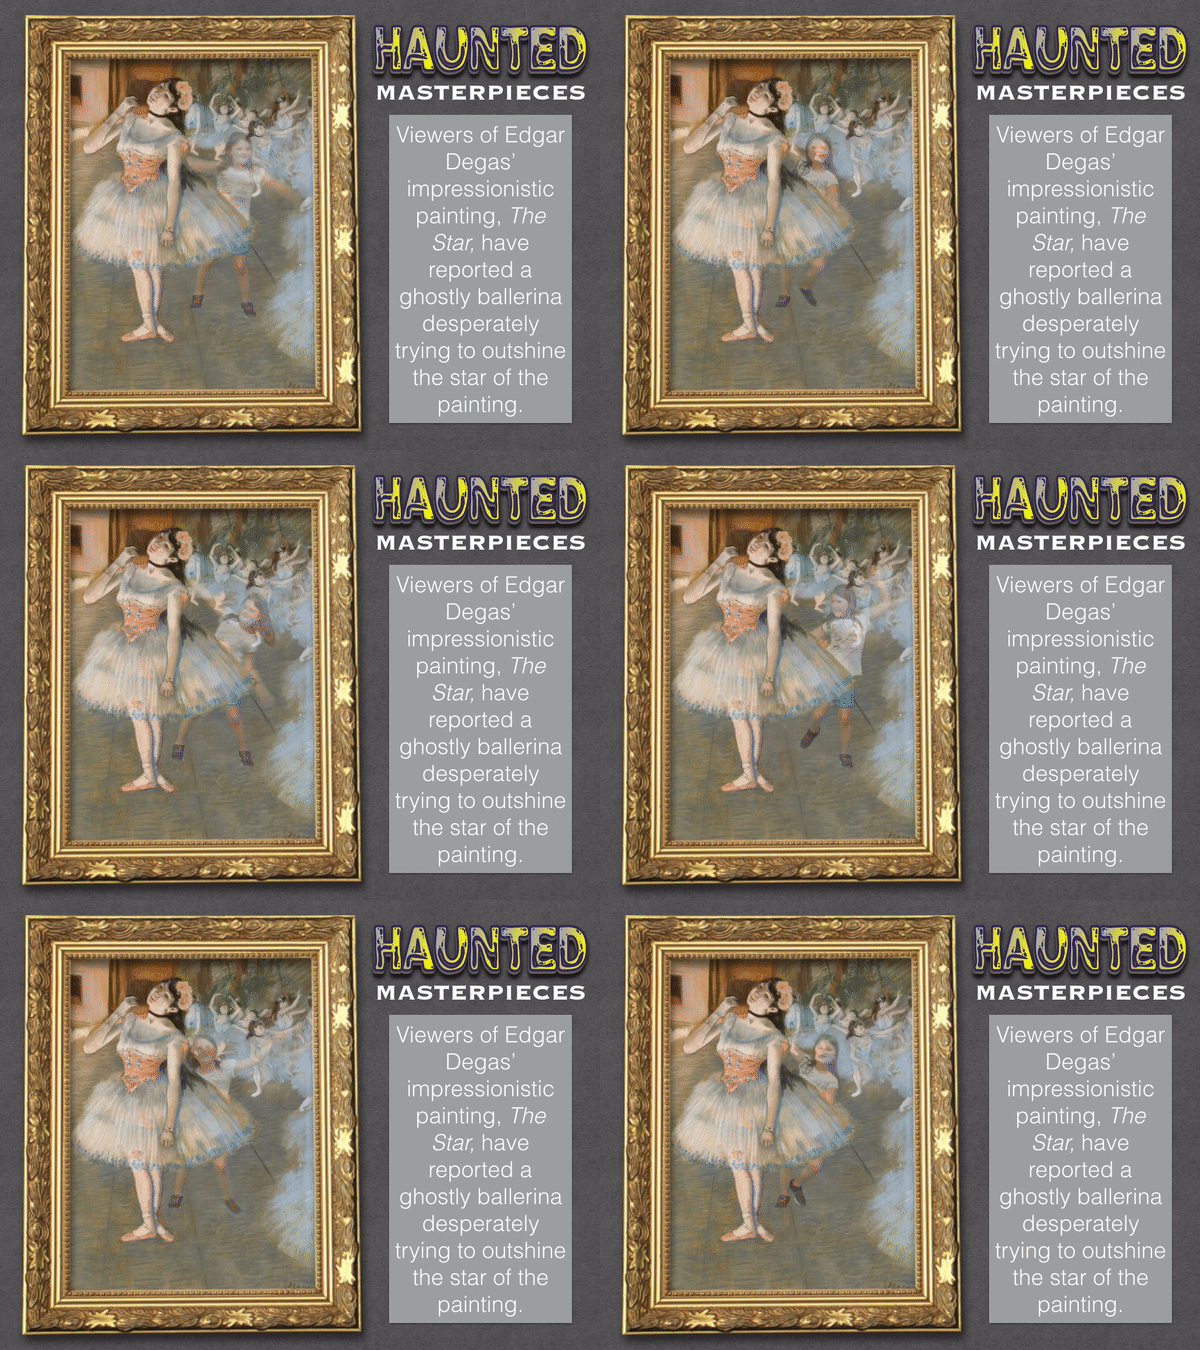
Haunted Masterpieces: using this illusion
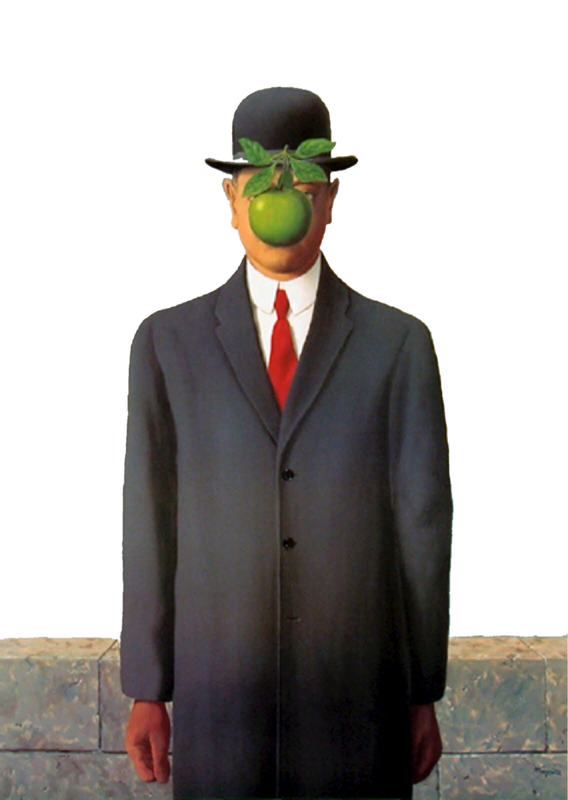
STEP ONE: Mask out the figure from the artwork (if necessary)
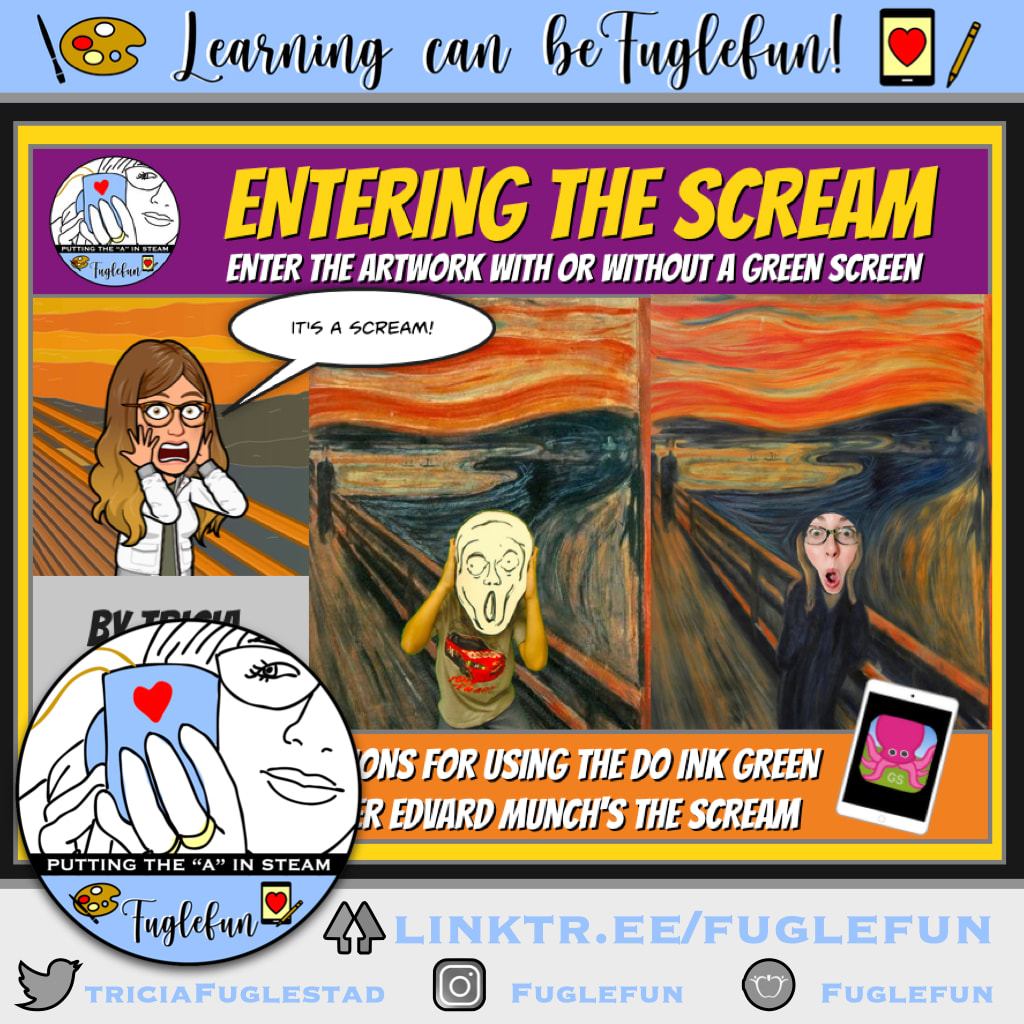
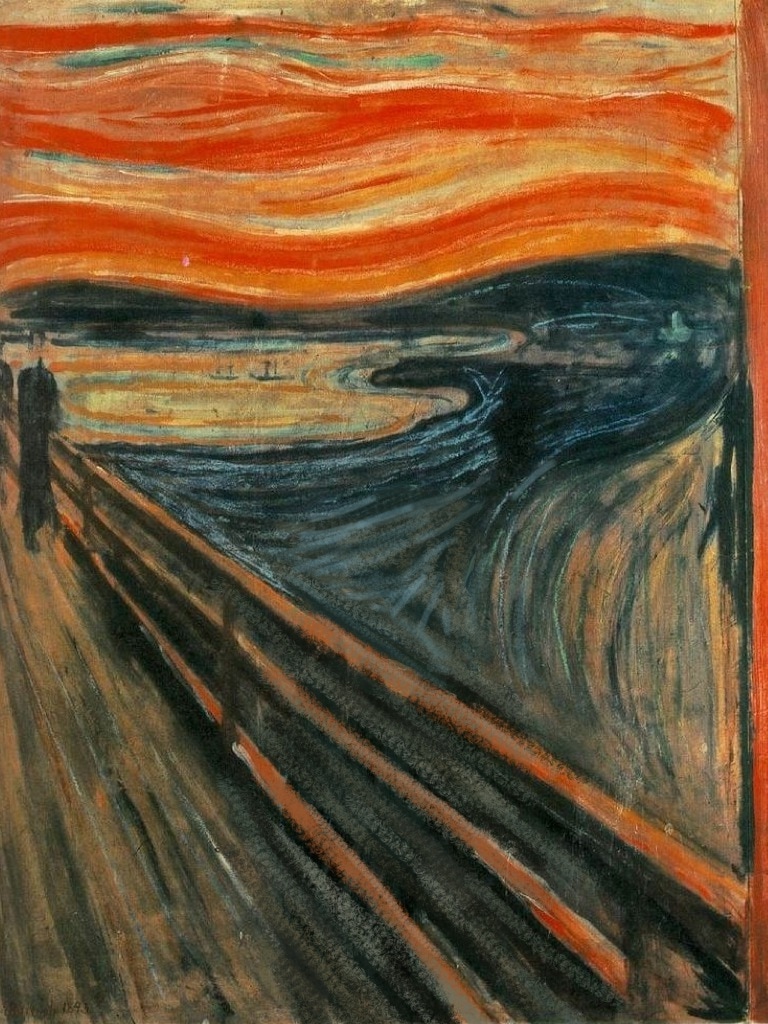
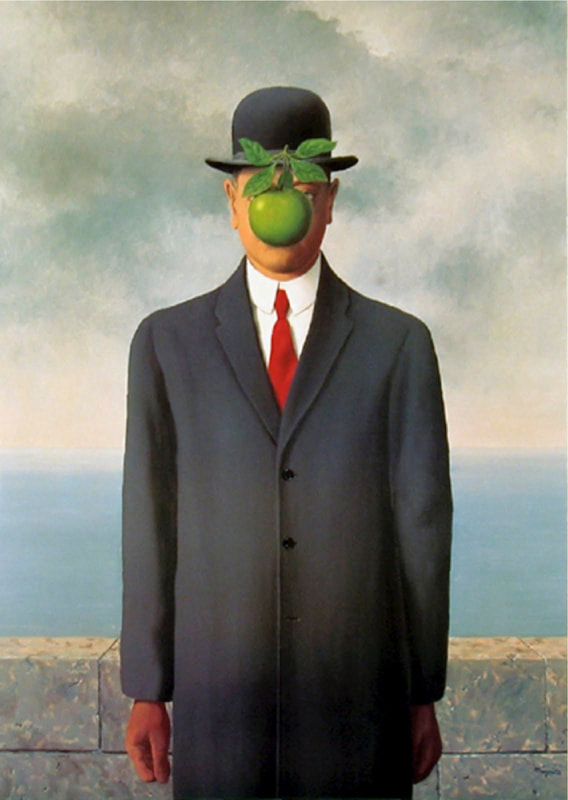
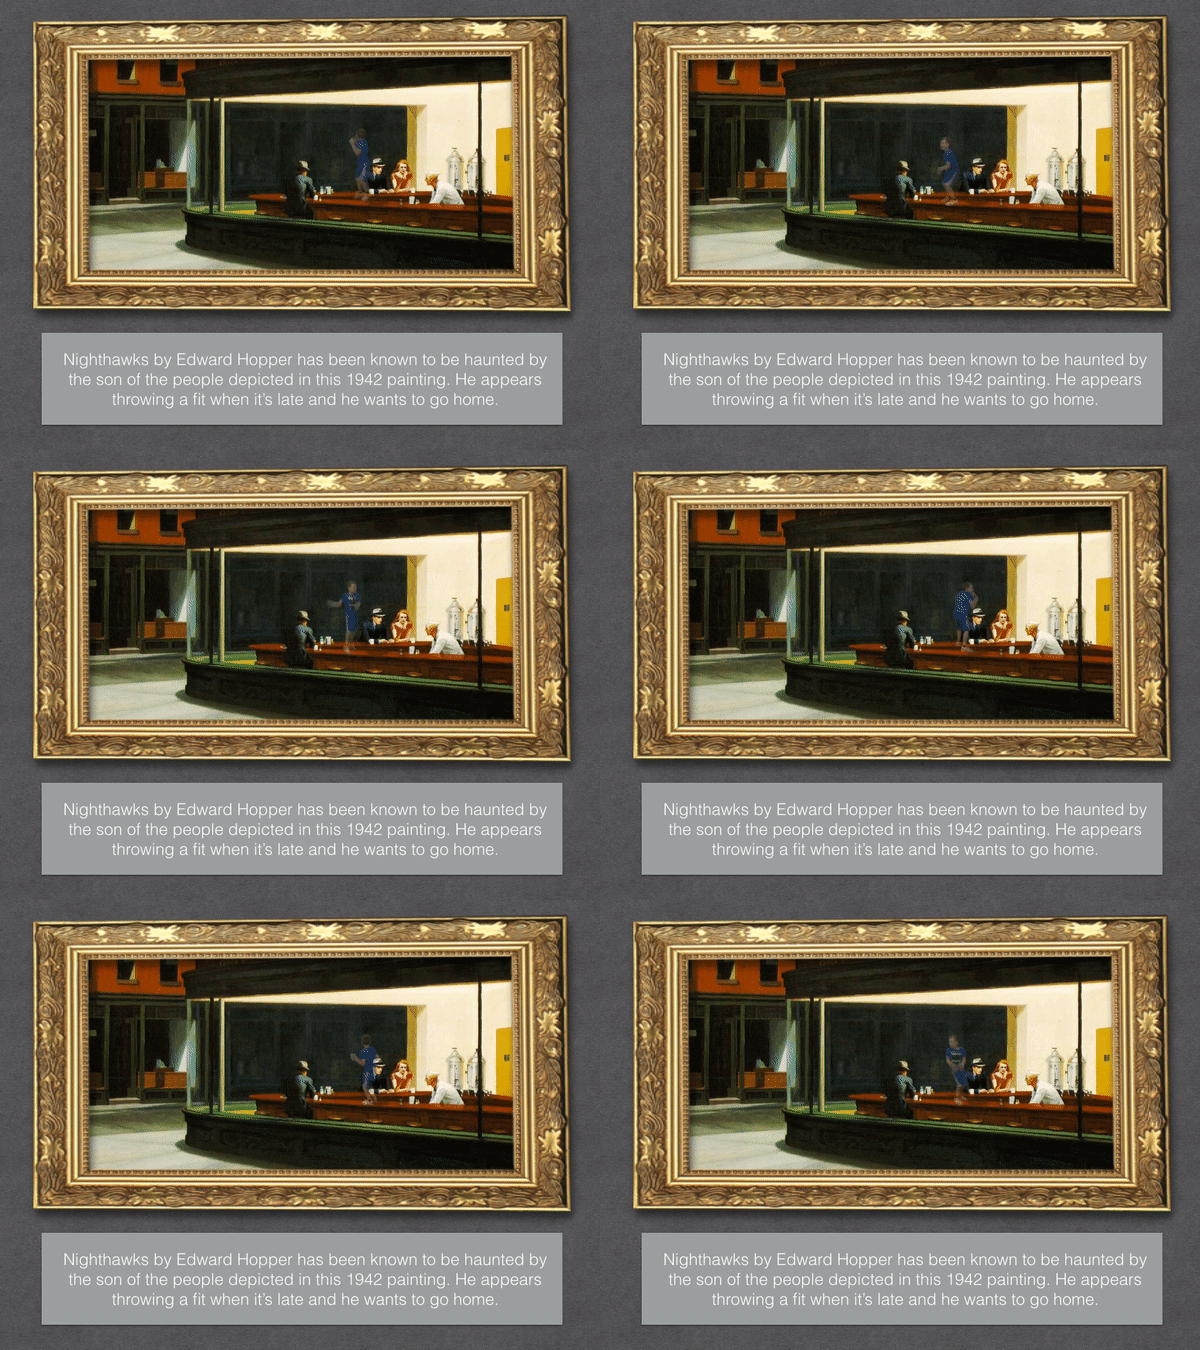
I started with a piece of art, The Scream by Edvard Munch, where I had masked out the figure by matching the colors and textures in a drawing app (see video below or just grab mine here). You might choose a painting with plenty of blank space like an Edward Hopper painting (see my curated collection) or no figures like a landscape or still life. In that case you might choose to skip this step.
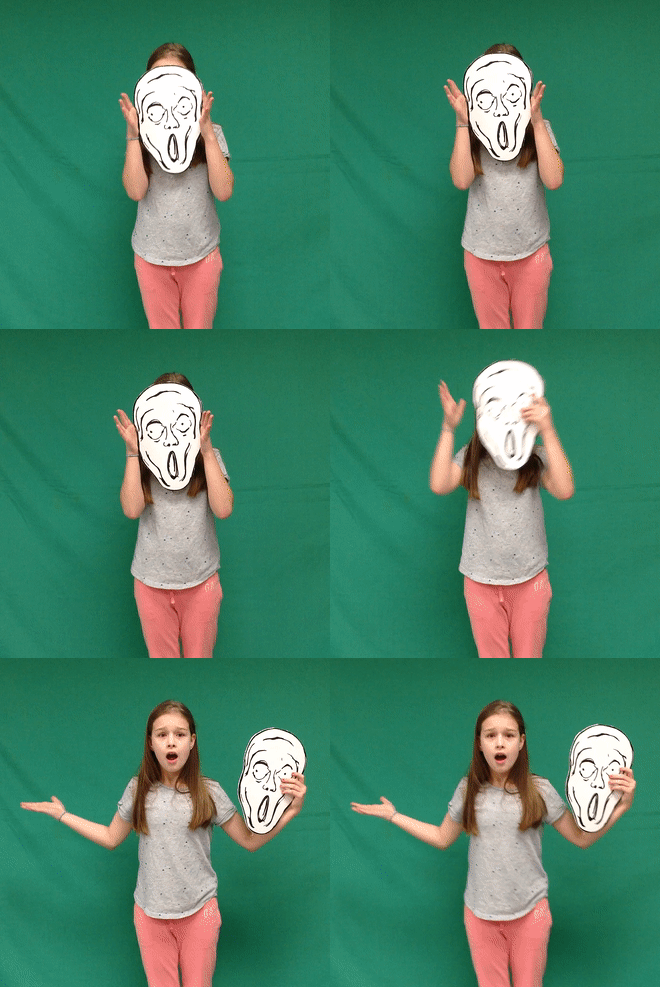
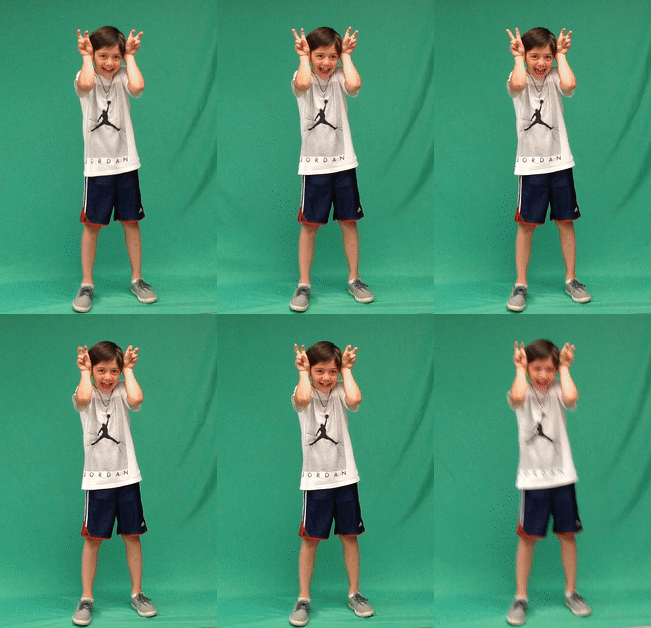
Before you film, the student needs to know their story and be prepared use their body language to help tell the story. It might be fun to come prepared in costume or with props. I think a two second clip is all that is necessary. They will write their story and make their haunted video into a looping gif or still image. Filming with audio where the student explains their story would work as well, but each audio clip would need to be short enough that a class video would remain under 3 mins (to keep it engaging). Capturing audio while the student is in front of green screen and backed away from the iPad filming him/her is tricky. You could set up an external iPad mic and have the class completely silent. Or, you can put a lapel mic on the subject if you think you can hide it for the filming. That takes time so classroom management would be more difficult.
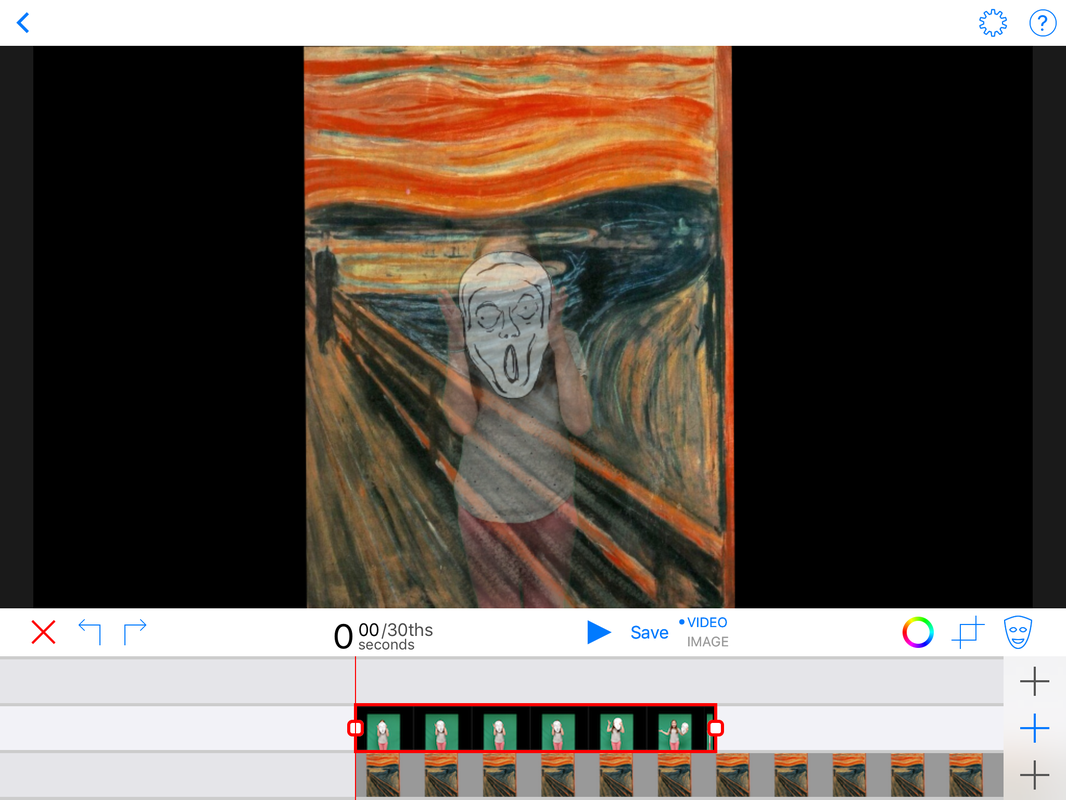
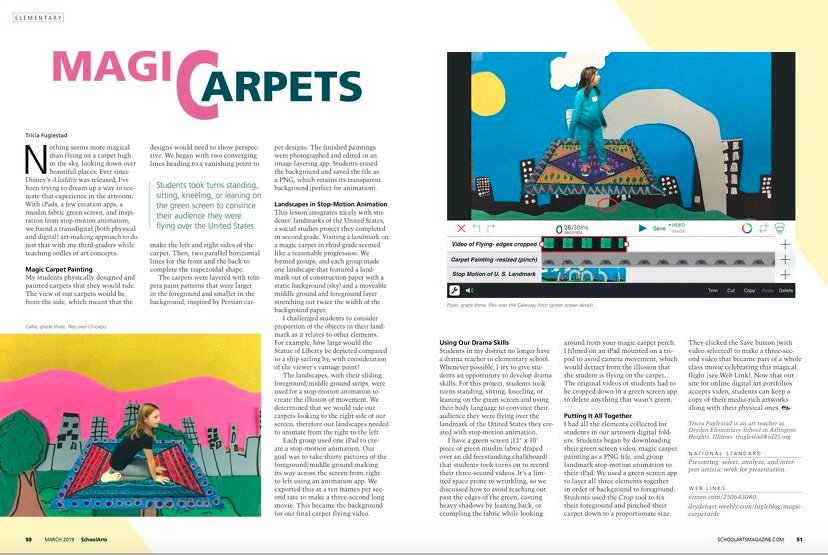
The illusion doesn't happen during real-time green screen capture. It happens in post-production. So, students would need to gather their background image and green screen video into their iPad camera roll and open up the Green Screen app by Do Ink. The background image goes on the lowest level. The green screen video goes above it. The app will automatically remove the green but you will need to crop, resize, position the ghost, and mask it to make it semi-transparent to complete the effect.
Students can pull up the website EZGIF.com from their iPads and upload the video from their camera roll to convert it to a gif. These can then be displayed on my weebly blog and shared on their online art gallery. They could use the caption tool for the image to tell their story (or use the artist statement section on Artsonia to share in their portfolio.)
Layering into artwork with masking:
TOP LAYER: Masked Image (becomes the foreground)
MIDDLE LAYER: The green screen video (looks like it behind the figure in painting)
BOTTOM LAYER: Original painting lined up exactly with the masked image above








 RSS Feed

