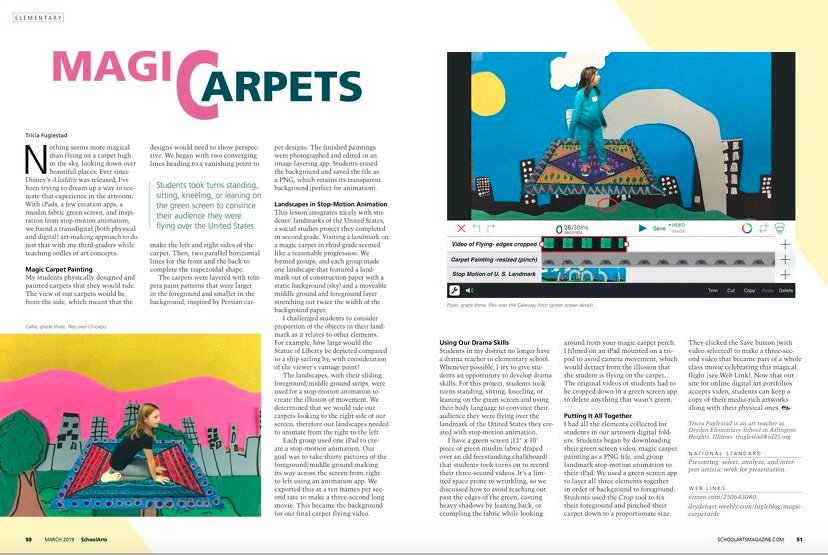
A long time ago I responded to Ian Sands on twitter asking for digital images of children's art that he could offer to his high school students to play with as they learn to animate. Some of his students selected my students "He Came with the Chair" paintings. The animations turned out SO adorable and inspiring-see example below or check them all out here. It has been one of my goals to figure out an elementary level lesson with a straightforward app that would give my students the experience of animating their own artwork in the same style. I think I might have figured it out. This technique isn't perfect, but, it will work.
If we had Procreate app: like photoshop
The Brushes Redux app (free) allows you to work with layers like photoshop; select and match colors, use different textured brushes, and save each layer individually-all things needed to make these animations. However, the app does not allow you to select parts of the image. That's how the feet were moved in the animation below. The artist selected the feet, rotated them a bit, and redrew the surrounding space to match. This is the element my students would need to work around unless we purchase Procreate app for the classroom which has all the tools we would need. Sounds like I should write a grant.
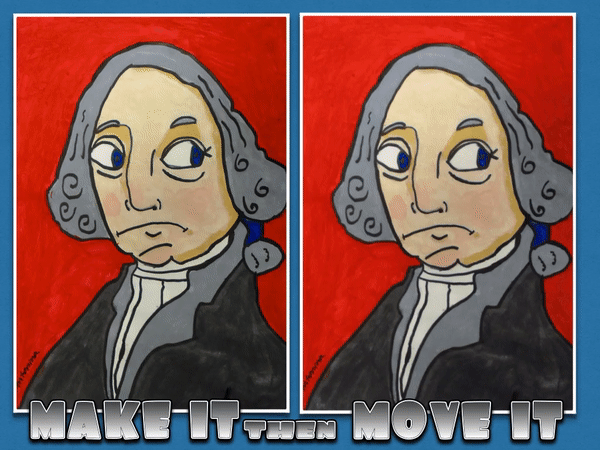
 Original artwork by a Dryden 2nd grader | 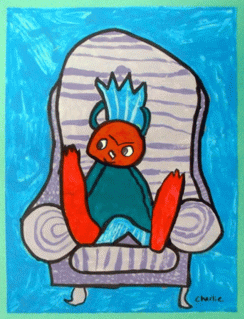 Animated using Photoshop by HS student |
Alternative plan: Brushes Redux (free)
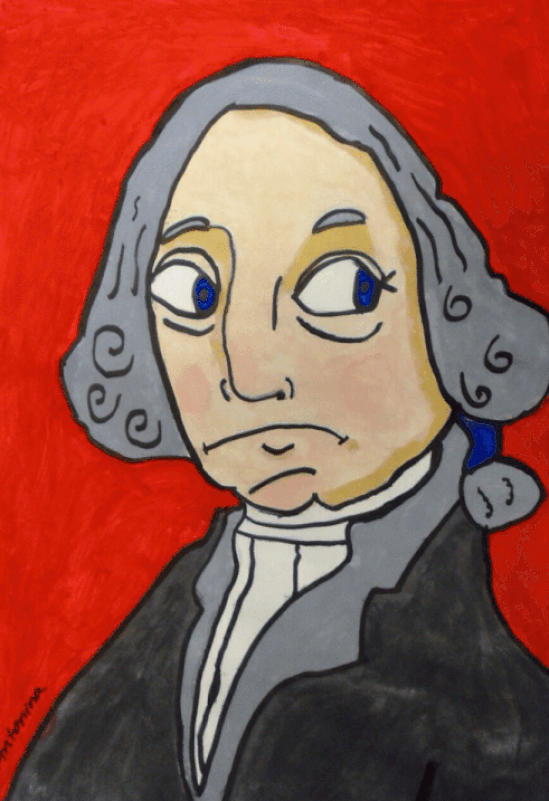
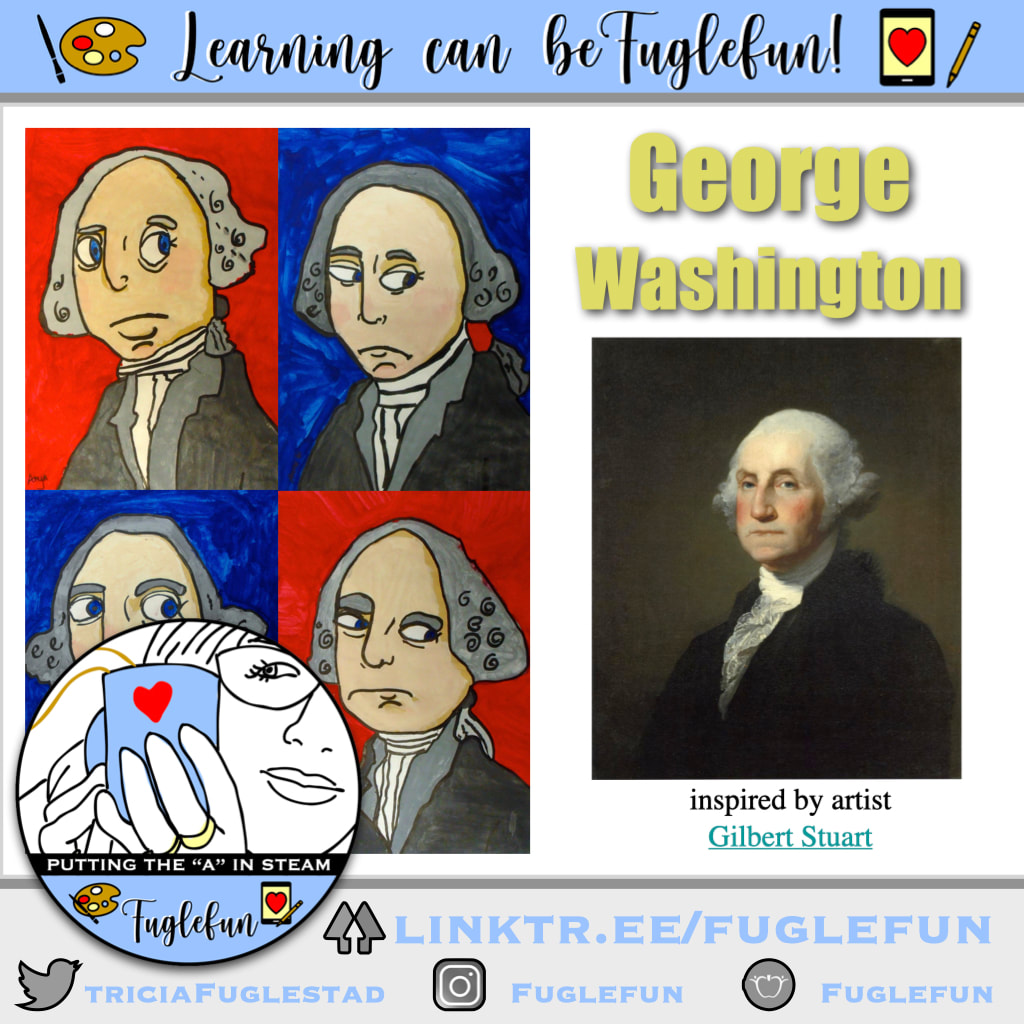
This alternative solution for making animated GIF using Brushes Redux is to redraw each change in the piece of art. You need to choose a piece of art that has colors, textures, and elements that can easily be REDRAWN since you can't select and move. So, let's look at these portraits of George Washington by second graders. They each have clear and solid black marker lines and a clean opaque paint. It would be easy to redraw the eyes, mouth, nose, or even the wig or shoulders. Here is my first run through:
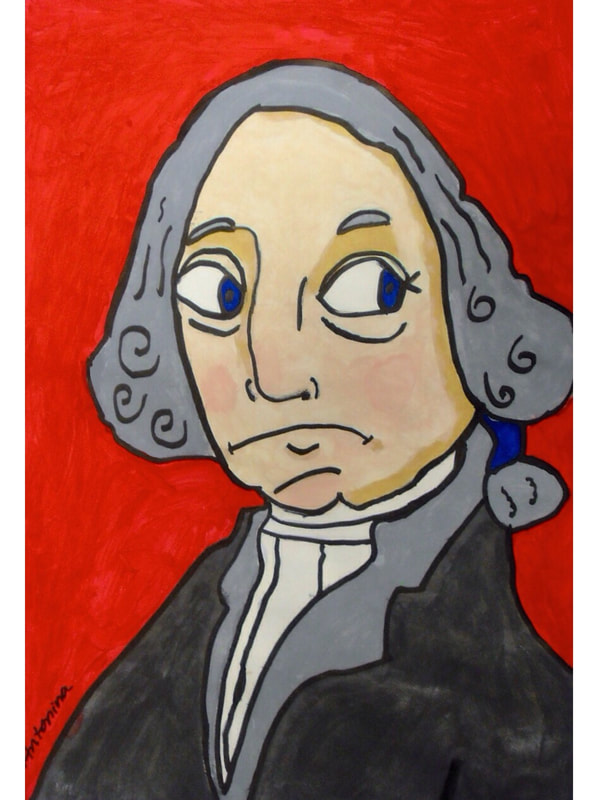 Original drawing #1 | 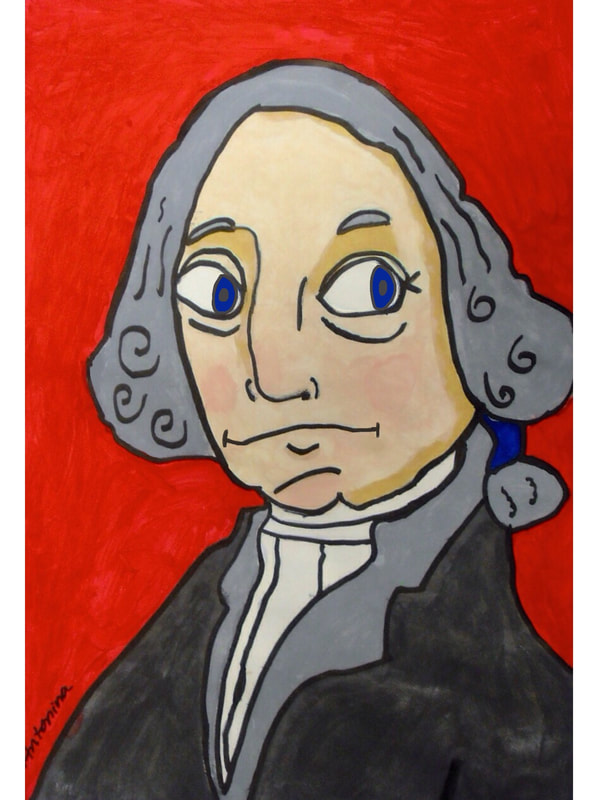 redrawn irises and corners of mouth #2 |
 Redrawn irises, mouth, eyebrows rise #3 |  Eyelids shutting, blush & smile increase #4 |
 Changed blush, eyelids, mouth #5 | These are the five drawings I sent to my camera roll after redrawing some changes to eyes, mouth, eyebrows, and skin color. One trick to make your colors match is by holding and pressing down over a color until the "circle of selection ring" shows up. You can drag that ring over any color you want to match from the painting. Lift up and touch down again and you're ready to paint. It's really quick and easy in this app. If I had trouble making the blush effect blend nicely in #4-#5 so I had to switch brush styles to something more transparent to airbrush it in. I didn't choose white or black to draw with, I chose the white-ish/black-ish color in it for consistency. |

Screenshot of George Washington Painting in Brushes Redux
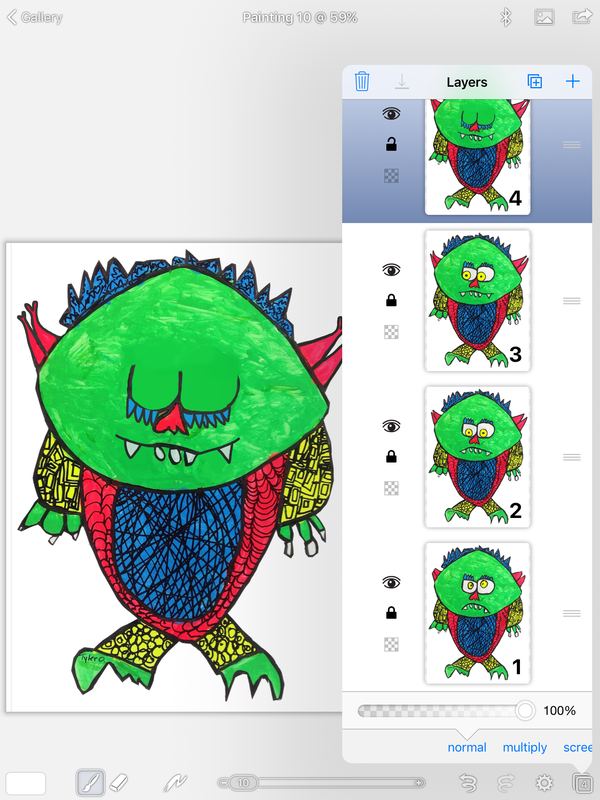
After importing your original image into a layer of Brushes Redux, you need to size it and never change it again. Consistency is really key for making the art look like it is moving. I deleted the extra transparent layer and chose the DUPLICATE button (double square +) from the top bar in the layers. I could only see the top layer so the bottom one didn't distract me, but to make sure I didn't draw on the wrong layer, I LOCK the bottom layer when I'm done with it (touch the lock symbol next to the image layer). I can use the eyeball feature to reveal and hide layers to check on how my changes are looking from one layer to the other. I would try to keep this animation simple by not exceeding 5 layers/drawings. It's hard to see all the layers in the app at one time when you get beyond 4. That can confuse your little artists. When you're ready to save your work: 1. close the eyeball on each layer expect your original (bottom layer), choose save to photos. 2. Open the eyeball on second layer and save to photos. 3. Repeat this until finished. This makes the images in the camera roll stay in order.
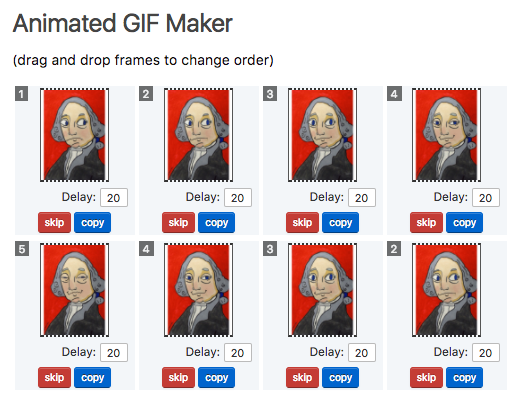
Screenshot from ezgif.com preparing animation sequence with duplicates
Now students can go to ezgif.com on their iPads and upload their images into the GIF maker. You'll see above that my five images are made into a sequence of 8 so that it will loop nicely. 1, 2, 3, 4, 5 are the drawings. I copied 4 and placed it after 5 so I could start reversing the sequence, followed by a copy of 3 and 2.
Let's spell this out clearly for little artists:
1, 2, 3, 4, 5, 4, 3, 2 (sequence for 5 images in animation)
1, 2, 3, 4, 3, 2 (sequence for 4 images in animation)
1, 2, 3, 2 (sequence for 3 images in animation)
Here is how it looks: (I used the crop tool to trim off white edges)
Let's spell this out clearly for little artists:
1, 2, 3, 4, 5, 4, 3, 2 (sequence for 5 images in animation)
1, 2, 3, 4, 3, 2 (sequence for 4 images in animation)
1, 2, 3, 2 (sequence for 3 images in animation)
Here is how it looks: (I used the crop tool to trim off white edges)
Download the George Washington Lesson here
Quick Video Overview:
Use this video to introduce the project and help students see what the process requires.
Thinking this through: (my notes)
| Now that we went through the process, I'm trying to think about the age group that would do this project. I think that we could make this work for almost any age if I helped with file management. Brushes Redux will save their work from week to week in their gallery. So this could be a long term drawing project. When students are ready to save, we could upload their image sequence to a folder I make for them on dropbox. The dropbox app gives you the chance to rename a group of files. It becomes their name followed by the number. At this point, the files are safe and ready for uploading to the GIF maker in Ezgif.com. This could be done the following week. I could have them download the images into the camera roll in correct sequence with duplicates included as spelled out above. | 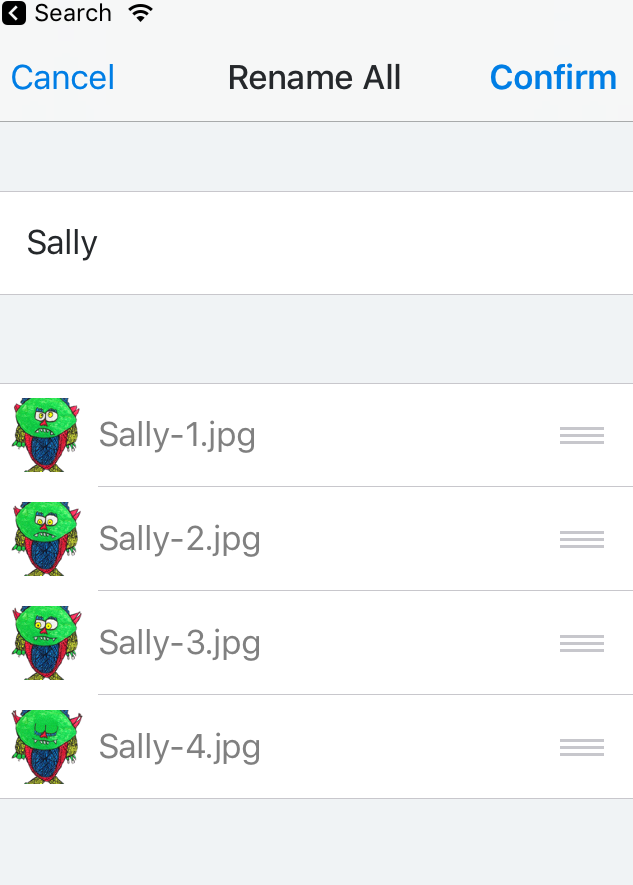 Turn in art in order with help of Dropbox |
screenshot of Wild Thing- layers in Brushes Redux
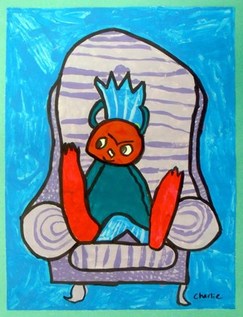
Another approach I might go with is to add structure the process since everything about it would be new to young learners. We could all work from the same gallery of images so we can tackle similar problems together. If we worked on, for example, these Wild Things from 1st grade, I could demonstrate how I would animate the eyes, mouth, and the horns. They might make other creative choices, but the problem-solving I demonstrate would transfer easily to their creative solutions.
4 drawings in this sequence: 1, 2, 3, 4, 3, 2 so it loops nicely
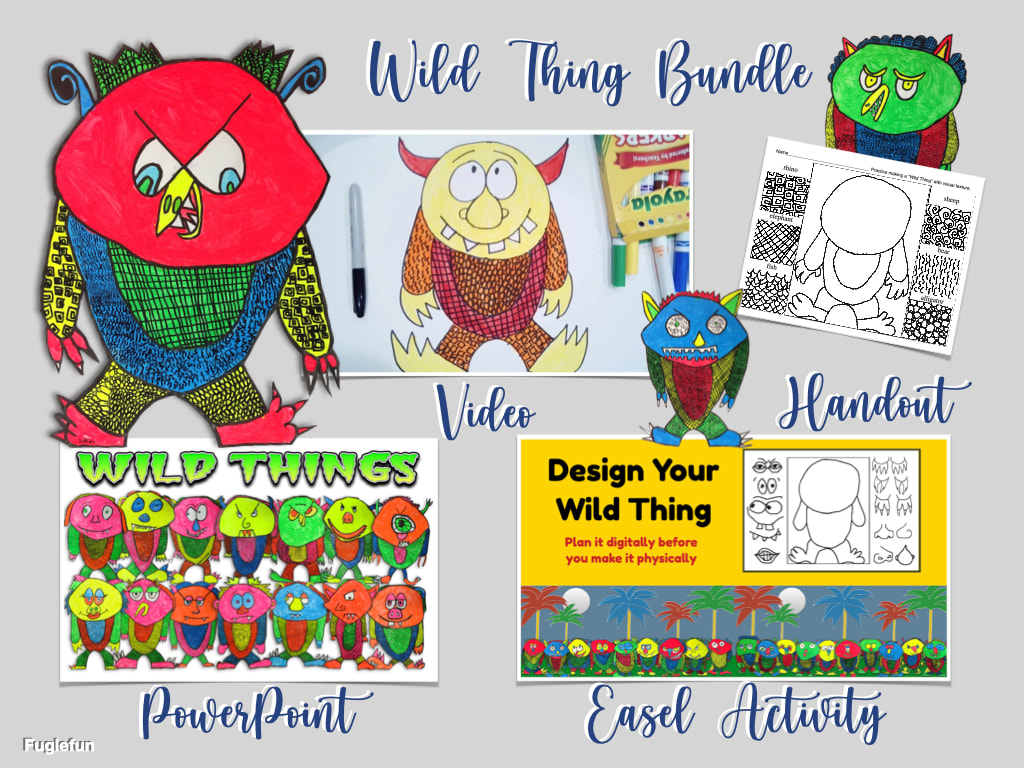
Download the Wild Thing lesson here
Examples:
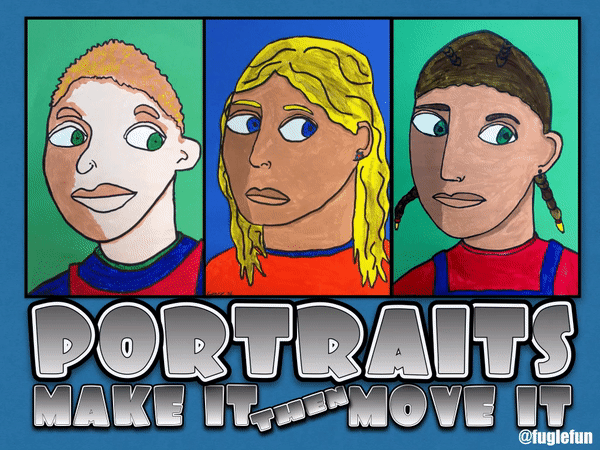
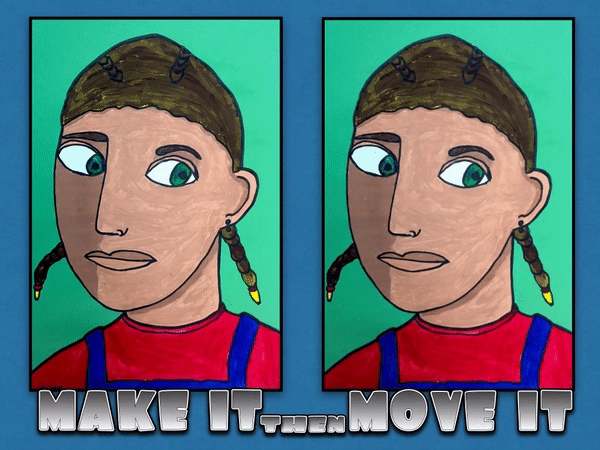
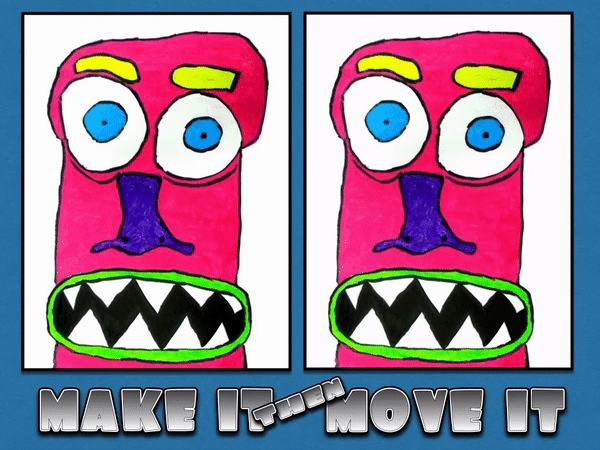
The fifth graders' 3/4 pose portrait paintings are perfect for this animation lesson by making subtle changes in the expression. It forces the artist to think about what faces do to express emotion and map out a sequence of drawings to create this expression. This is a different form of expressionism (HA! Art teacher humor).
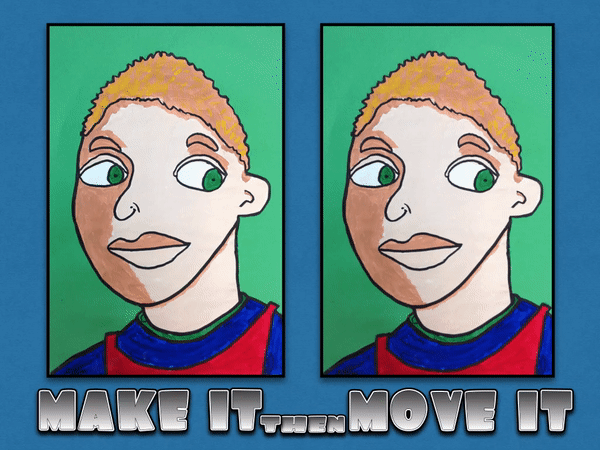

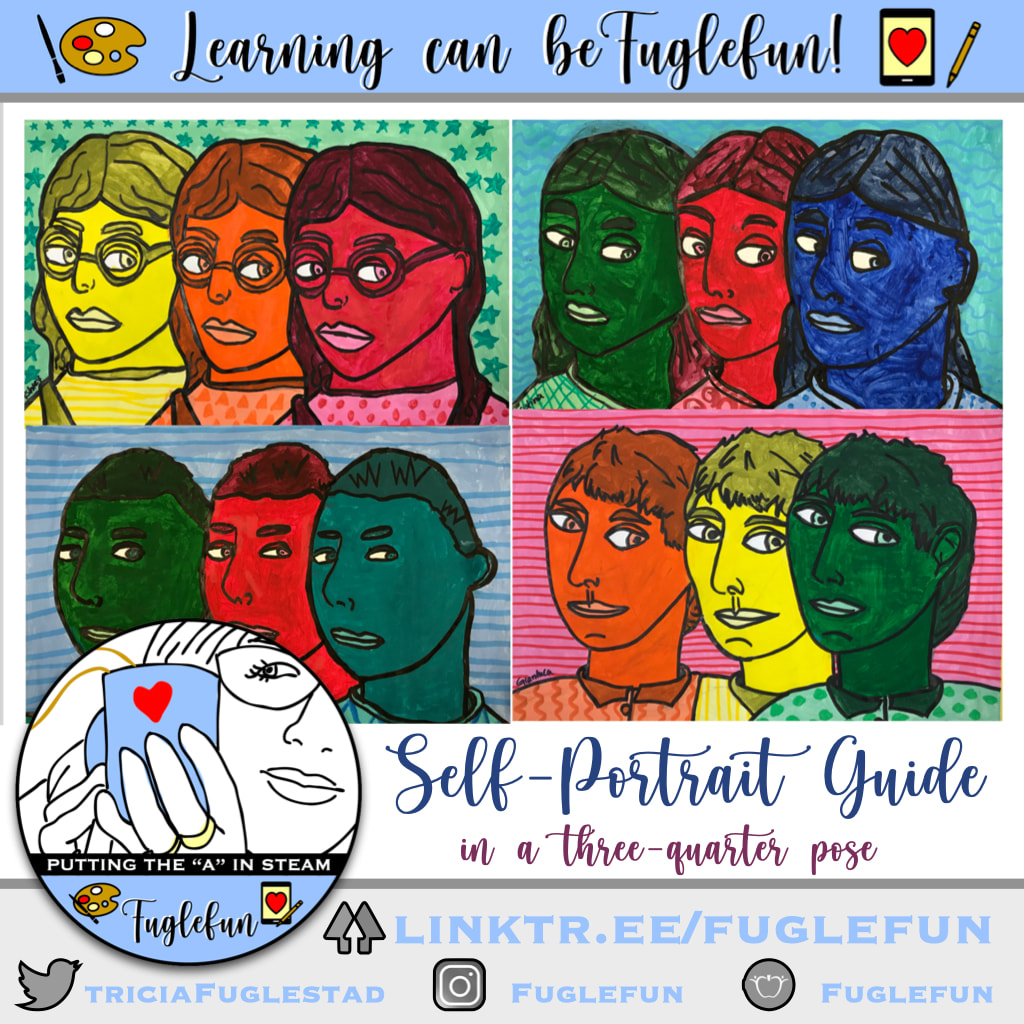
Downlod this self-portrait guide for drawing a 3/4 pose
The fifth grade Light Up Robot painting is fun to animate with moving and blinking.
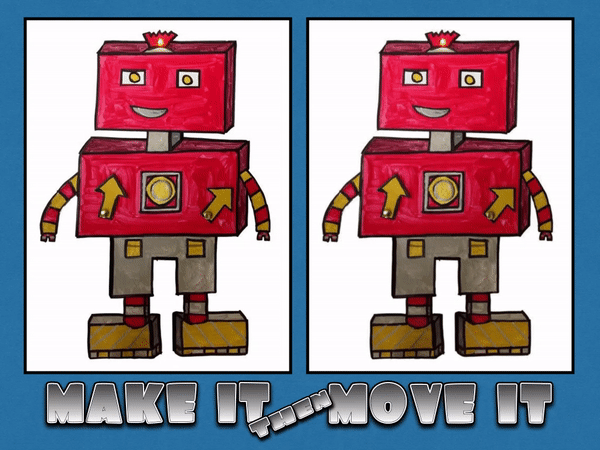
 | This 5th grade robot painting didn't have very much detail for me to animate. But, through the magic of digital drawing, I was able to add blinking lights, a moving lever, and a rotating gauge as I animated (see middle robot below). Going through these steps made me wonder if knowing you are going to animate your robot digitally as an extension to the project would change the way you create it initially. |
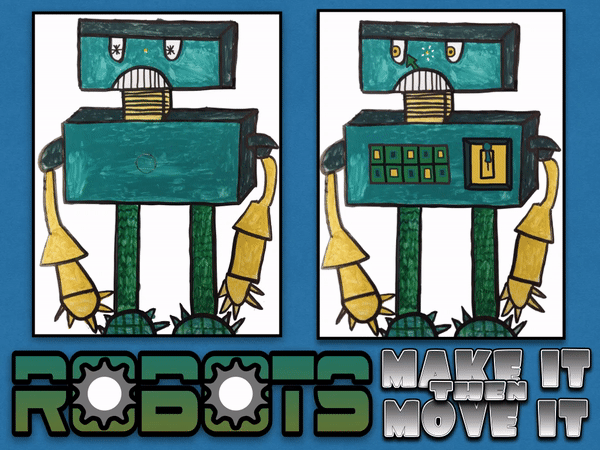
Added elements as I animated the robot
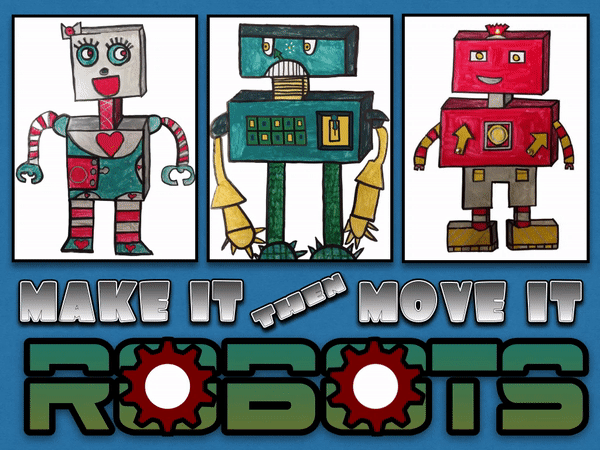
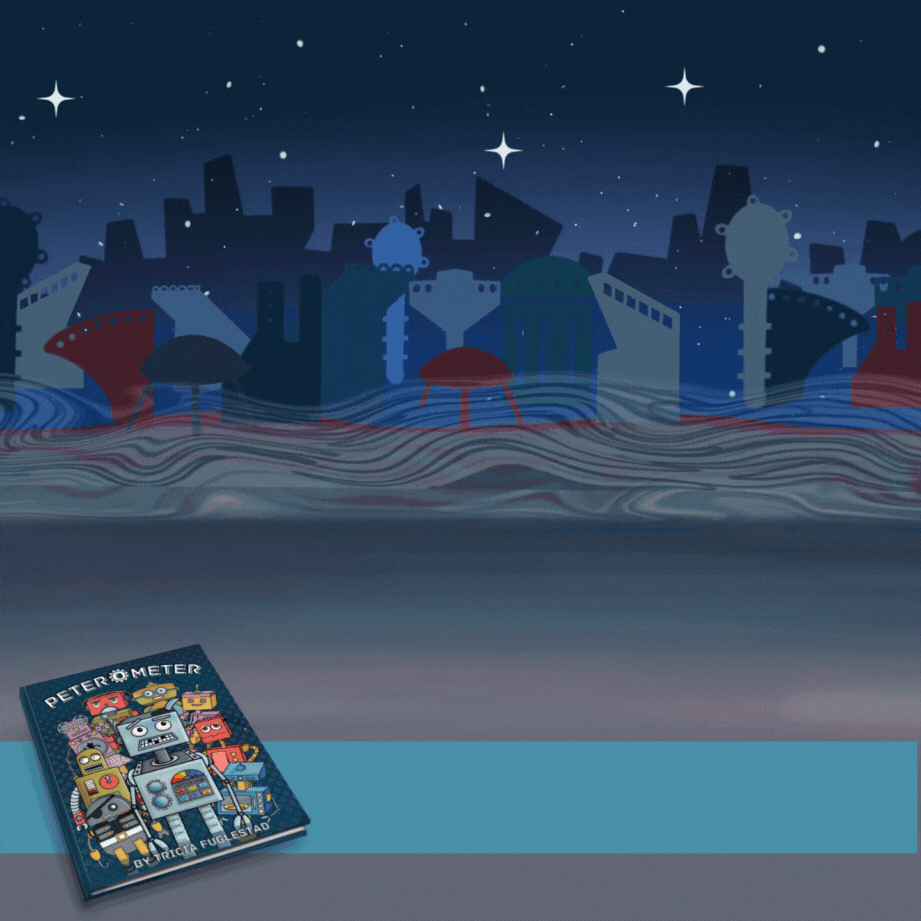
Download a similar robot lesson that uses the same techniques and augmented reality
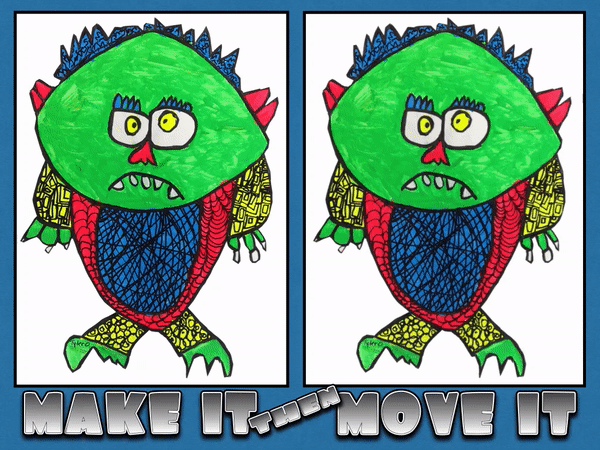
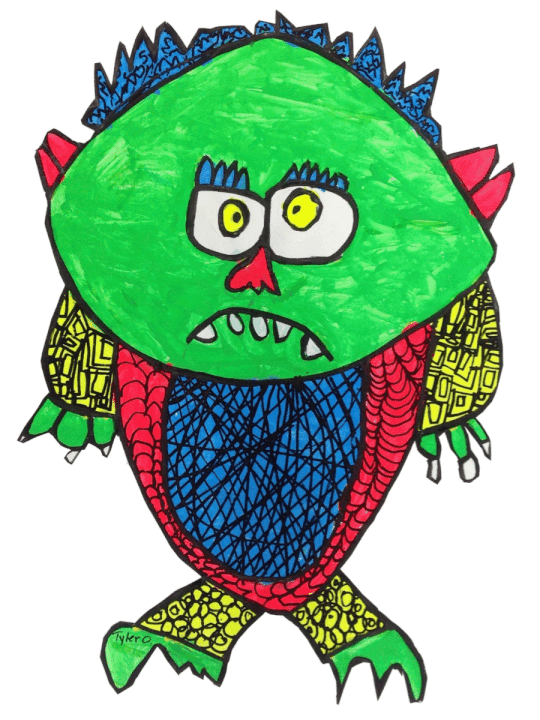
These first grade Lima Bean Monsters are perfect for this idea with their big features.
Download the full packaged multimedia lesson here.
Download the full packaged multimedia lesson here.
Animated Lima Bean Monsters by 1st graders
Click to download the full packaged multimedia lesson
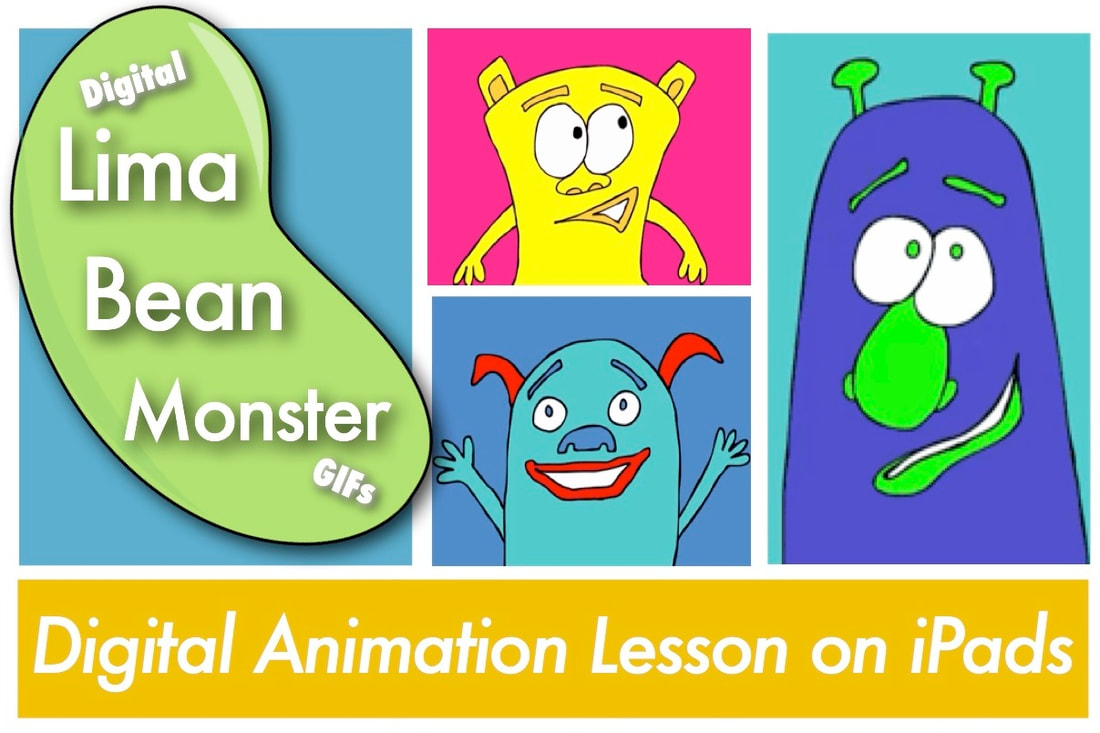
Download this digital Lima Bean Monster gif lesson


 RSS Feed


