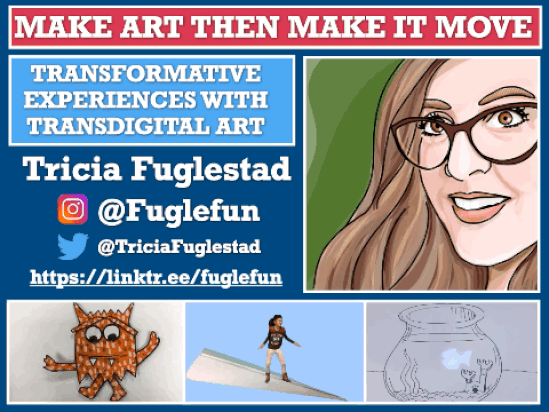

|
All my resources for my presentation can be found here:
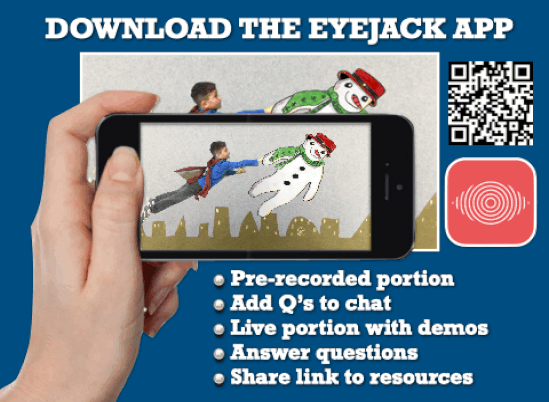
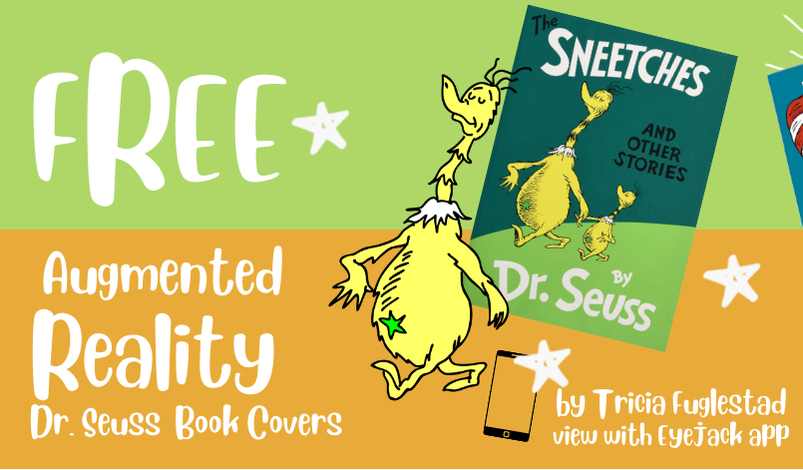
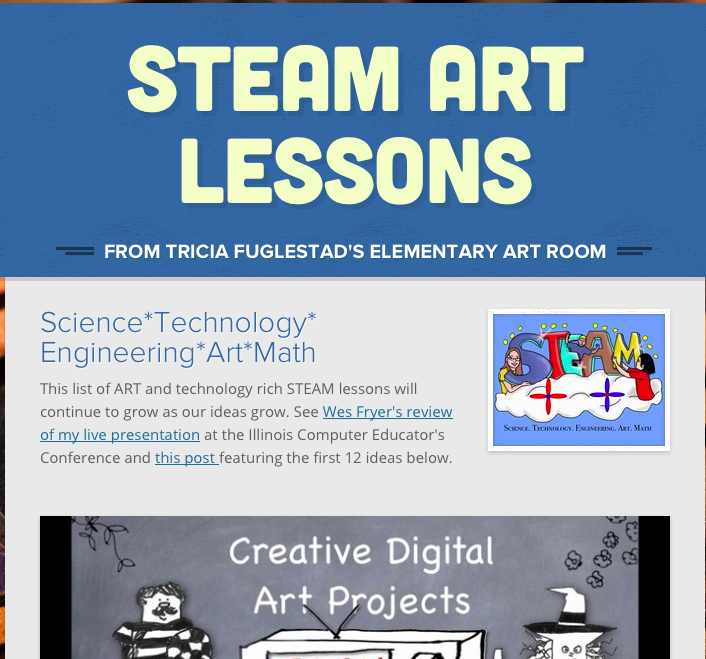
Pre-recorded portion of my session Packet of resources My STEAM lessons Augmented Reality Book Cover Codes (View with Eyejack App) Detailed Tutorial for making an animation and setting up augmented reality Find everything else here: https://linktr.ee/fuglefun |
Pre-recorded portion of the session
Transdigital Art from Tricia Fuglestad on Vimeo.
Steps for Animating and setting up AR
THREAD: I’m going to demo the steps for making #emotionalrobots that come to life with #animation through #AugmentedReality
— @Fuglefun (@TriciaFuglestad) February 22, 2021
Learn more here: https://t.co/fiIn8SfC07
Download all six posters here: https://t.co/CHdS1OzCrT#edtech #sel #socialemotionallearning #artsed #Steam pic.twitter.com/L9W4HFjEkH
Step #1: Create art.
— @Fuglefun (@TriciaFuglestad) February 22, 2021
Connect color, emotion, and art concepts to design a monochromatic robot that expresses emotion.
Turn shapes into forms for depth.
Choose a fitting color.
Mix and apply tints and shades to enhance depth.
Use features of the robot’s face to convey emotion. pic.twitter.com/BdjV4xCbsP
Step #2
— @Fuglefun (@TriciaFuglestad) February 22, 2021
When done with the physical art, take a clean, undistorted photograph with good lighting.
Crop it exactly to the original’s proportions.
This will become the “trigger image” for the #augmentedreality pic.twitter.com/lL2tdxSb5U
Step #3: Create a digital animation that further expresses the intended emotion
— @Fuglefun (@TriciaFuglestad) February 22, 2021
Since it is a robot, things can flash, blip, open, close, radiate, wiggle, flip, steam, & spin w/o needing to redraw large portions of the art
Keep it simple. I made 2 drawings in @brushesredux (free) pic.twitter.com/dwvMjRFUOz
Step #4: flip book animation
— @Fuglefun (@TriciaFuglestad) February 22, 2021
I made 2 more variations on my original drawing in the app then exported all 3 to the camera roll
Hint: my canvas was a square so I chose a square digital canvas in the app. This eliminated the cropping step
Only crop a gif- not individual images pic.twitter.com/4zAv0qmrgu
Step #5: make a gif
— @Fuglefun (@TriciaFuglestad) February 22, 2021
I use @ezgif_com (a free website that works on an iPad too)
I upload the 3 images when in the “make gif” tab.
Make sure they are in order.
Duplicate frame 2 and add to position 4 (helps create a smoother loop)
Slow down frame rate.
Watch to see how to save it pic.twitter.com/A4xIbnOxtb
Step #6 animated GIF
— @Fuglefun (@TriciaFuglestad) February 22, 2021
Now you have the “overlay” for your #augmentedreality
This and the trigger need to be made accessible to a desktop computer that has @eyejackapp creator (desktop) app downloaded (free with no logins needed).
BTW, it’s officially #transdigital art now pic.twitter.com/gJu2wGtgeq
Step #7 set up #augmentedreality
— @Fuglefun (@TriciaFuglestad) February 22, 2021
Open up @eyejackapp Creator App and follow the simple screen directions to place your trigger image (photo of art) and overlay (gif) into the drop area.
Take a screenshot of the QR code it generates.
Label this and store. pic.twitter.com/RM1vzC8R4Q
Step #8 test the QR code
— @Fuglefun (@TriciaFuglestad) February 22, 2021
Make sure the #augmented reality is working the way you want it to. Download the @eyejackapp app on advice, scan the QR code, (you only have to do this once -it will remember it) then scan the art. It should magically look like the art comes to life. pic.twitter.com/x8occzZ52G
Download all six posters here: https://rb.gy/nko6uk
Step #9
— @Fuglefun (@TriciaFuglestad) February 22, 2021
Come up with a plan to showcase the transdigital (art that is intended to be viewed both physically & digitally) aspect of your work.
I like to post the QR code near the original art or make a graphic that incorporates the trigger image & QR code. pic.twitter.com/BF4G0G4Fwu


 RSS Feed


