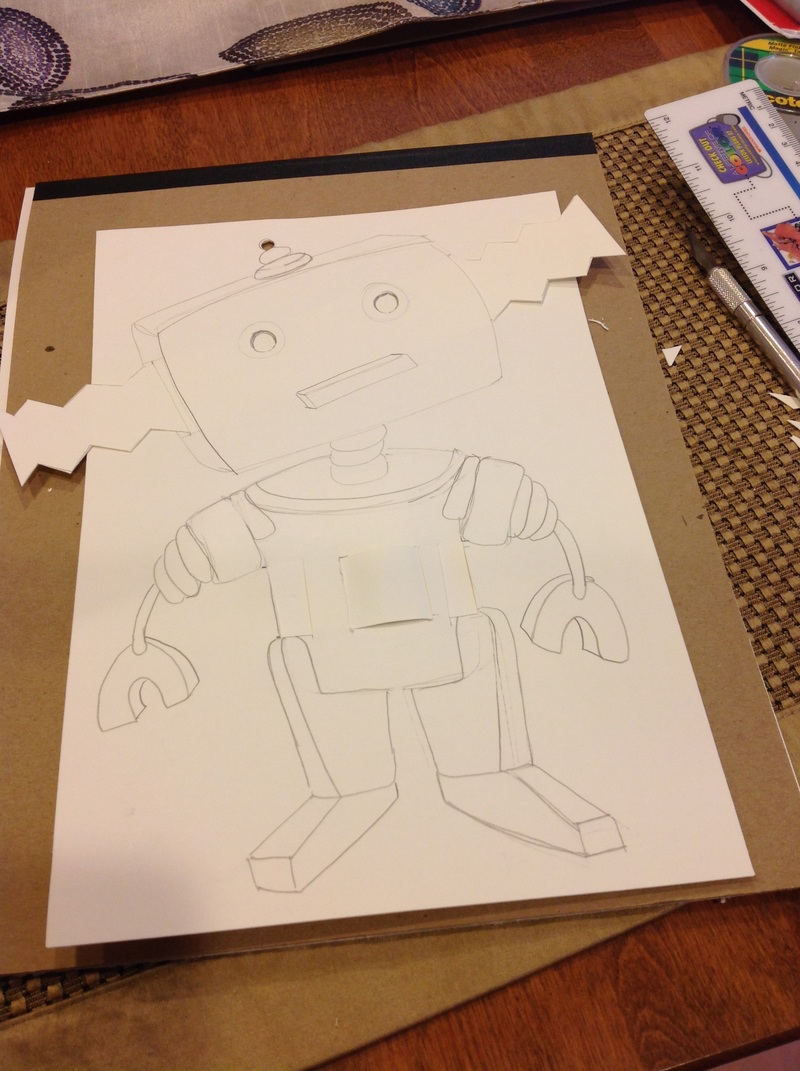
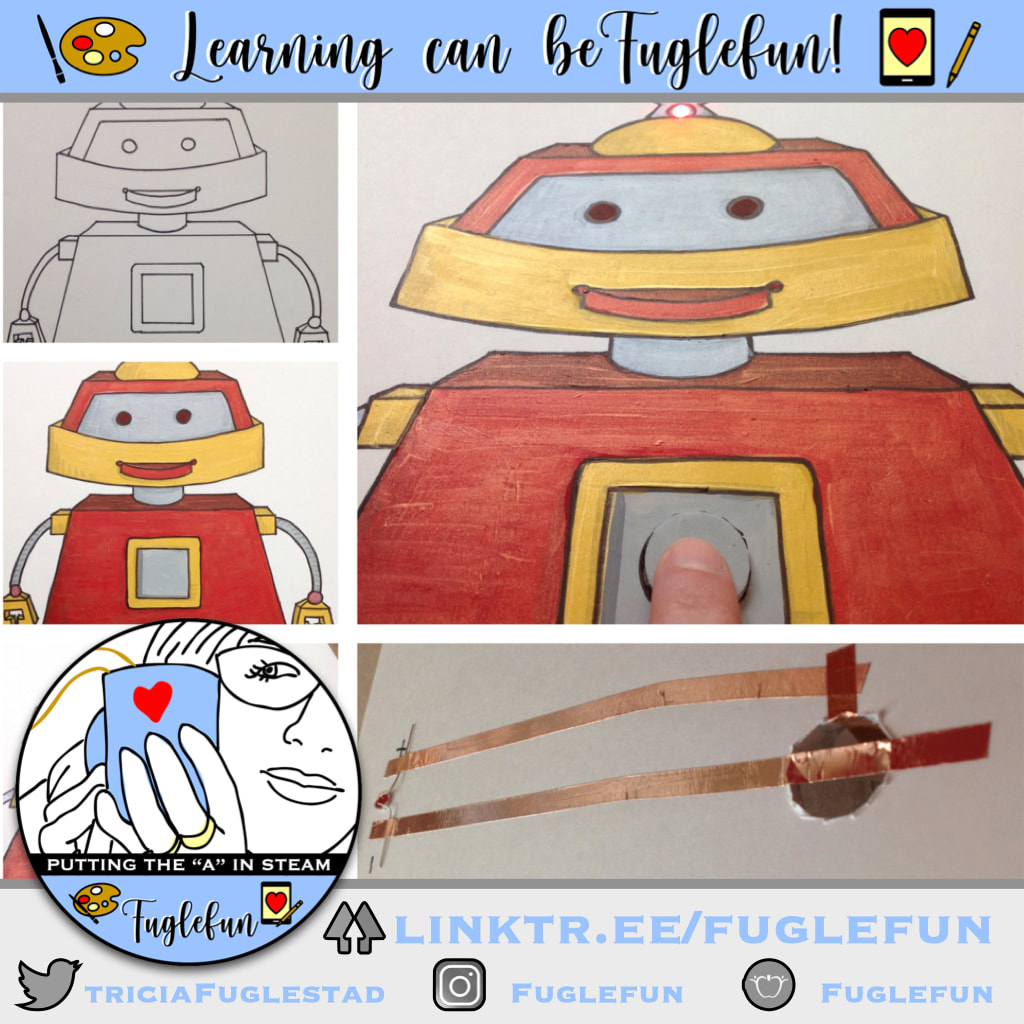
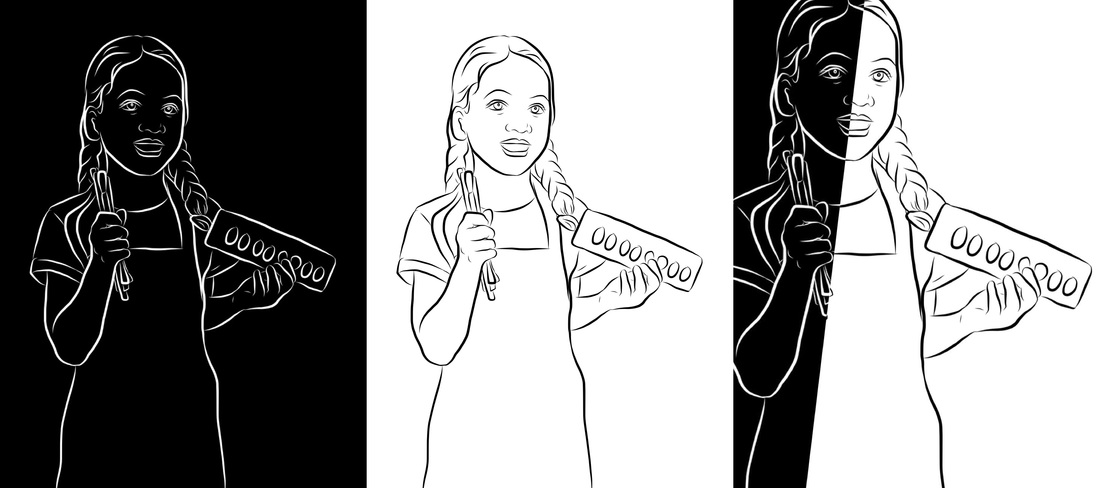
sketch w/ paper cuts
|
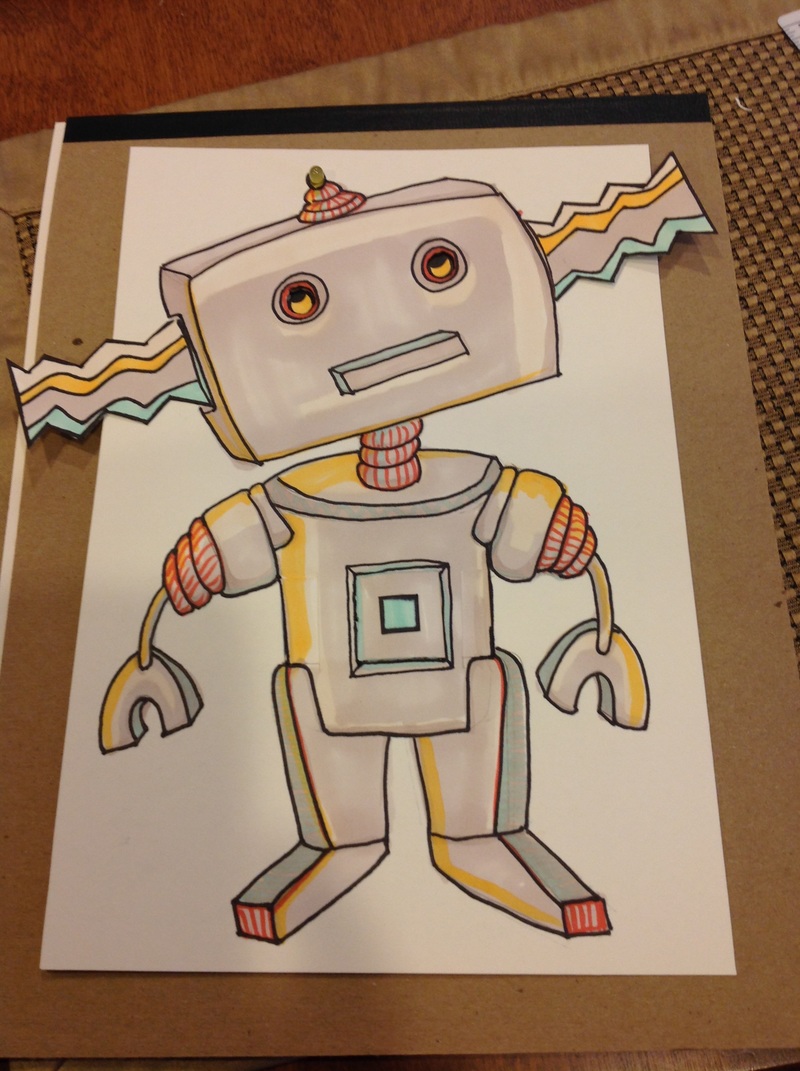
colored with markers
|

paper circuit on the back
|
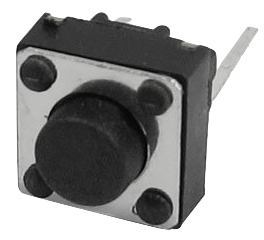
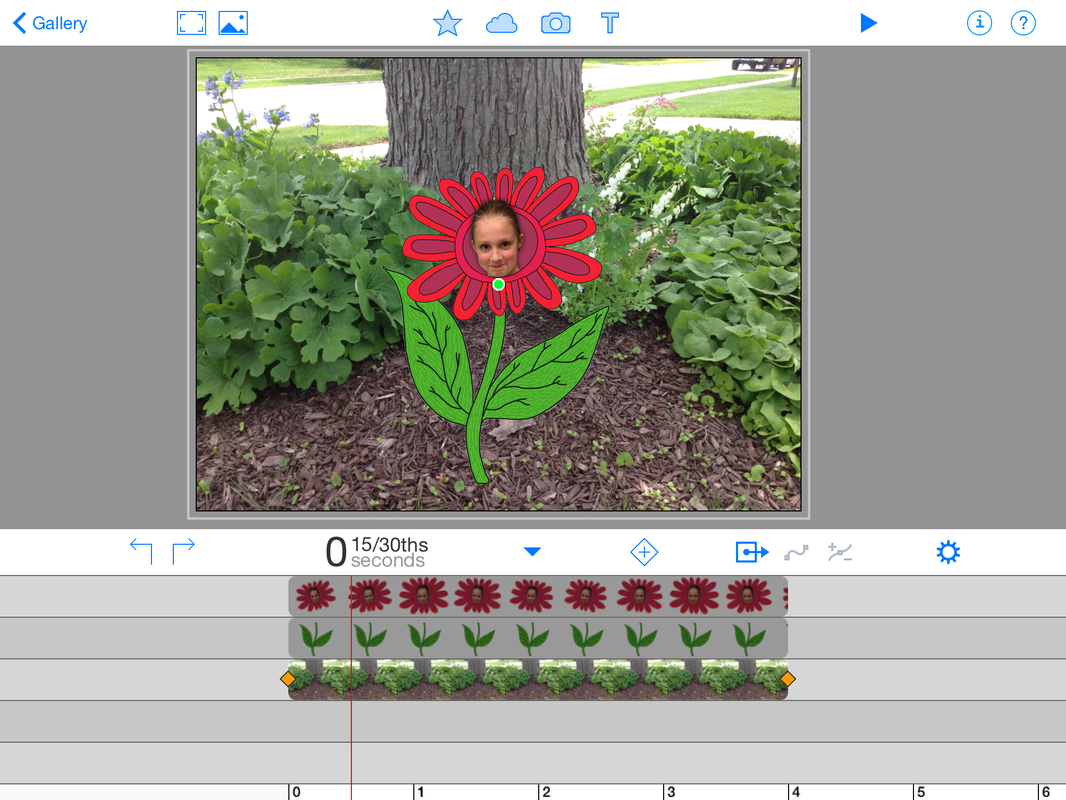
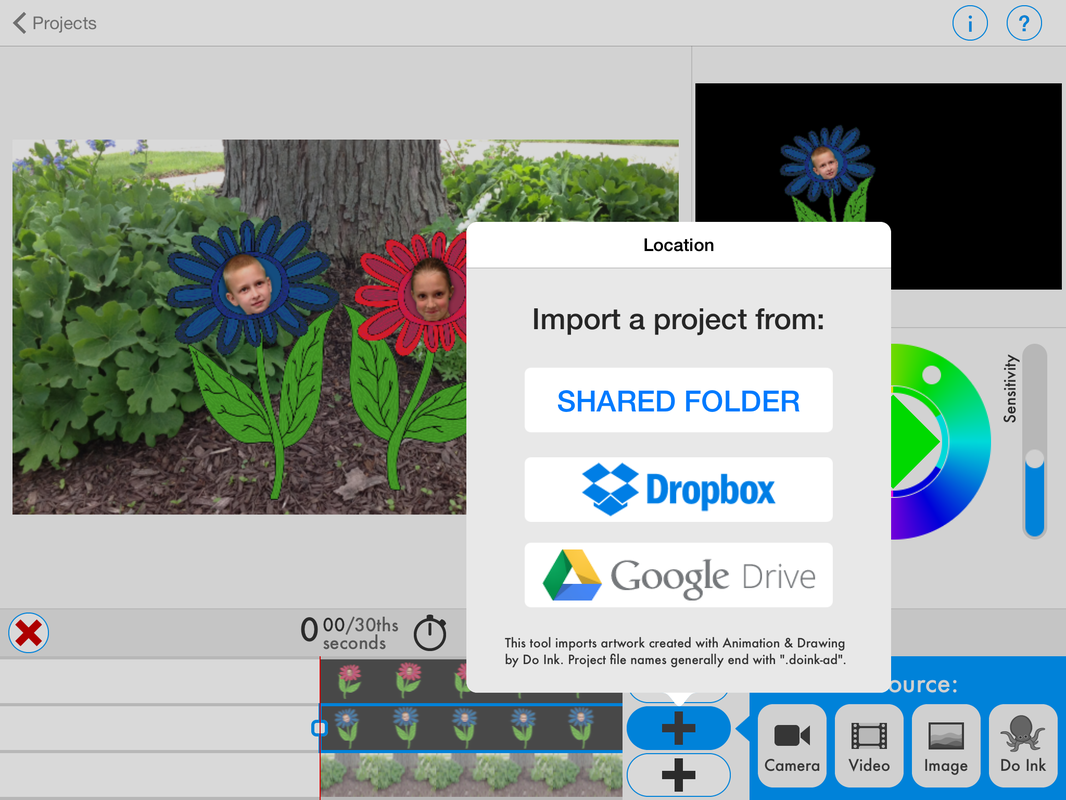
I've been playing with ways to make a switch or button on my paper circuit artwork appear more integrated and purposeful. The robot I originally played with had a momentary button that I designed over the battery into the belly of the robot. See it here. The button also worked as the mechanism that closed the circuit. This time I bought a button online that was spliced into the circuit and not necessarily near the battery. This meant the connection to the battery was fixed and pushing the button (with a satisfying click noise) completed the circuit. I've been playing with ideas in preparation for the fall since I finally received the Donors Choose grant for supplies to try this with my students.
Pull tab to move eyes & push momentary button hidden behind paper fold to light LED on head
Click the image to download the Paper Circuit Robot lesson


 RSS Feed


