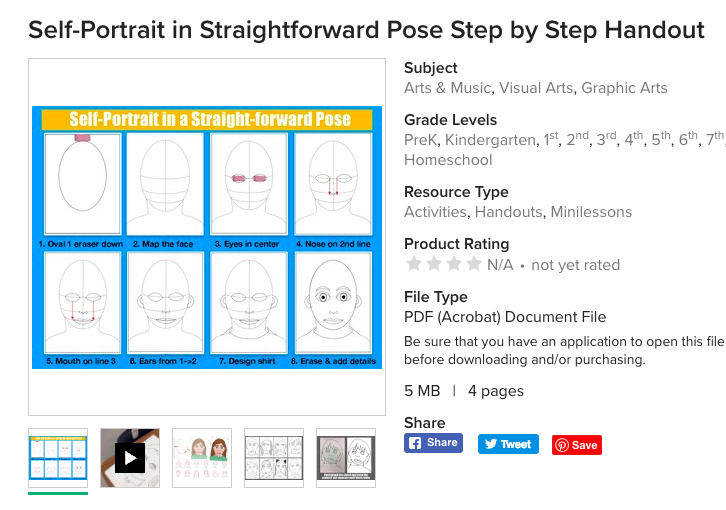
Download my handouts here from TpT
|
STEP ONE:
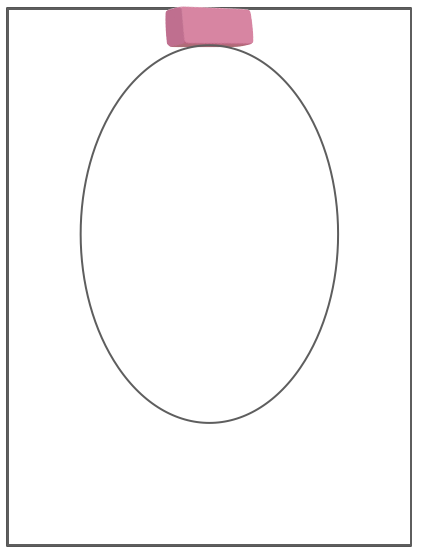
I gave the students two stencils. The first is a rectangle that gives them an edge on their painting project. This helps them paint the background neatly and completely and gives me a sliver to trim so it mounts nicely on construction paper. The second is an oval that helps them begin their portrait with a uniform size so we are able to talk about measuring in the same terms. Students trace the oval ONE ERASER thickness from the top of the rectangle stencil edge. |
|
STEP TWO:
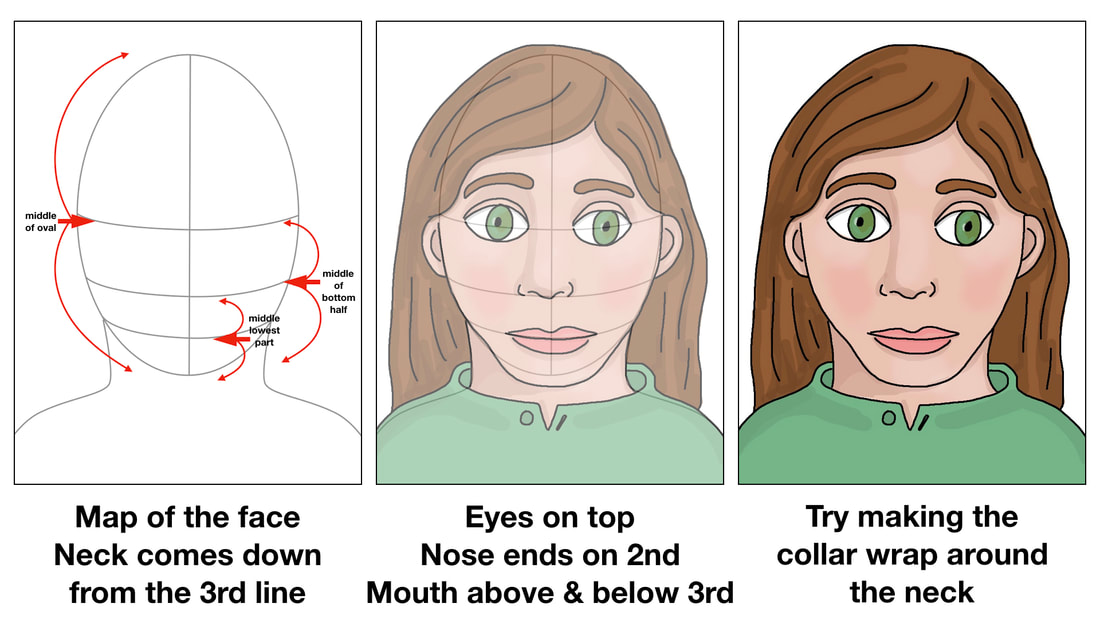
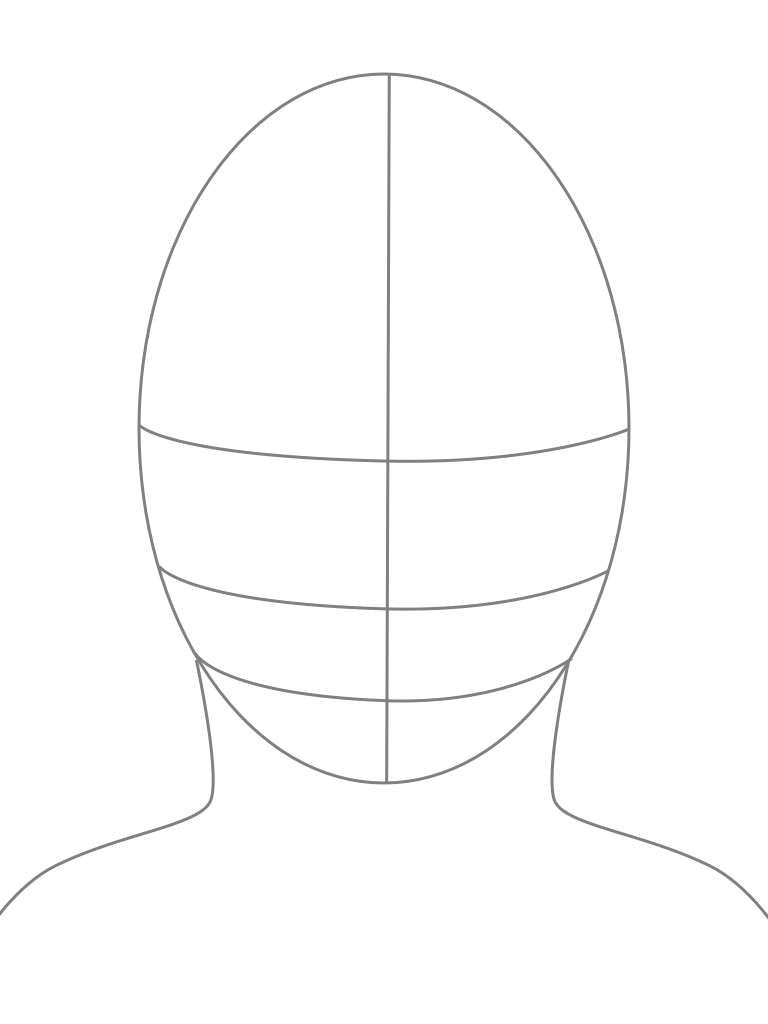
Lightly map out the face
|
|
STEP THREE:
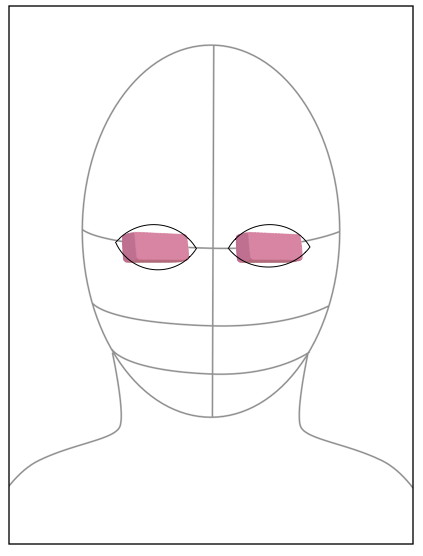
I pass out two erasers to each student and ask them to place them where they think the eyes would go. It gives me a chance to see before they draw if they understand that the eyes are in the center of the oval. There should be an eye space between the eyes too. Students draw a "rainbow line" above the eraser and a "smile line" below. Some students may make the eyes too large by reaching up too high or low. They should aim for a football shape. I usually don't mind eyes being slightly too big since the painting steps may shrink the eyes accidentally. |
|
STEP FOUR:
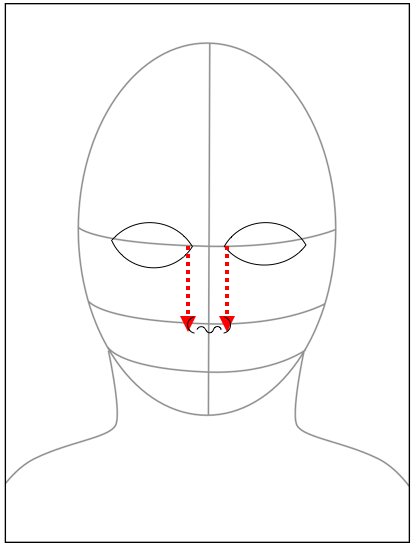
The bottom of the nose is drawn on the middle line. It should be as wide as the space between the eyes. Since students are so young, they won't have strong vertical lines to draw down the edges like adults might need. I would just focus on the nostrils. I draw a "C" and a backwards "C" or most of a capital "D" for the edges. Then a curved line in between that looks like a bird flying. Draw symmetrically (same on both sides) with the vertical line of symmetry as a guide. |
|
STEP FIVE:
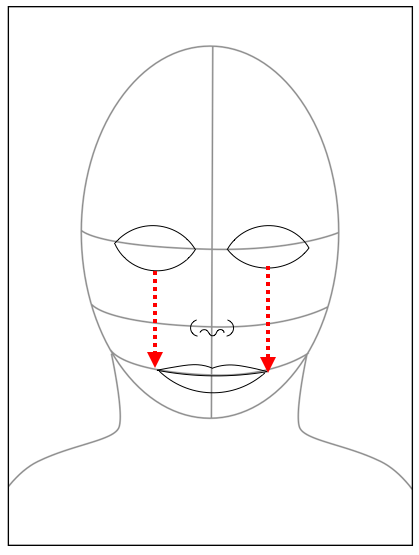
The edges of the mouth line up with the middle of the eyes. The mouth is drawn on the third line. I have them measure and draw dots for the edges of the mouth. The top lip is like a rounded letter "m" that connects from dot to dot. The bottom lip swoops down from one dot and up to the other. Try to draw symmetrically (the same on both sides) using the line of symmetry as a guide. |
|
STEP SIX:
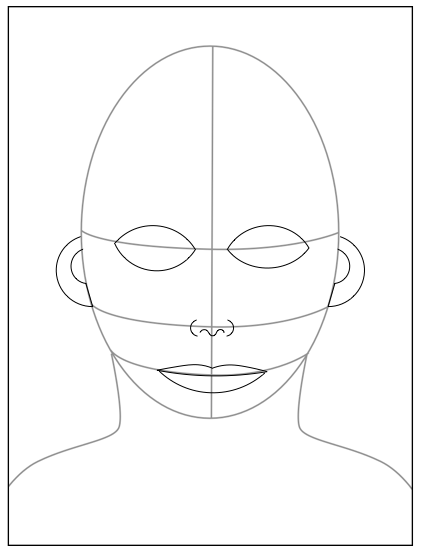
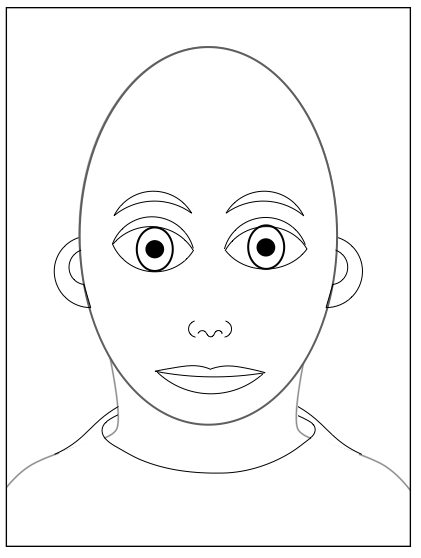
The ears line up with they line for the eyes (top horizontal line) and the line for the nose (second horizontal line). The ears look like a letter "C" on the left side and a capital "D" on the right. You can add a curve inside to show the opening and earlobe. Go back and add the details to your eyes=iris, pupil, eyelid, eyebrows Go back and see if you need to add more length to your chin. There should be one eye space from under your bottom lip to your chin (depending on how thick you drew your lips). |
|
STEP SEVEN:
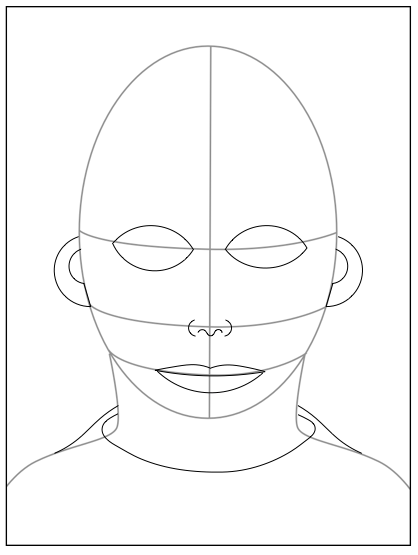
Make the clothing looser than your skin. Start by making a sideways letter "C" beginning slightly above the base of your neck and ending in the same place on the other side. Then draw a sloping line from above the "C" to your shoulders. Draw symmetrically. Erase the old shoulder line so that you only see the new sloping lines and collar. This is when you can customize your outfit with a collar that matches what you are wearing. |
|
STEP EIGHT:
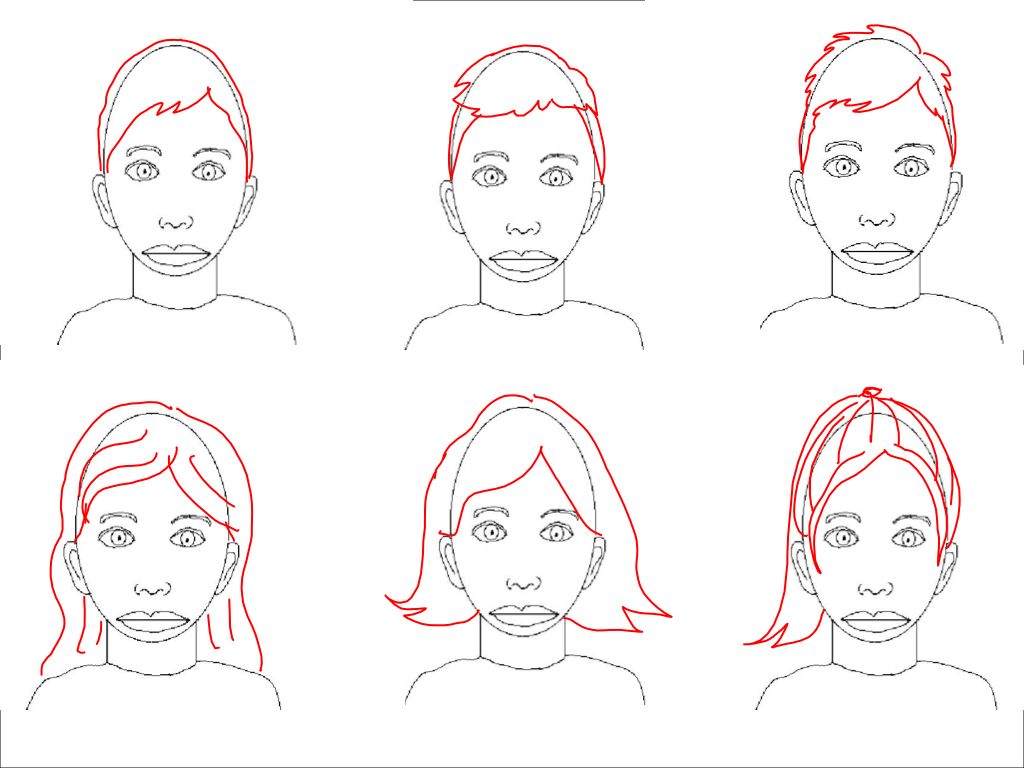
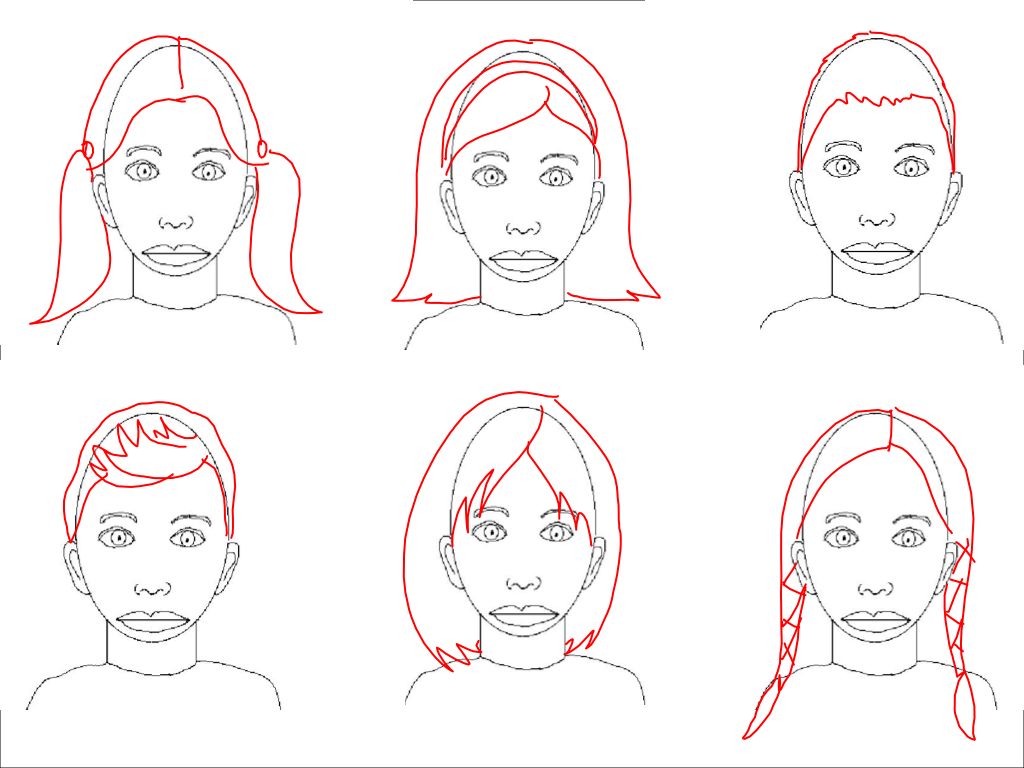
This step is when students evaluate their work by double checking their measurements. Then, they erase all their mapping lines. Now the guided drawing steps are ending and students will need to decide how to draw their hair. I show them the painting, American Gothic. This portrait includes a farmer who is balding. Many students place their hair as a tuft at the top of the oval and make themselves have extremely high foreheads. I ask them to measure how much space they really have between their eyebrows and hairline. Then I give them these handouts to help them figure out the contours. |
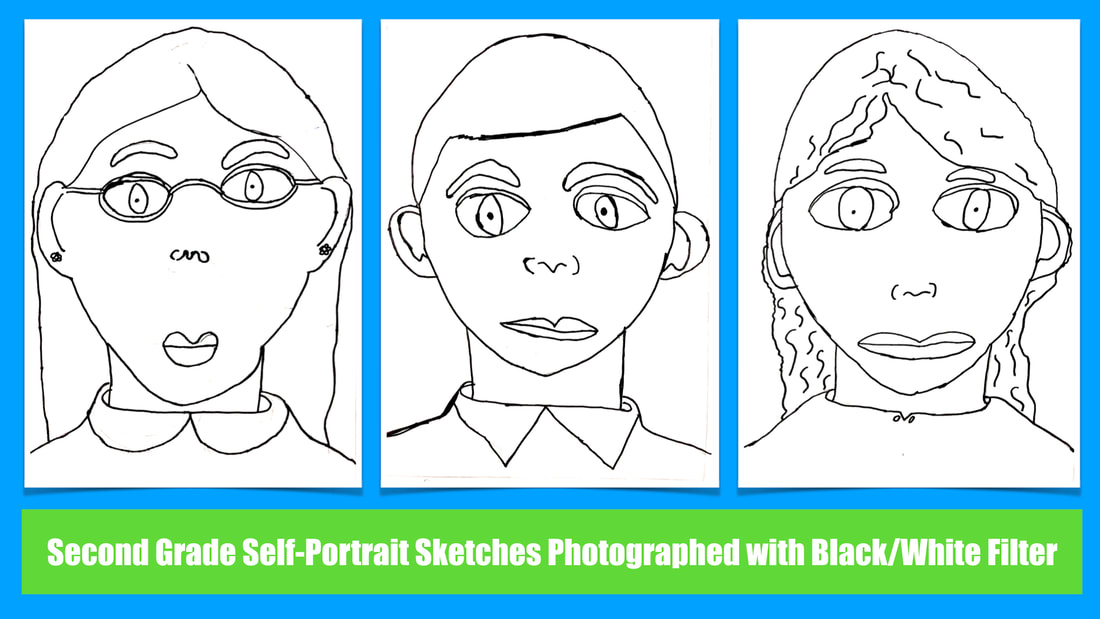
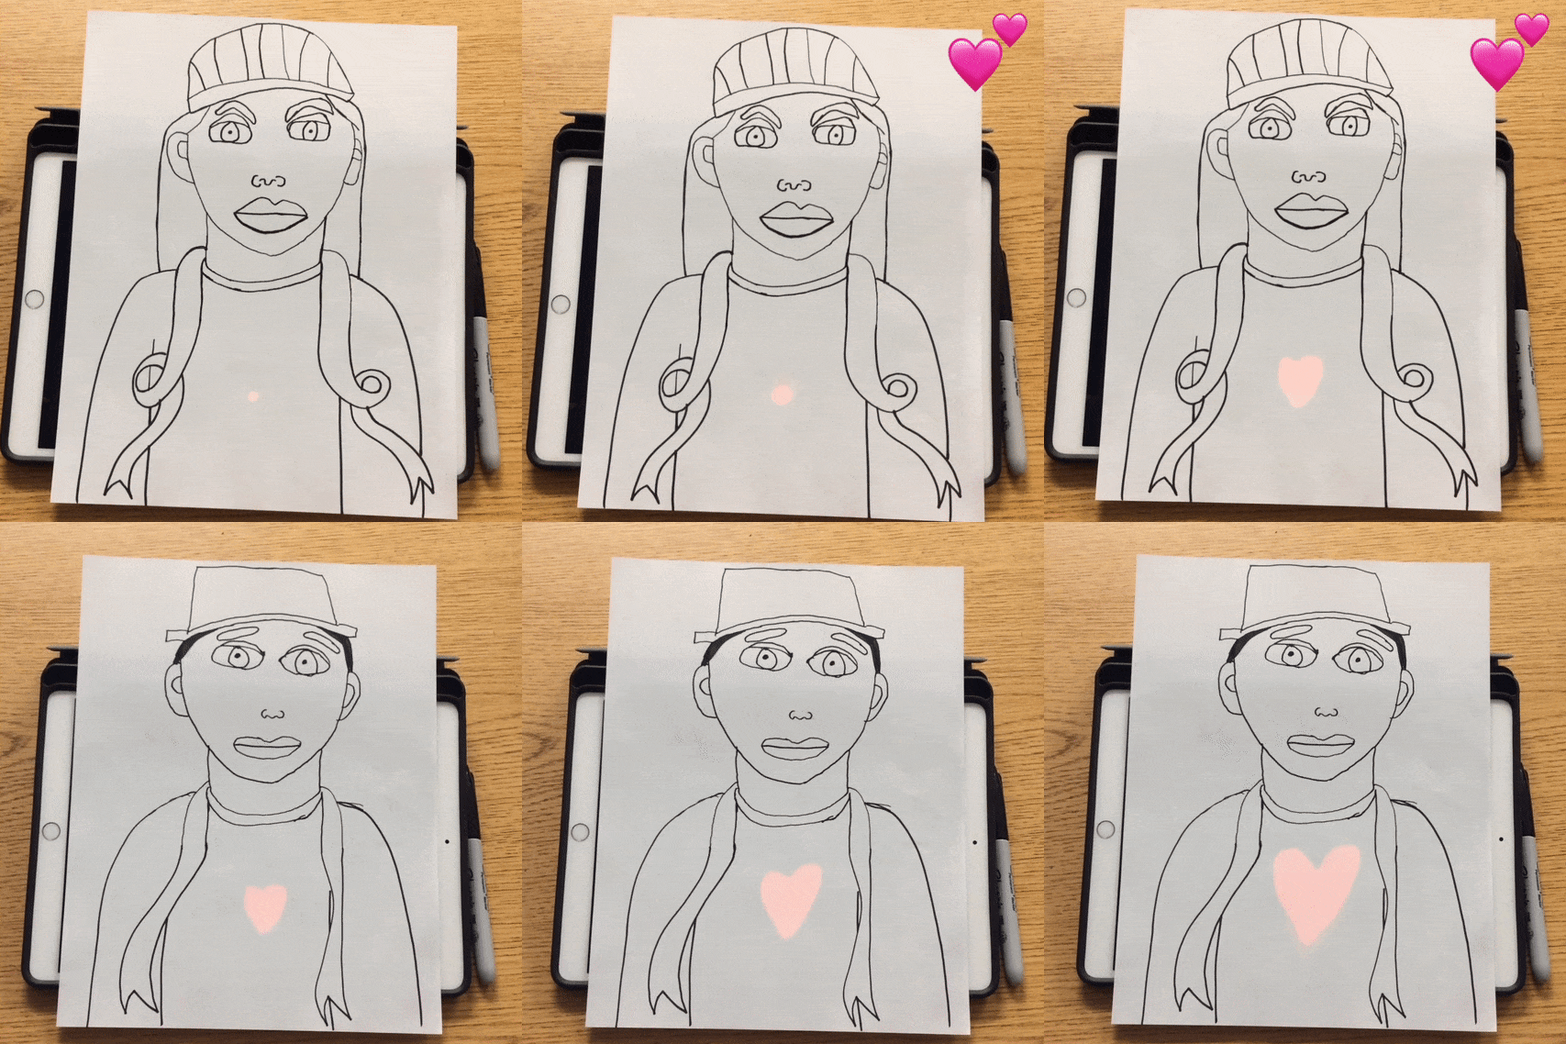
Students Sketches: See the gallery
1. They traced all their "keeper lines" and erased all of their mistakes and mapping lines.
2. I photographed all of the student sketches and filtered them to a clean Black/White.
3.I uploaded them to Artsonia. These portraits are now in their portfolios to document their drawing steps and give families a chance to see what they're up to during this long process of drawing and painting.
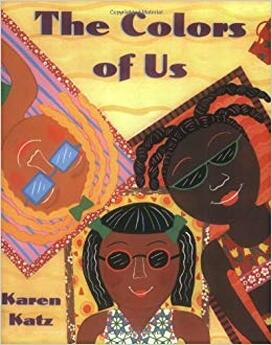
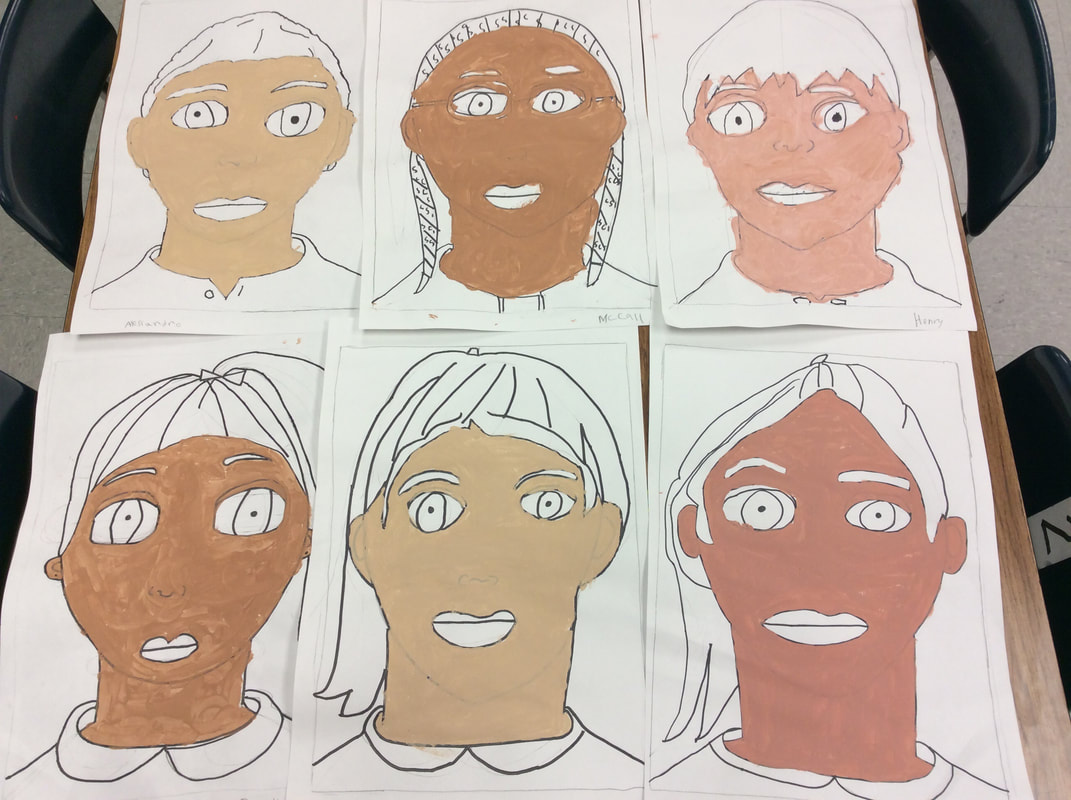
The Colors of Us
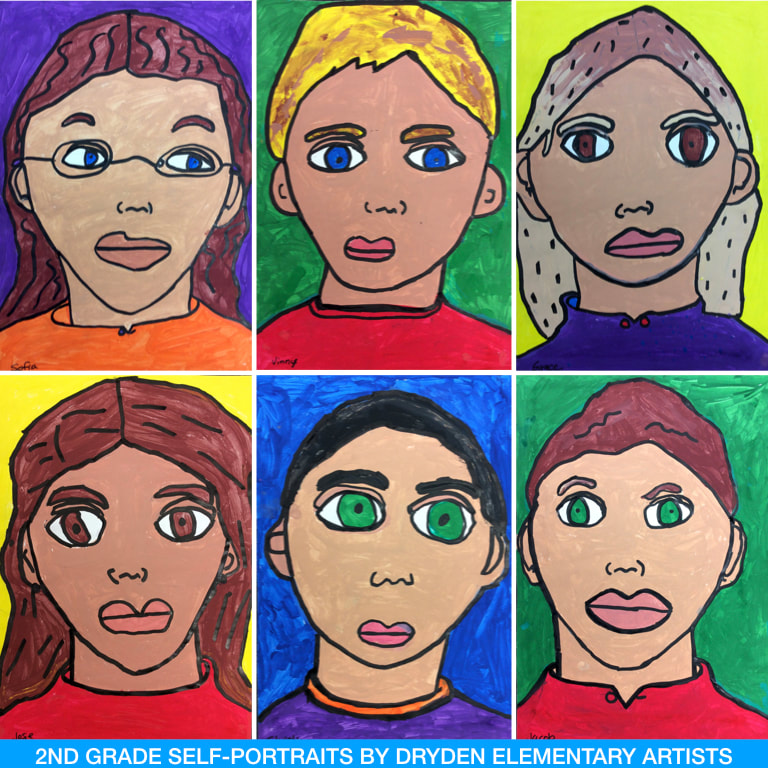
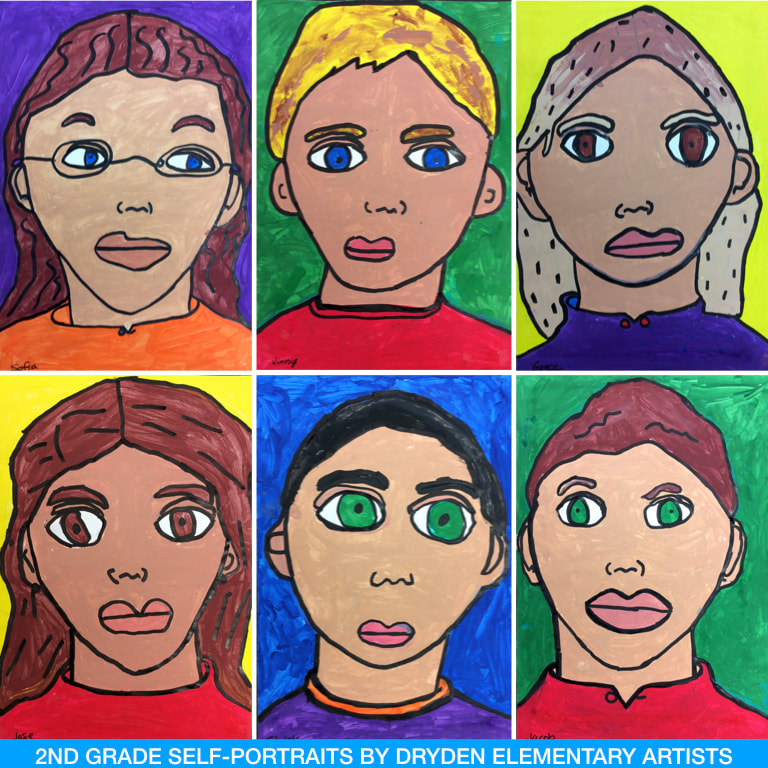
Finished Portrait Paintings
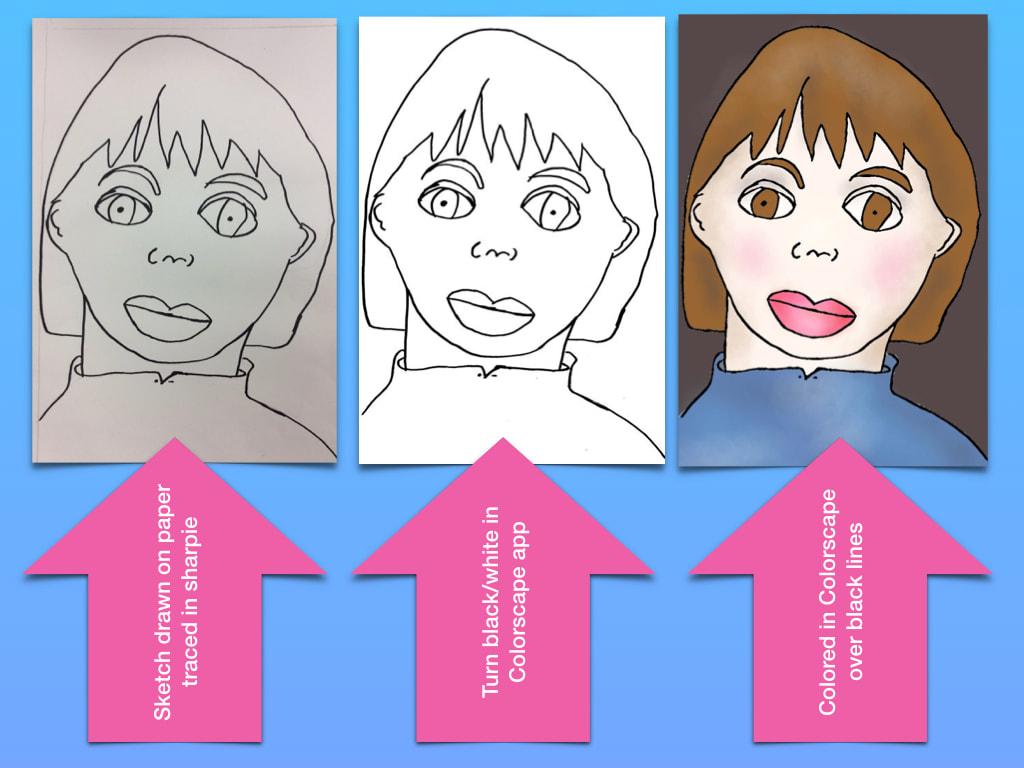
Digital Substitution:
Literacy and Technology Extension:
Oh the Places by 2-2 from Tricia Fuglestad on Vimeo.
Fans by 2MA from Tricia Fuglestad on Vimeo.
Teacher Swap with EL from Tricia Fuglestad on Vimeo.
Transdigital Extension: ChooseKind
Resources:
Fugleflick introducing contour line drawing
Drawing From Experience from Tricia Fuglestad on Vimeo.















 RSS Feed

