The time-lapse: iMotion App
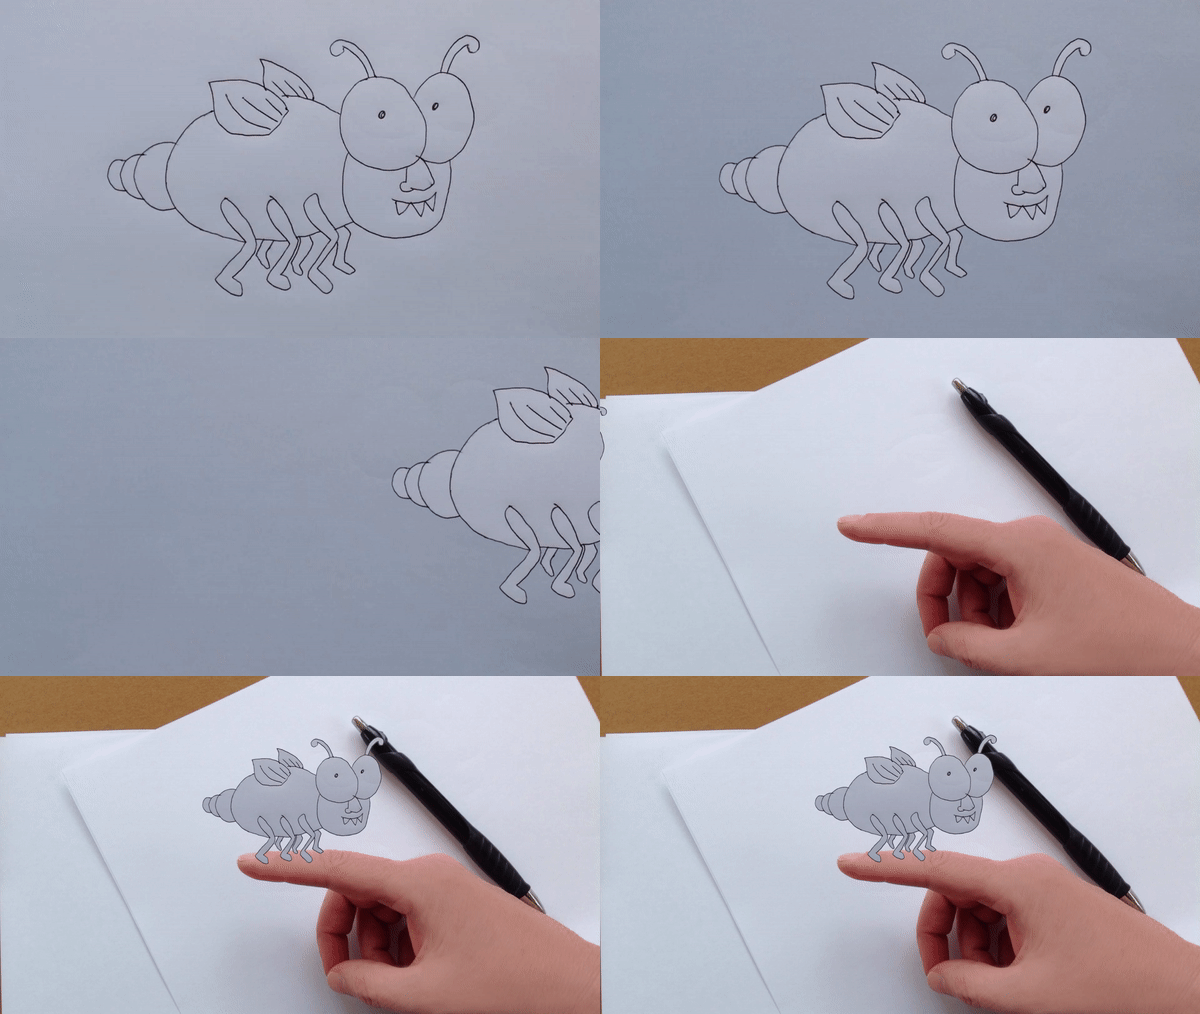
When I was done I exported the video to the camera roll. It was 7 seconds long.
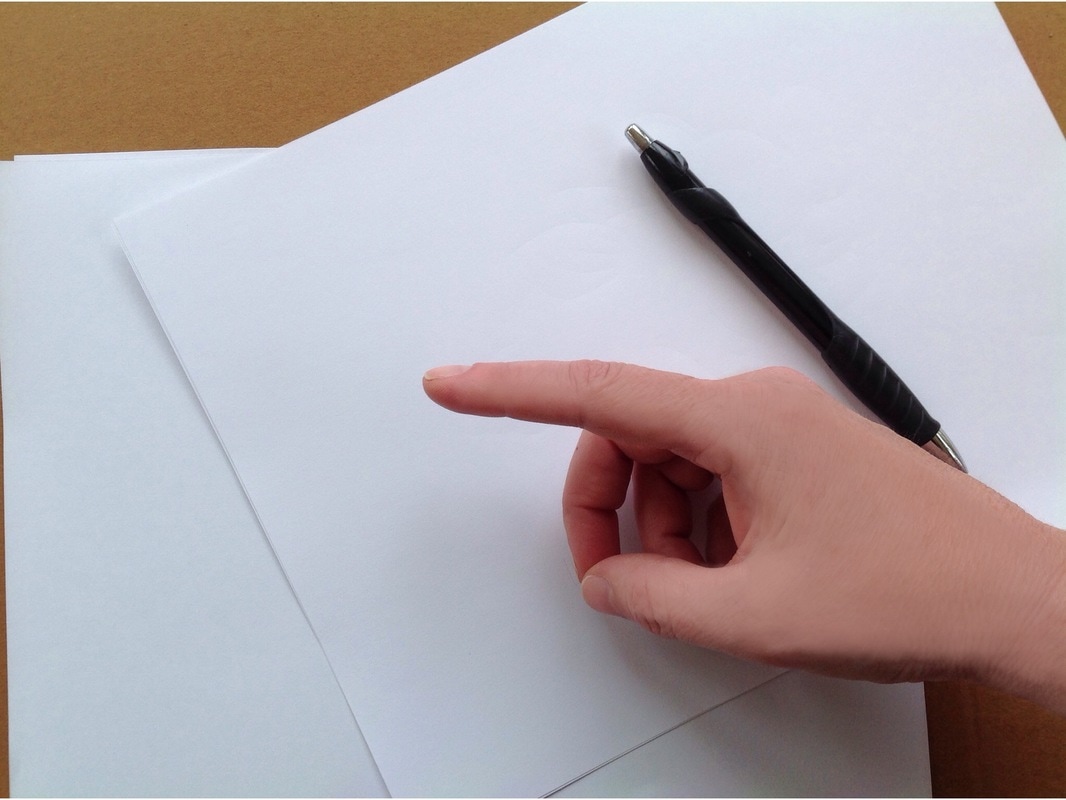
TIP: It is important to start the video with the blank sheet (no hand) and end with just the image with just the drawing (no hand) to help out your animation steps coming next.
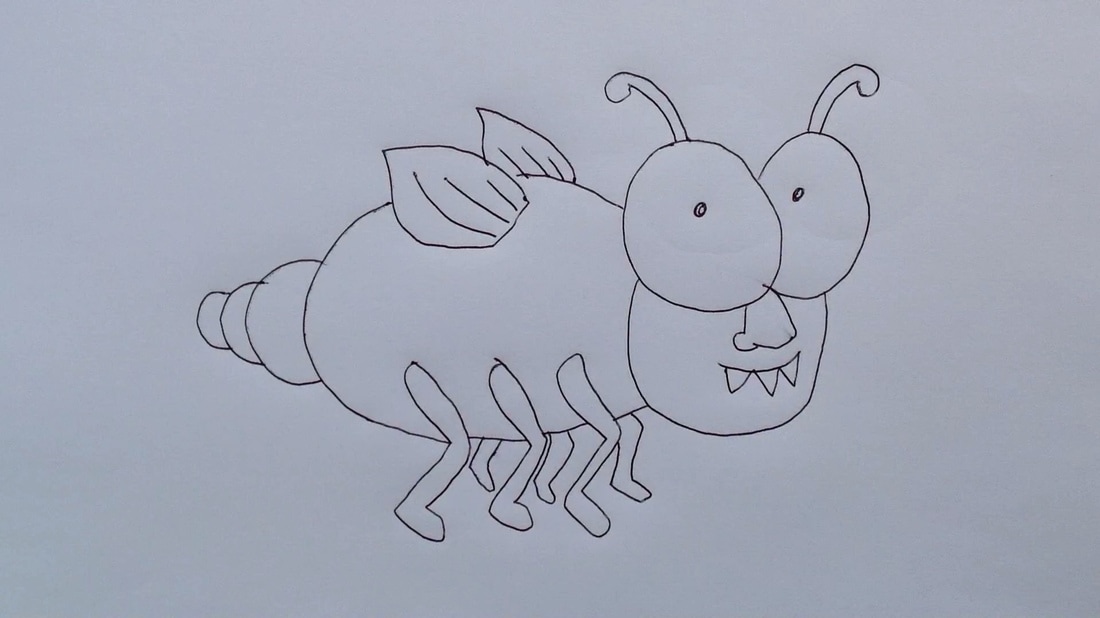
Stills from time-lapse: Green Screen App
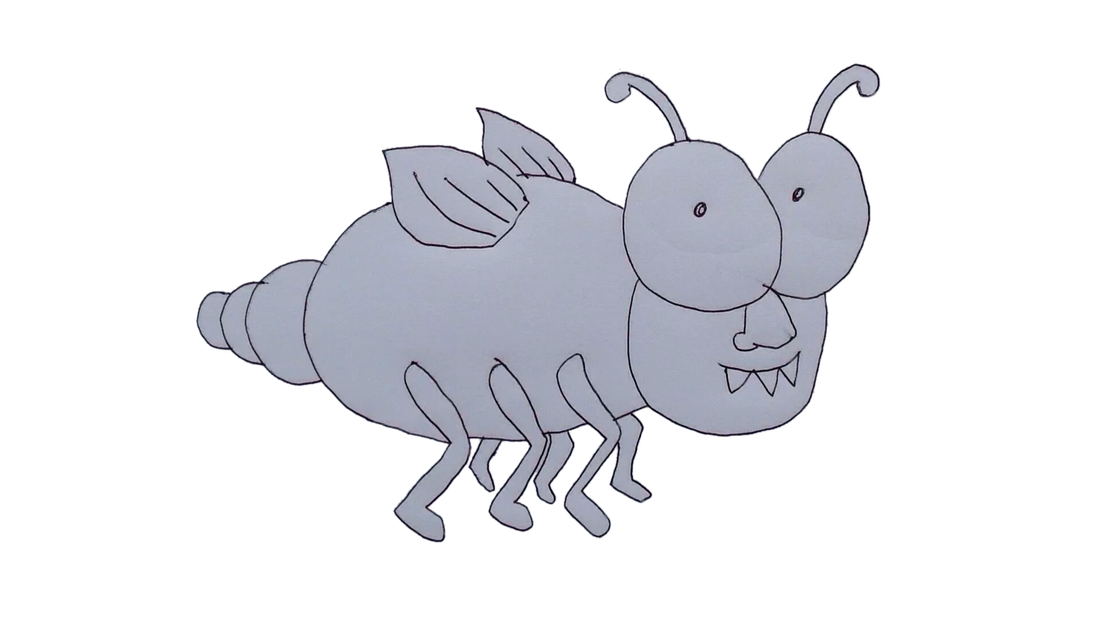
Clean up the Drawing: Superimpose App
Make an animation plan and end image:
Animation: Do Ink Drawing & Animation App
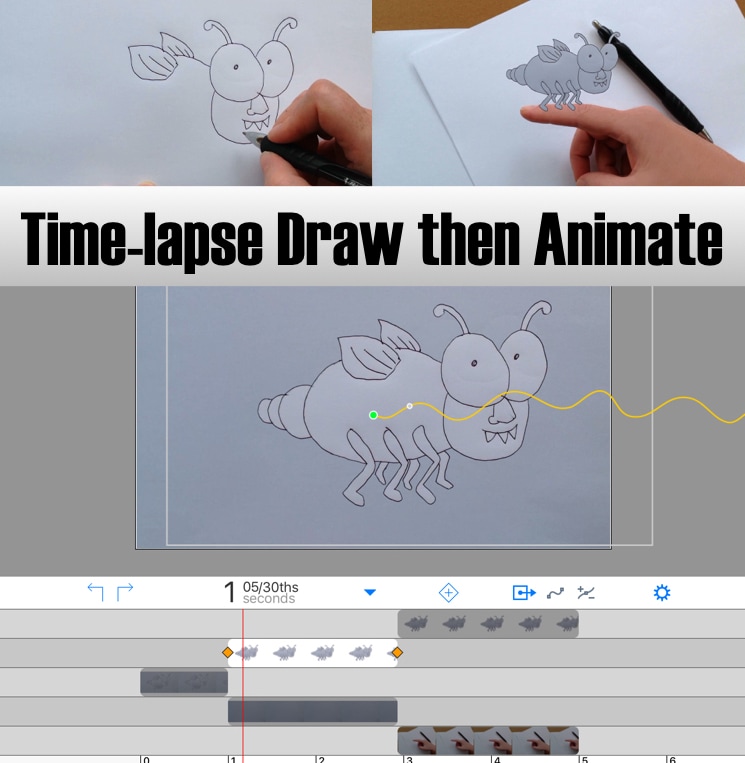
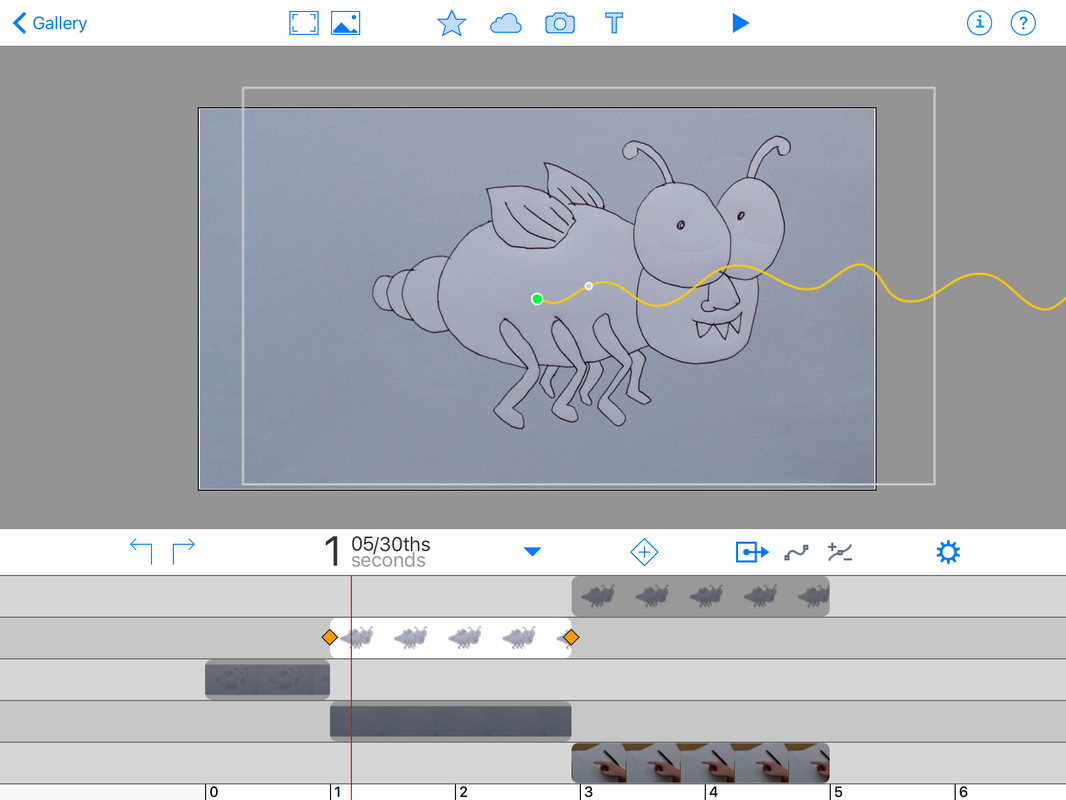
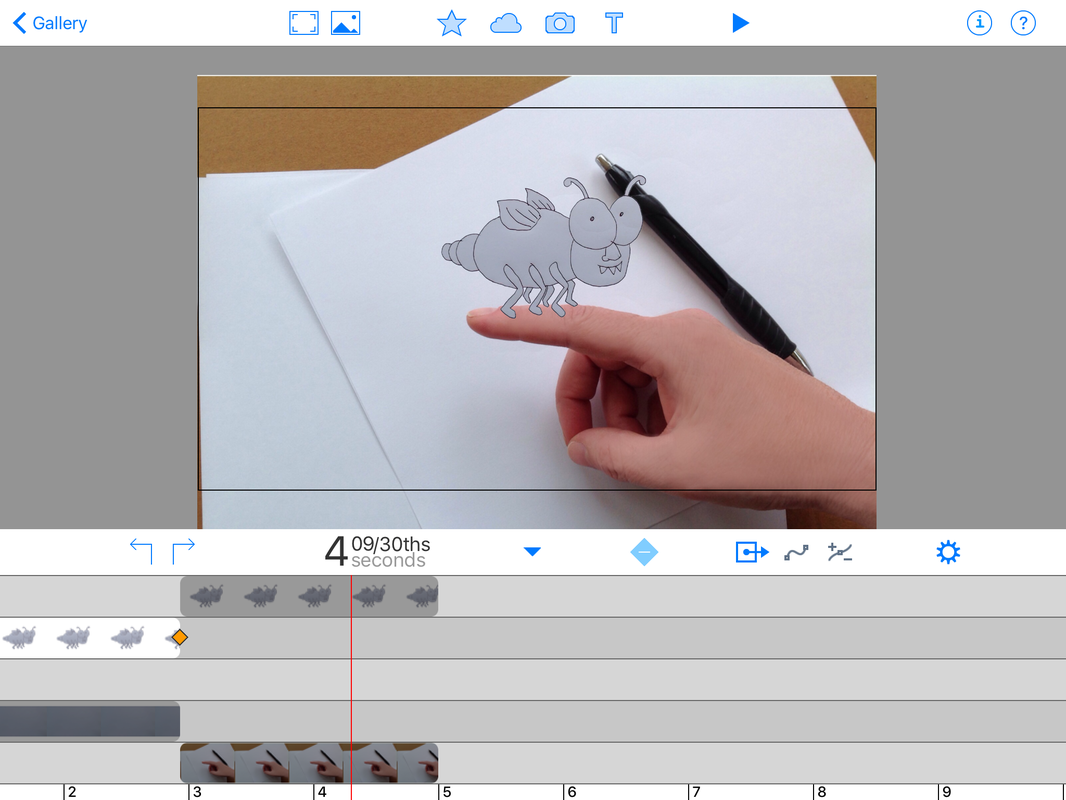
| 1. Bring in the complete drawing (0-1 secs on timeline) 2. Bring in the blank page image and drag it to a lower layer (1-3 secs on timeline) 3. Bring in the PNG of your drawing over the blank page layer (1-3 secs on timeline) 4. Bring in the PNG again (3-5 secs on timeline) 5. Bring in the final image underneath (3-5 secs on timeline) The insect PNG is the only piece that needs to be animated. I dragged a path to move it "off the page" and off the animation stage right for the first scene. The next scene had the insect enter from the right and land on my finger. I resized it before I dragged the path so it was smaller to fit the scene better. |


















 RSS Feed

