Custom Animated Hologram
with Do Ink Drawing and Animation App
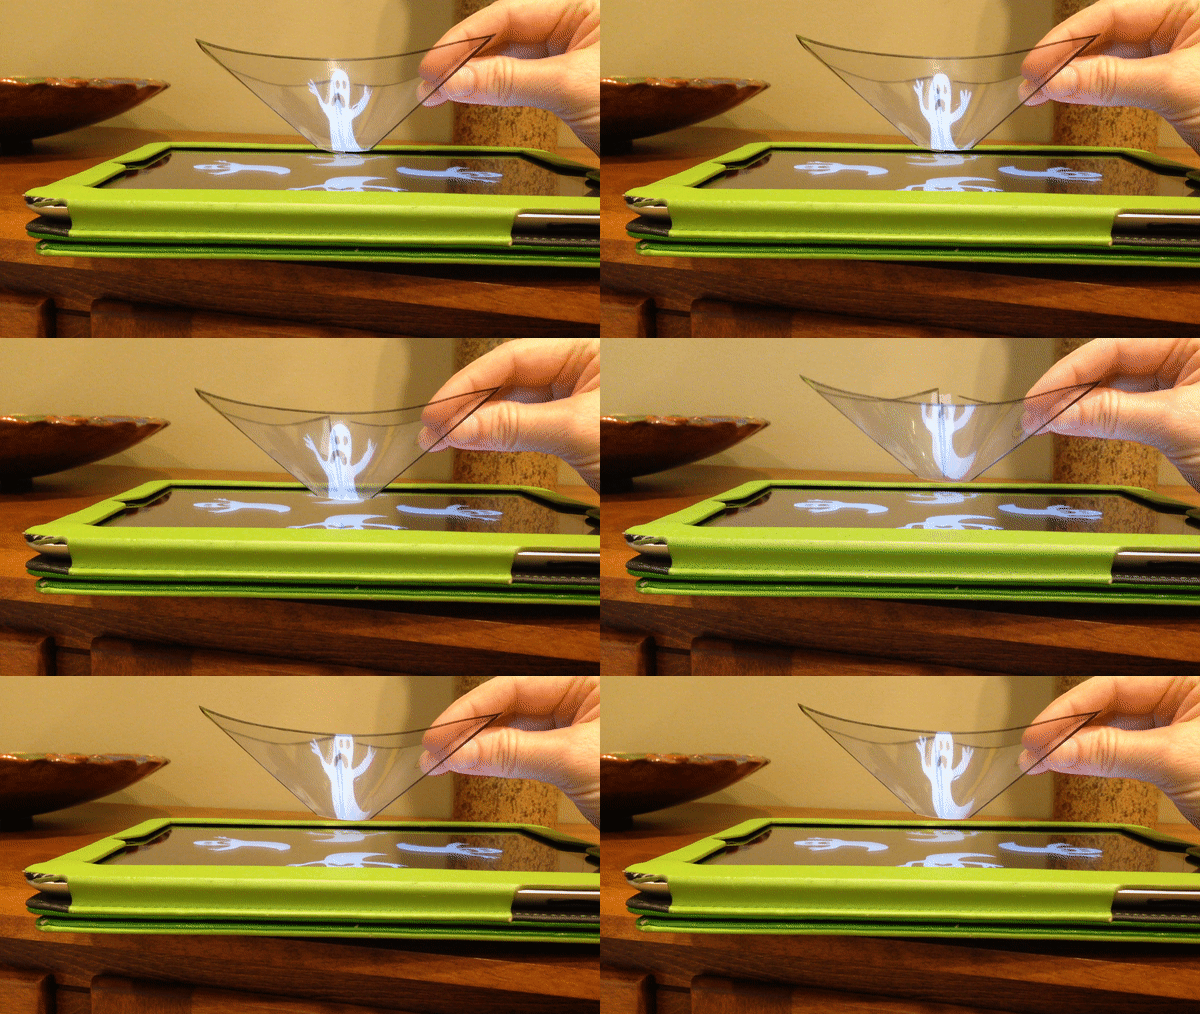
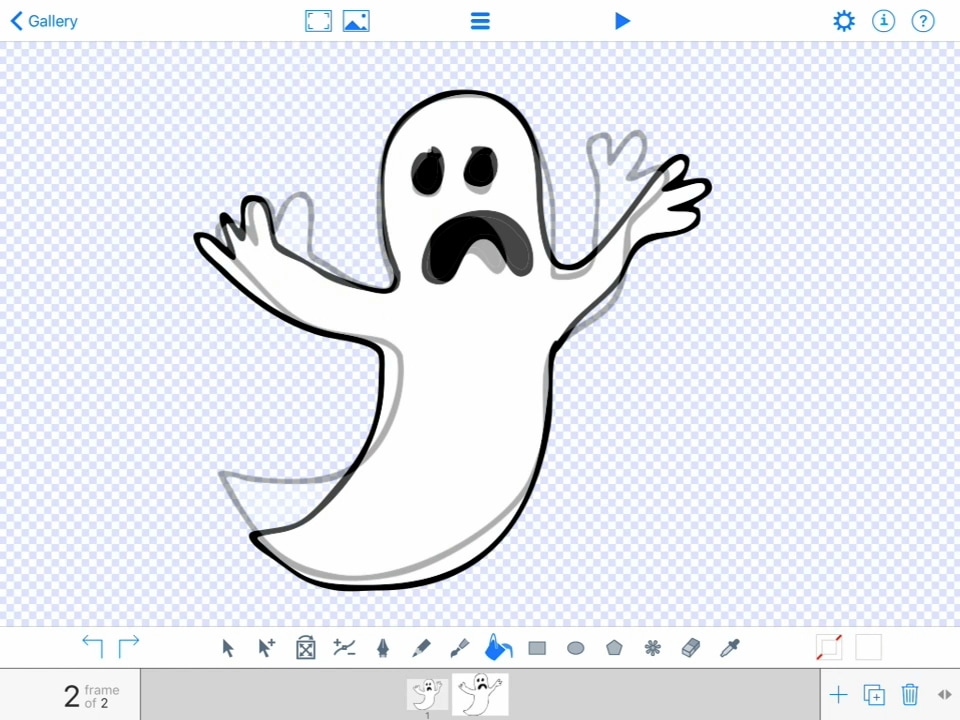
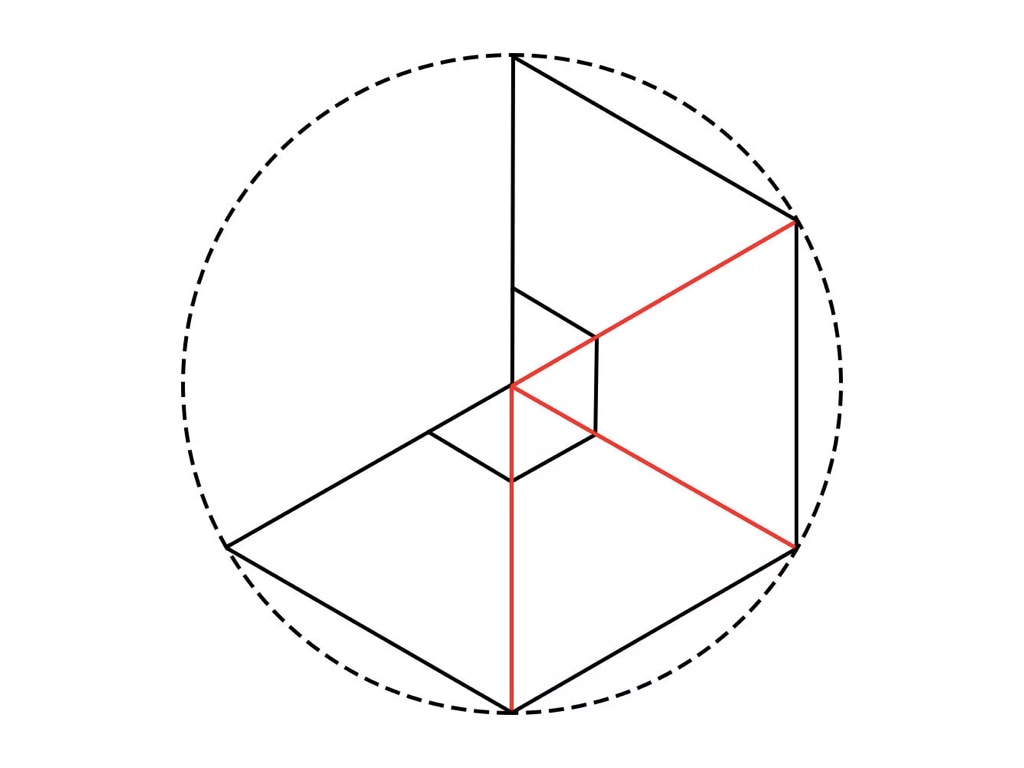
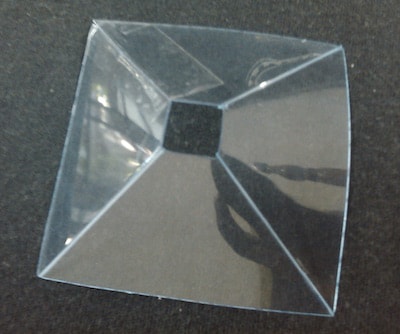
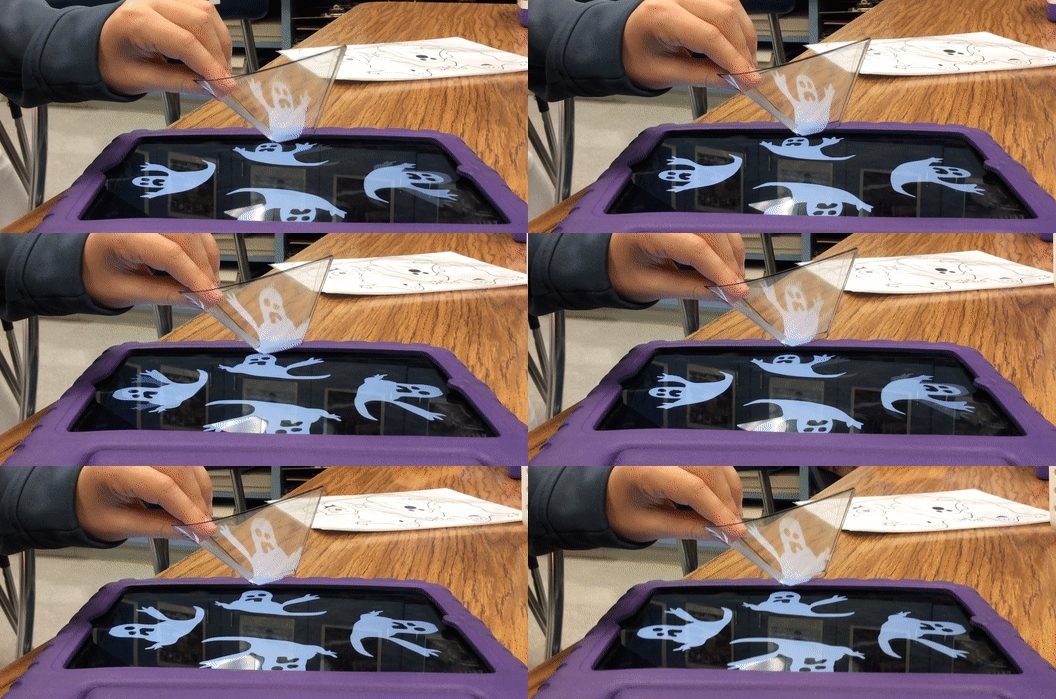
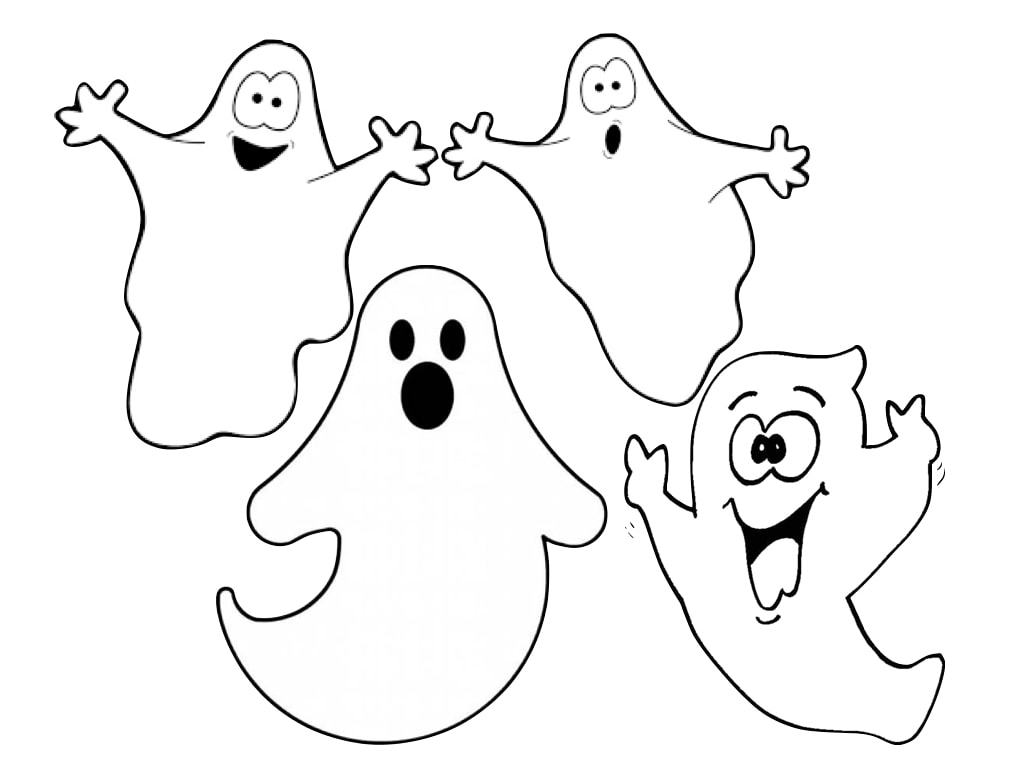
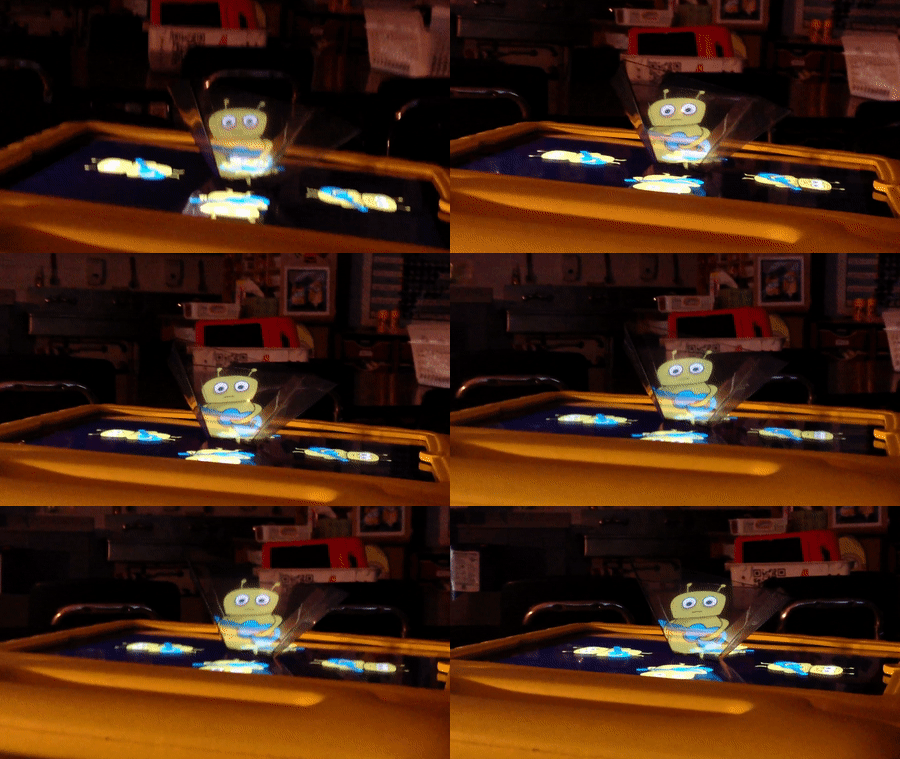
| A year ago I learned about using a smartphone to view holograms. The idea definitely interested me but it needed to be tweaked to work for my art room. First, I needed the idea to work on iPads since that is what students have access to. Secondly, I wanted my students to be makers, not just consumers, so I needed a way for them to make their own hologram videos in the style of these examples. Today, I finally got around to working on solving these problems. I looked to an old favorite app Do Ink Animation and Drawing app and remembered how easily you can copy and paste layers, rotate animations, and work over a black background: all things needed for this effect. I downloaded the template (on left) and traced it onto a piece of transparency, folded it and made a pyramid viewer. Then, I made a video tutorial showing how to make one flipbook style animated ghost became four in a rotationally symmetrical design so that you can view it as a hologram through the pyramid. Next, I want to see if I can make this effect work with video using the Green Screen app by Do Ink. It will take some more steps because it only allows 3 layers at a time and one of those would have to be the black background. Hmmm...sounds like another post. (Update: look below...) |
Haunted Hologram from Tricia Fuglestad on Vimeo.
Download my examples: (open in Do ink)
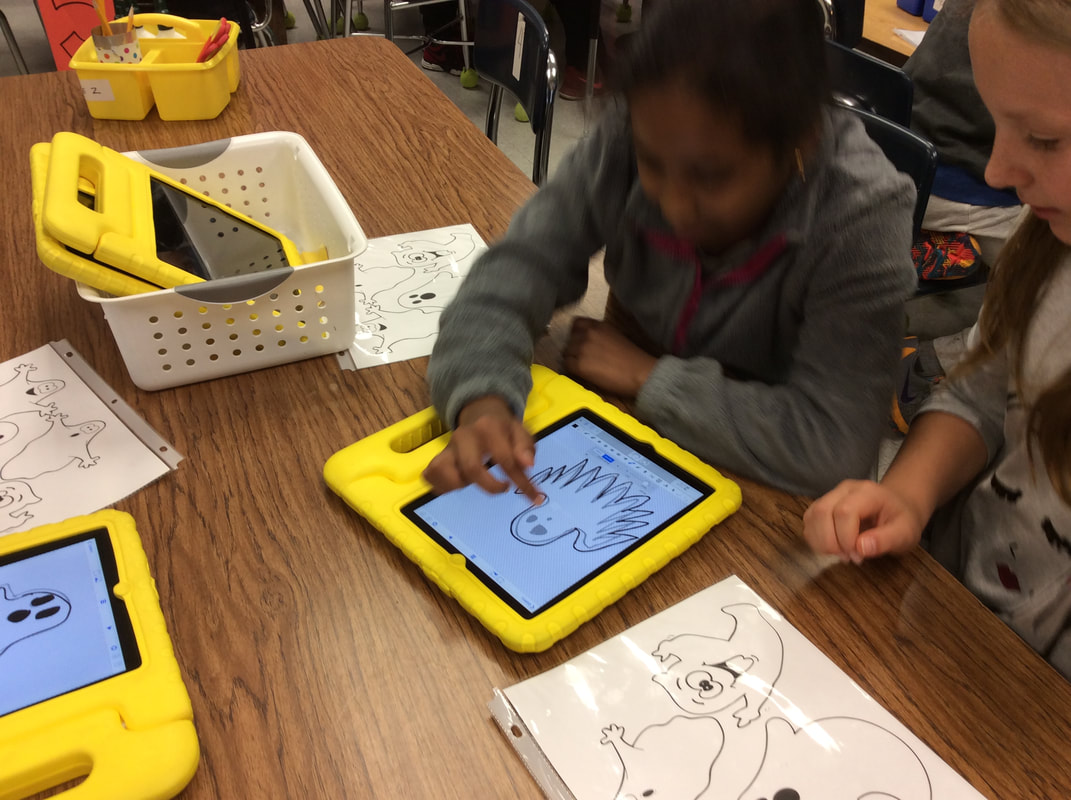
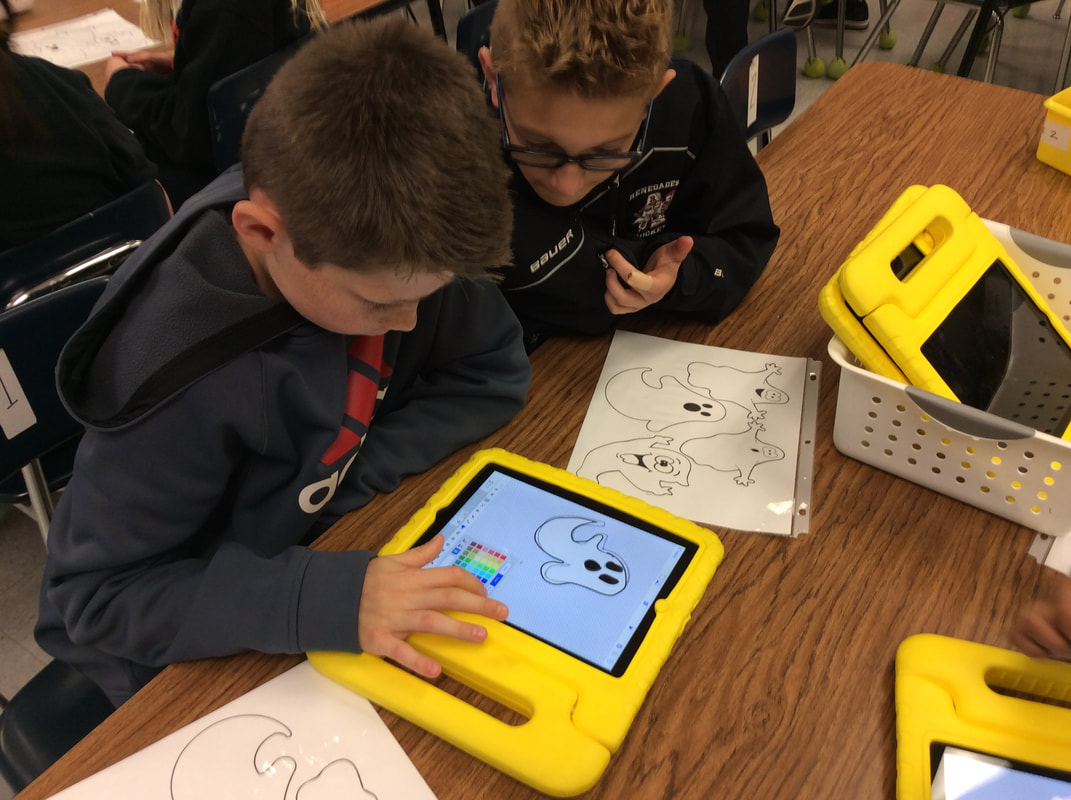
Student work:
Viewing our Holograms from Tricia Fuglestad on Vimeo.
Other Haunted resources
Other Haunted Art Room Lesson:
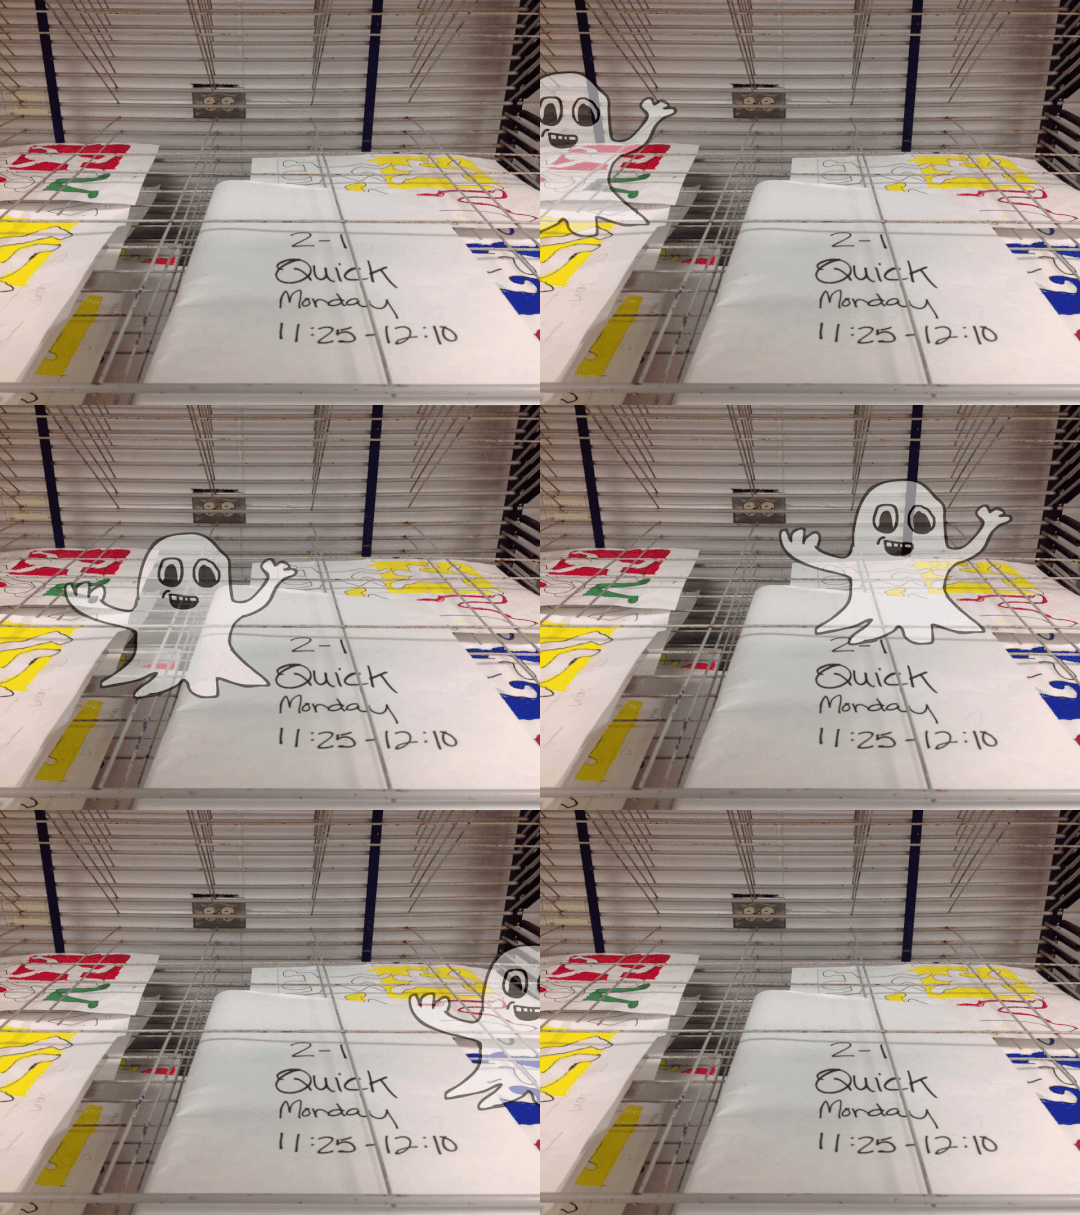
| If you're looking for a way to use the ghost theme (not hologram idea) I have a post that explains how students can make their semi-transparent ghost animation travel over a photo to look like it is haunting your class room. See this post for all the details. |
Other themes for your class holograms:
Custom Video Hologram
with Do Ink Green Screen App
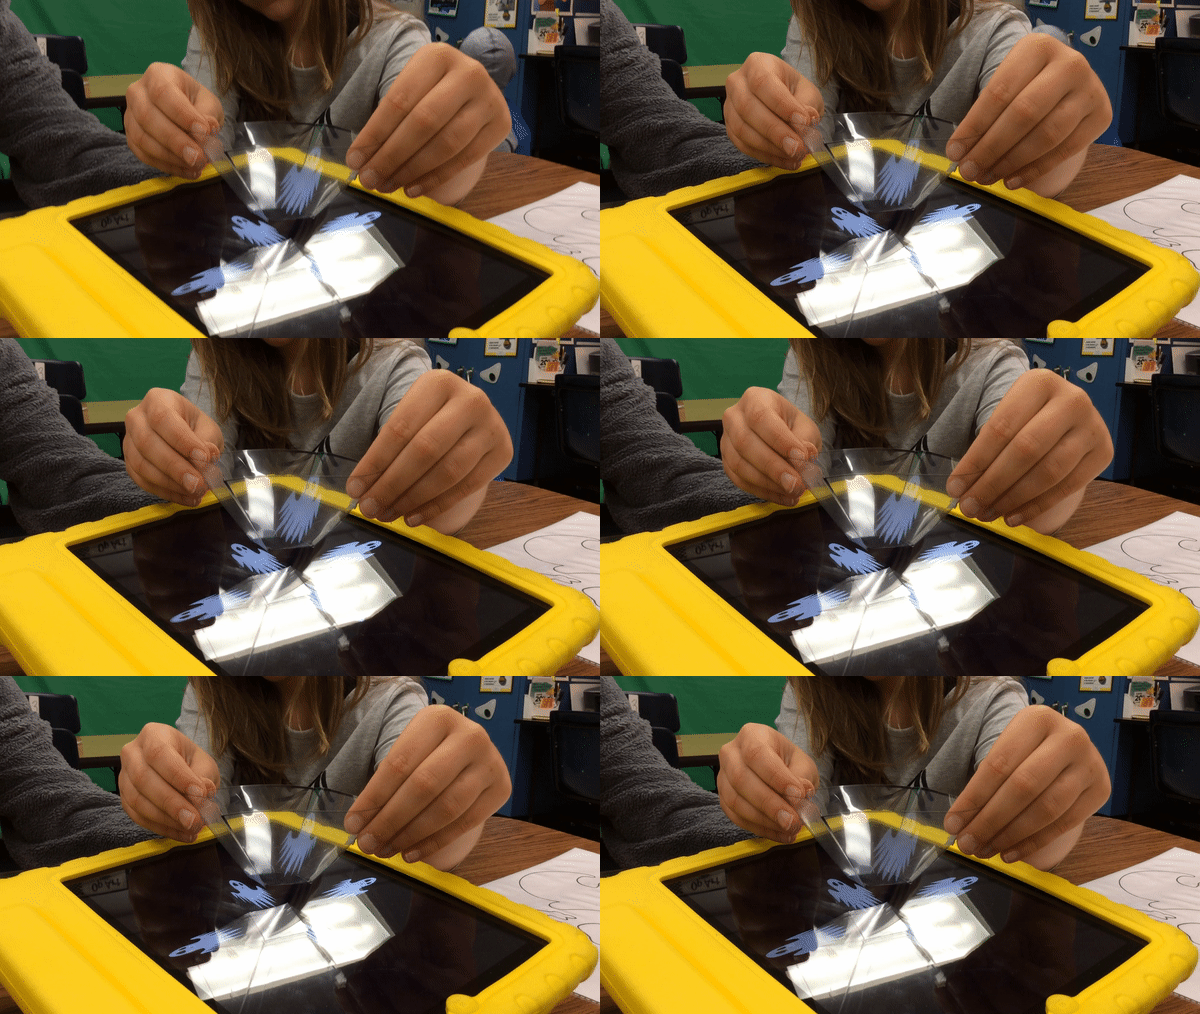
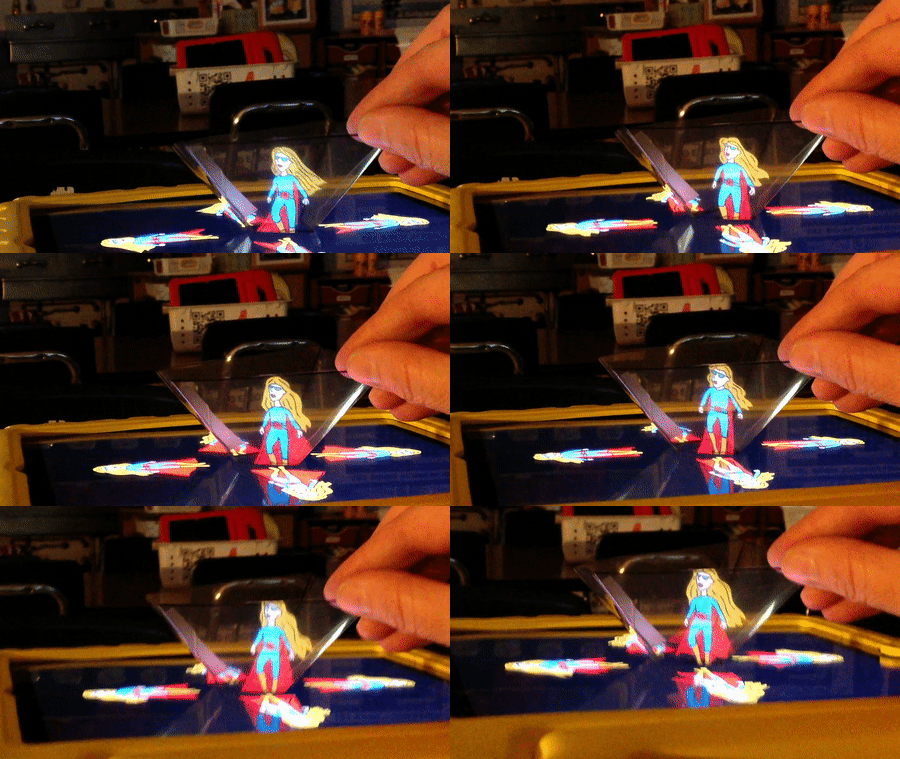
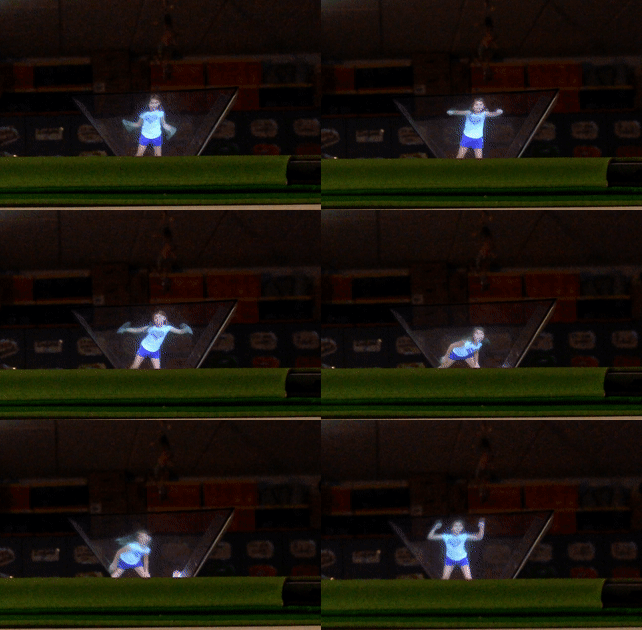
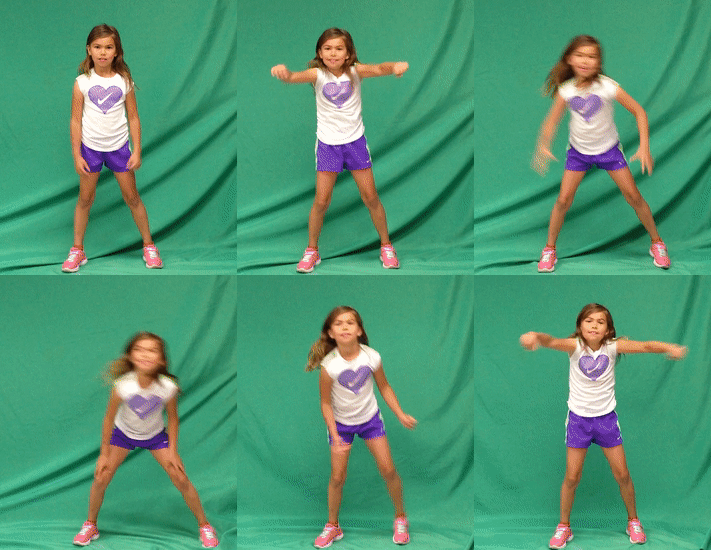
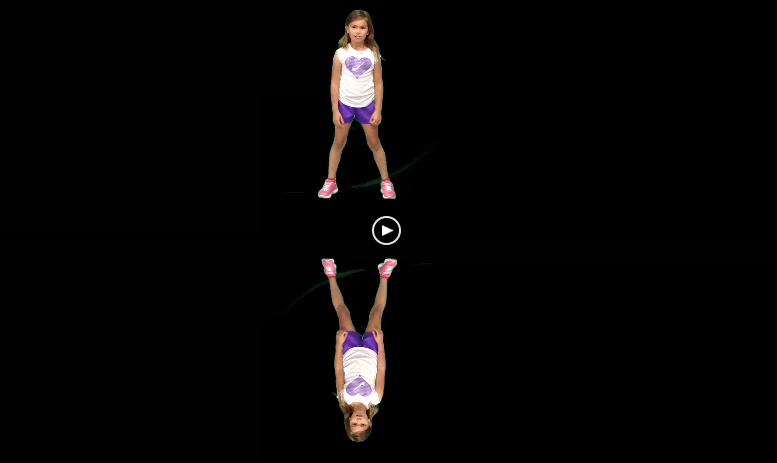
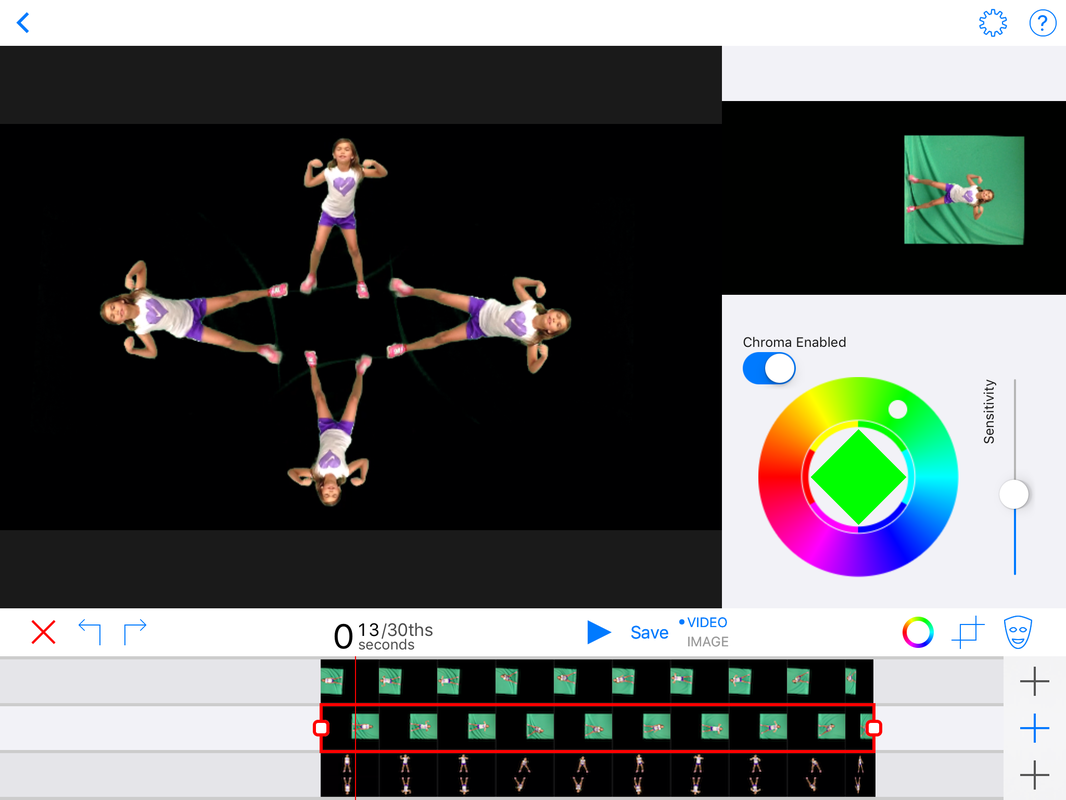
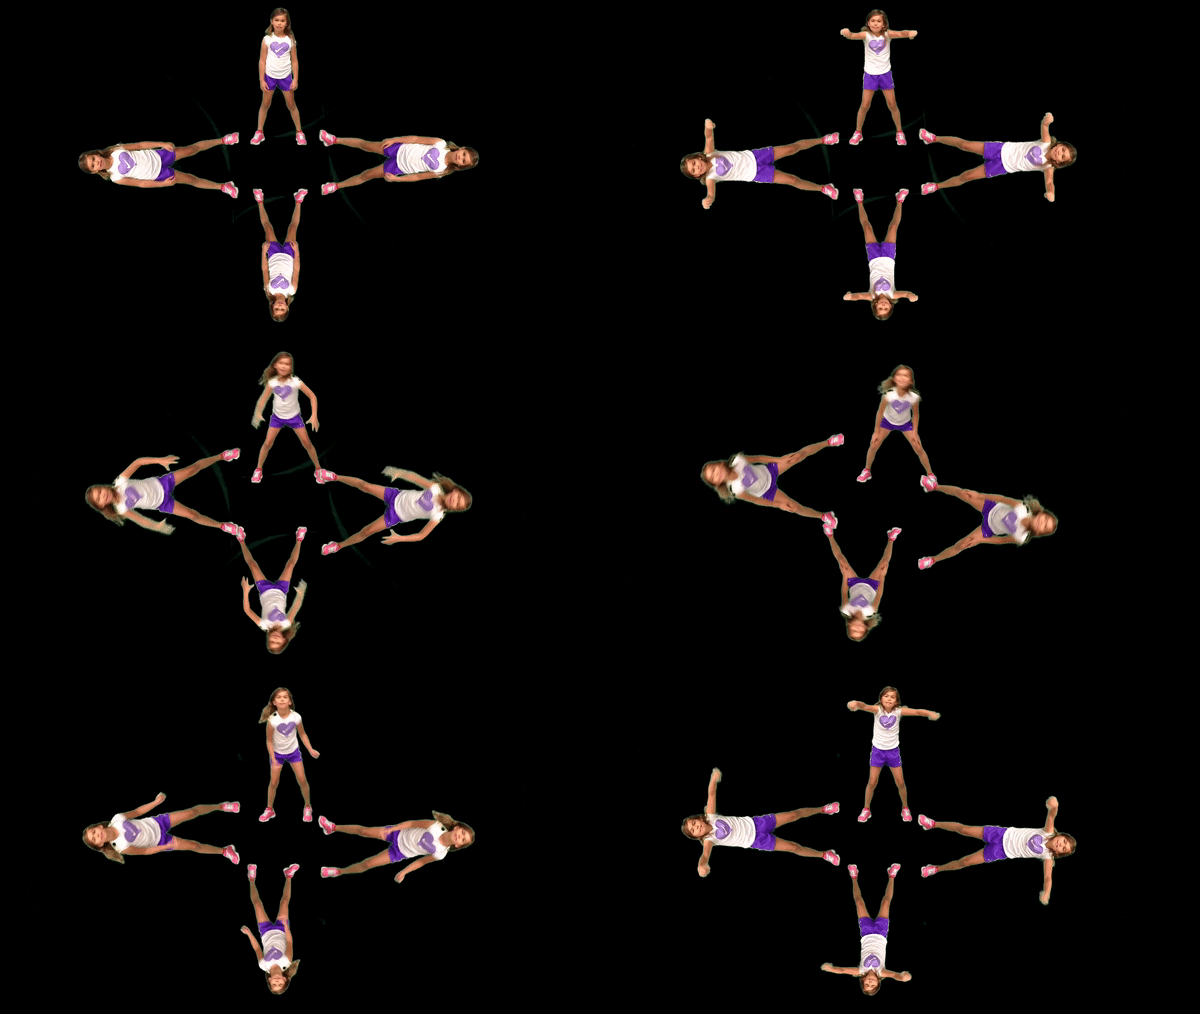
| WHOA! I hoped it was possible, and now that I've experimented, I know it is.... Custom Video Holograms! To make these I used the Green Screen app by Do Ink and went through a few steps. First: I took green screen video of a student doing a movement that would loop nicely. Second: I imported it into the top two layers of the green screen app. I made them small (the same size) by pinching and rotated one until it was a reflection. Since I will need the video four times, I exported this video of just two to "flatten" it. Third: I imported the "flattened" two image video on the bottom level then rotated the other two levels to make the four videos into a radial design. Fourth: After checking that the images were matched in size and well placed, I exported the video to the camera roll. |
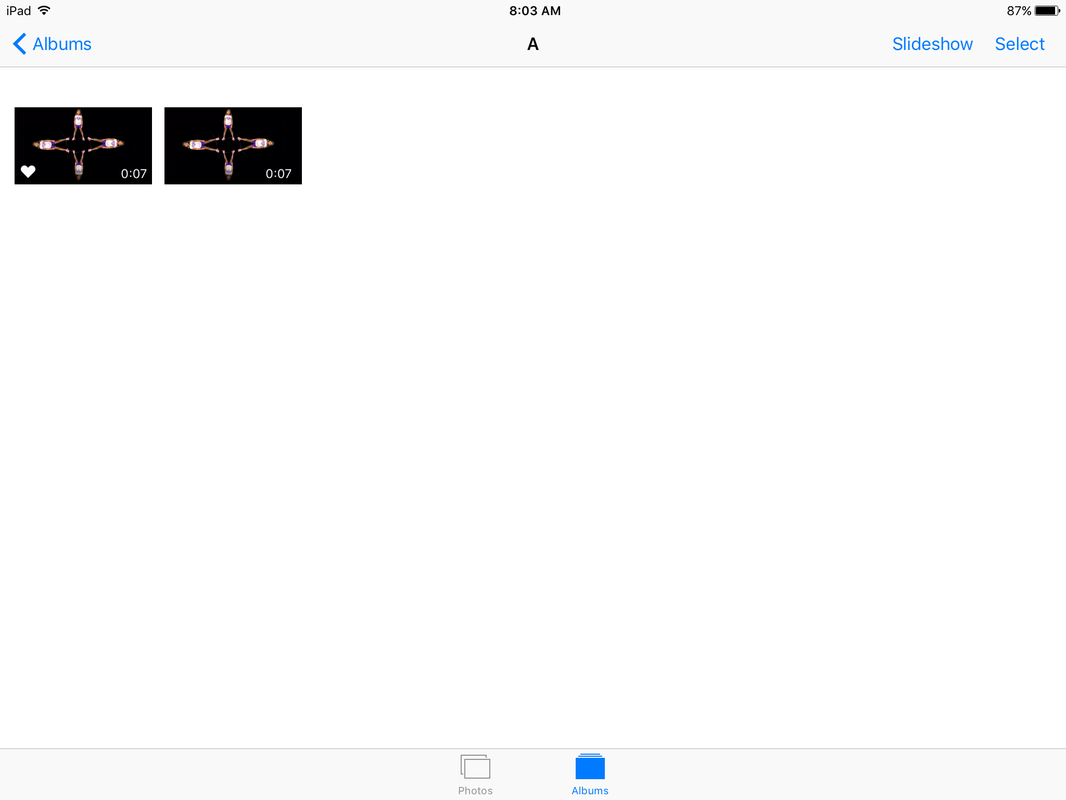
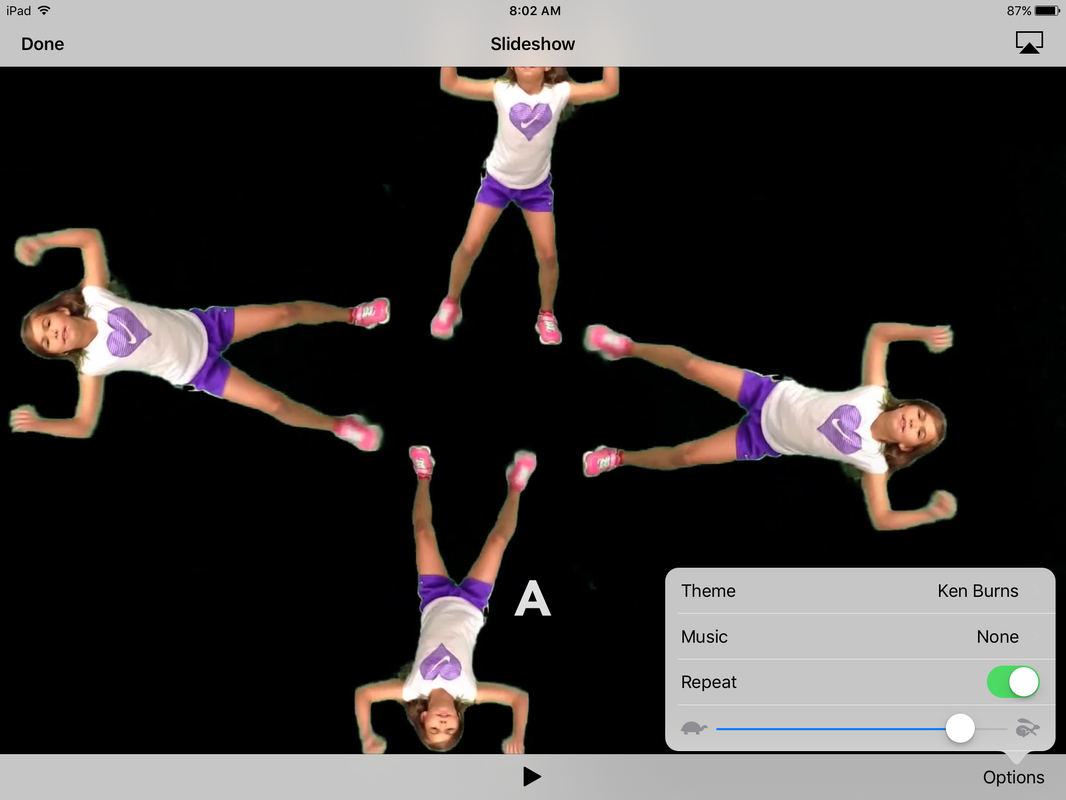
| Unlike the Do Ink animation app, the Green Screen app doesn't loop videos when you hit play. So, there are a few more steps before you can view the hologram. Fifth: Export the movie TWICE. The slideshow feature in photos on the iPad doesn't work with only one image or video. You have to have two copies of it. Sixth: Make an album in photos and select the two copies of your hologram video. Seventh: Click on the album and choose slideshow, click on the options to make it repeat. I couldn't figure out a way to keep the album name from NOT showing (until JLee wrote solution in the comments below-thanks!). Delete name, add a space. DONE! Put on the viewer and enjoy! |
















 RSS Feed

