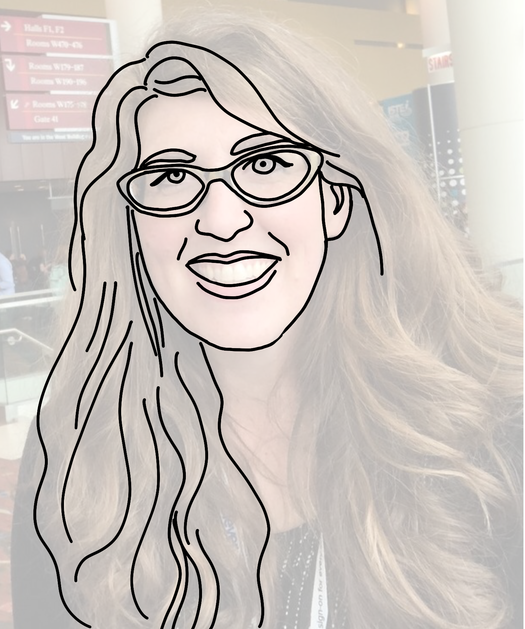
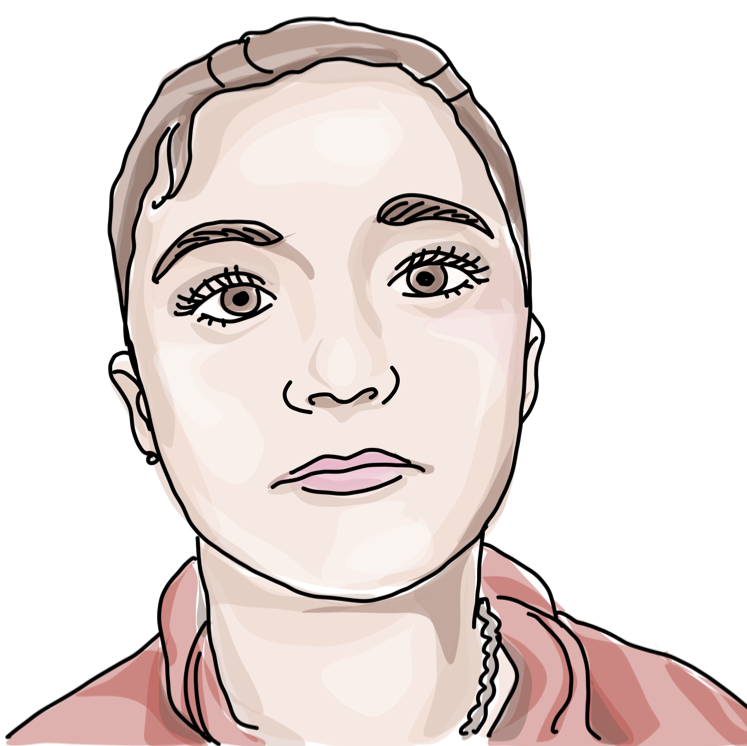
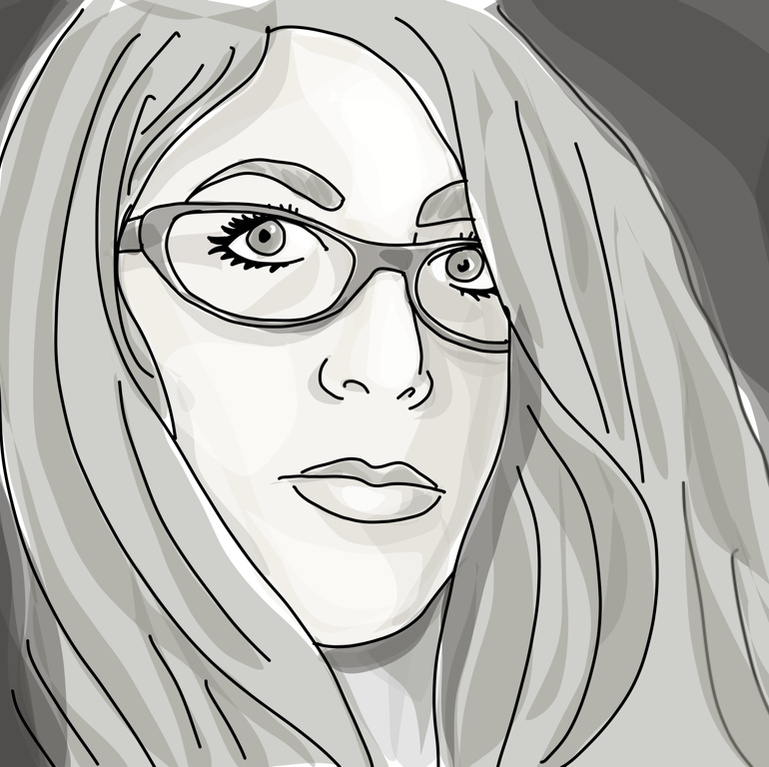
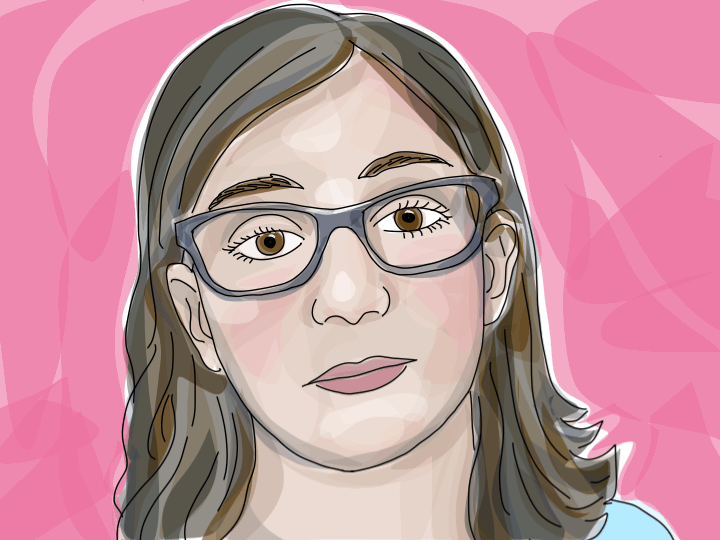
Drawing of Alodie Gossh using Keynote Drawing feature on iPad
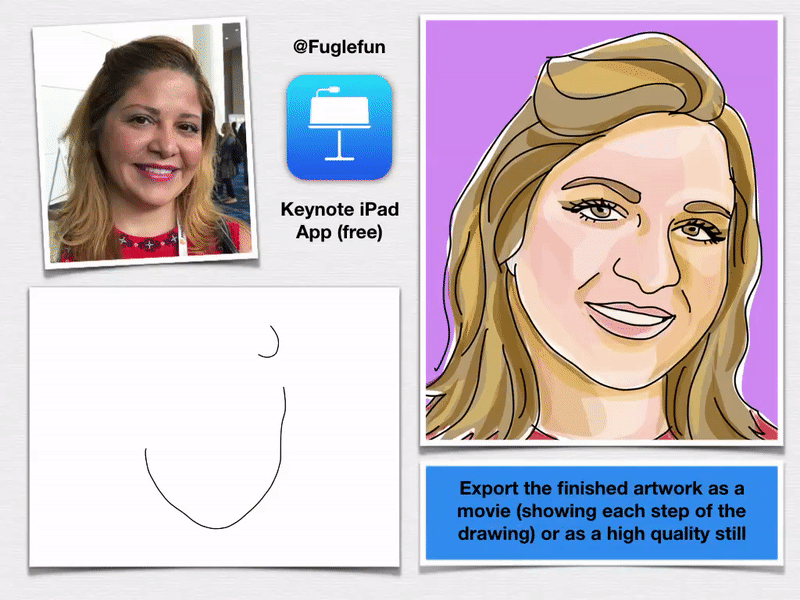
I just started playing with the apps that I learned about during ISTE18 in Chicago. One that I'm really drawn to is an updated version of an old Apple app, Keynote. As of spring I learned from @karlyb that keynote had added a drawing feature to their iPad app. As I was searching this topic on twitter I found Mrs. Kellenberger's twitter feed showing student drawings like this one made using Keynote. She shared her tutorial that she made for her students (below) demonstrating a contour line drawing over a photo.

|
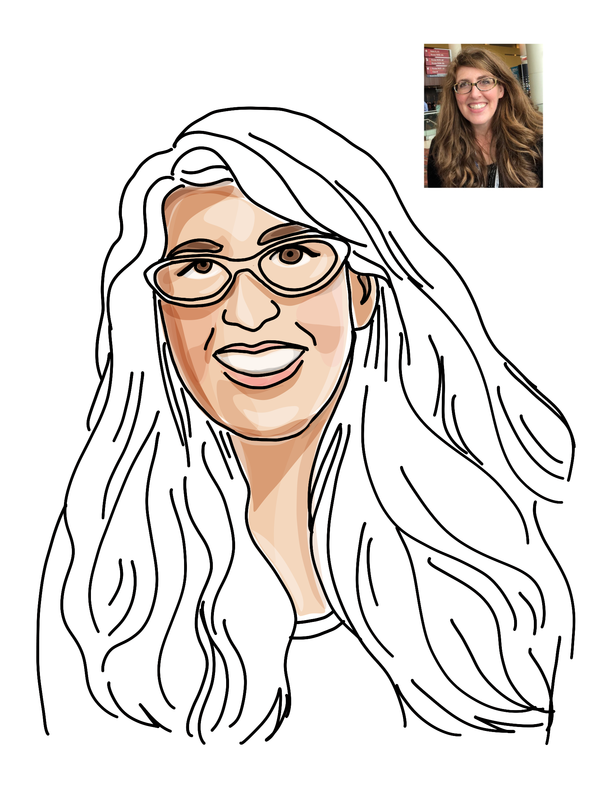
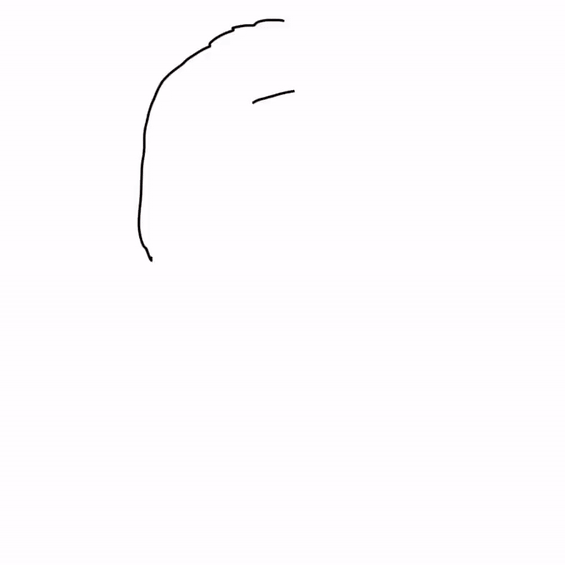
1. Bring in a photo in a new presentation in the Keynote iPad app. I like to go to the image editor and change the opacity to 50% so I can see my black lines better.
2. After I create a contour line drawing (see our funny Fugleflick about this kind of drawing) scoot the photo off to the side as a reference. Change it back to full opacity so you can use the eye dropper tool to select the actual colors for your portrait.
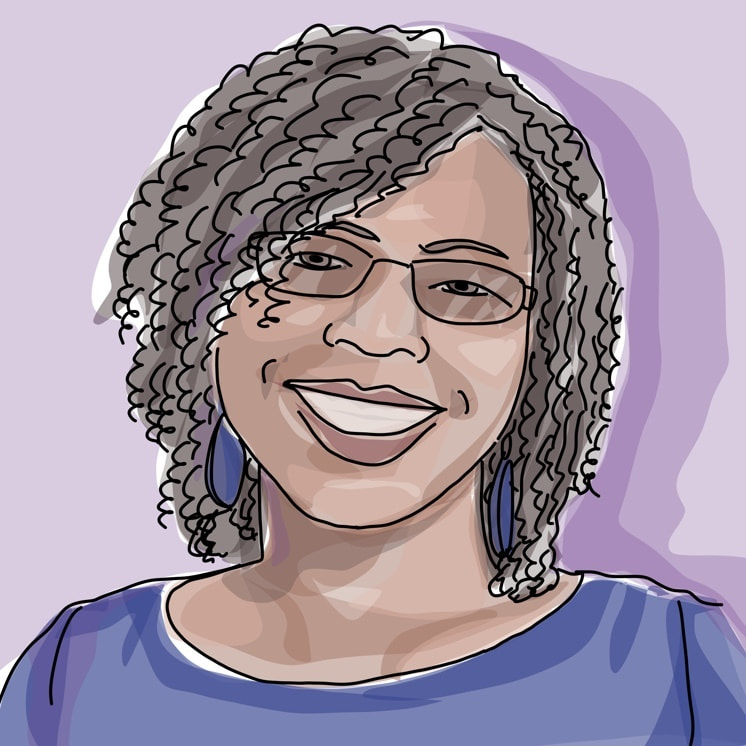
3. I used the fill tool for adding colors. I set the colors to semi-transparent so I could layer in base colors, highlights, and shadows. I like how the tool requires you to make a shape then it fills. Once you get the hang of it it's very quick and creates a loose painterly look. If I make a mistake I could hit undo or use the select tool to find the stroke and delete it.
|

|
4. You can export your project in a bunch of ways. What I like is the high quality png format for a still image. It looks like a vector drawing with clean edges that enlarges nicely. You can also export as a movie. To make the app replay your drawing you have to first click on the drawing, choose animate, and choose line draw then export.
|

|
|
|

|

|

|

|
|

|
|
|
|
|
|
|
|

|
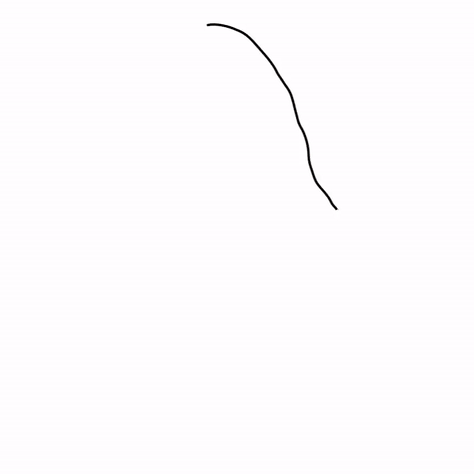
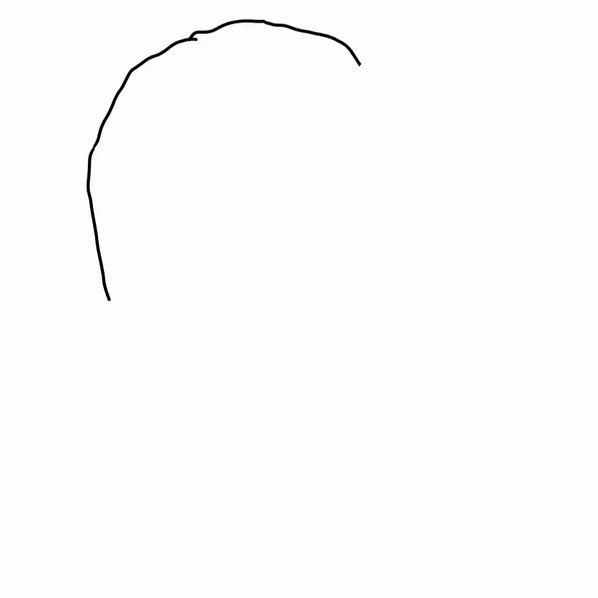
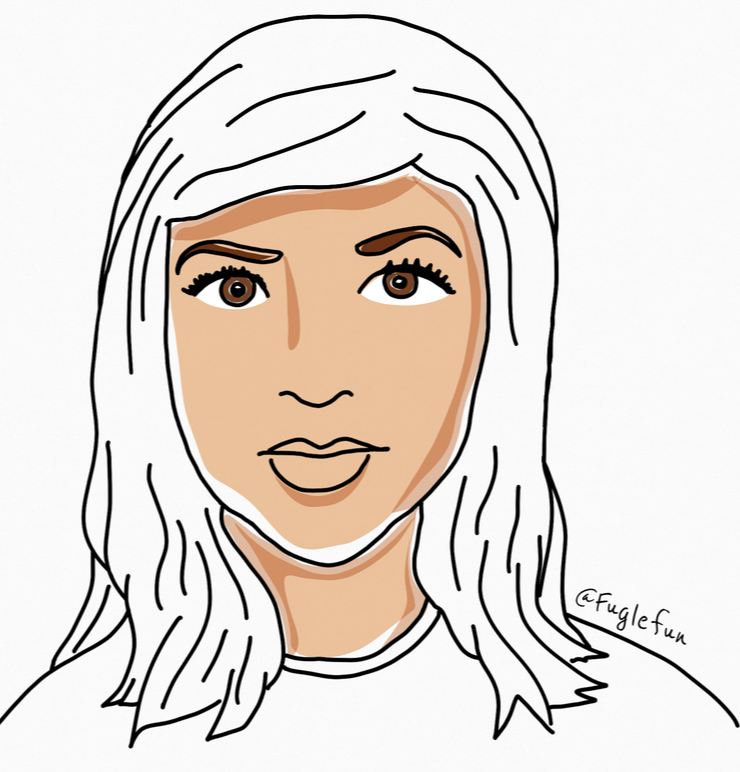
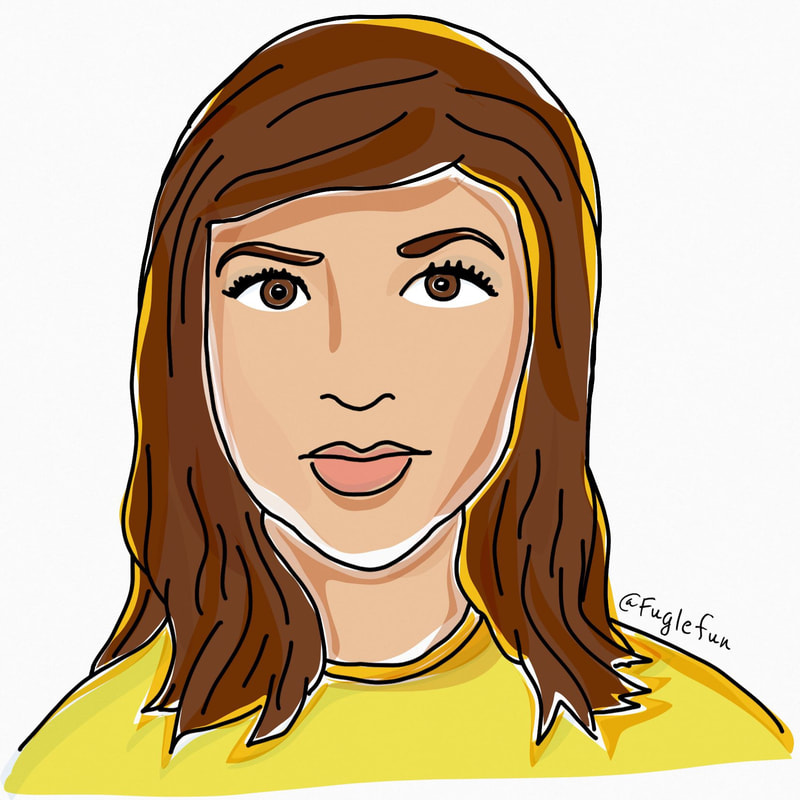
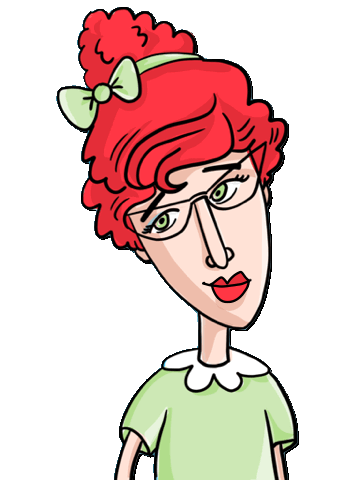
Variation: Keep it simple
|
I really like the clean and loose look of the fill tool. I like the little edges of white that occur naturally when you try to make a shape to fill. I also like that when you keep the color semi-transparent, you can simply make shadows by layering the same color again over the shapes you had already made. It becomes darker the more the color is layered. It's fast, easy, and very effective.
|
|
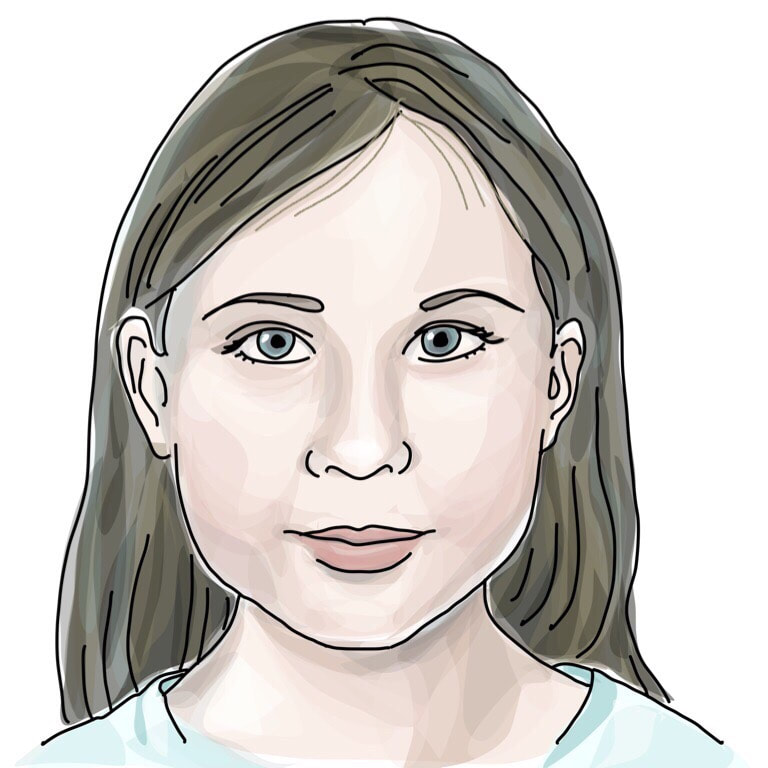
You can make your art layered and detailed in this app or you can keep it simple and cartoonish. I like both. I think I'll be aiming towards portraits like these below with my students, at least at first.
|
|
Resource: Learn about Contour Line Drawing from Grandpa Pencil (Fugleflick)
Drawing From Experience from Tricia Fuglestad on Vimeo.
UPDATE: #KeynoteDrawingChallenge
Mrs. Kellenberger and I challenged Twitter folks to surprise people with a portrait using the drawing function in the Keynote app and challenge others to give it a try as well. I've been collecting their drawings in this Twitter Moment. Check it out!
Join in anytime and tag your art with #KeynoteDrawingChallenge & @fuglefun
Join in anytime and tag your art with #KeynoteDrawingChallenge & @fuglefun
Next Challenge: Make it Blink
See this post and the end of the tutorial above to learn how to make your portrait blink.
|

|


 RSS Feed


